
Today we are diving into the third part of our series Divi Blog Section. We have already seen how to create a nice secondary three-column section on our homepage and how to add also a featured post with a nice animated blog card style.
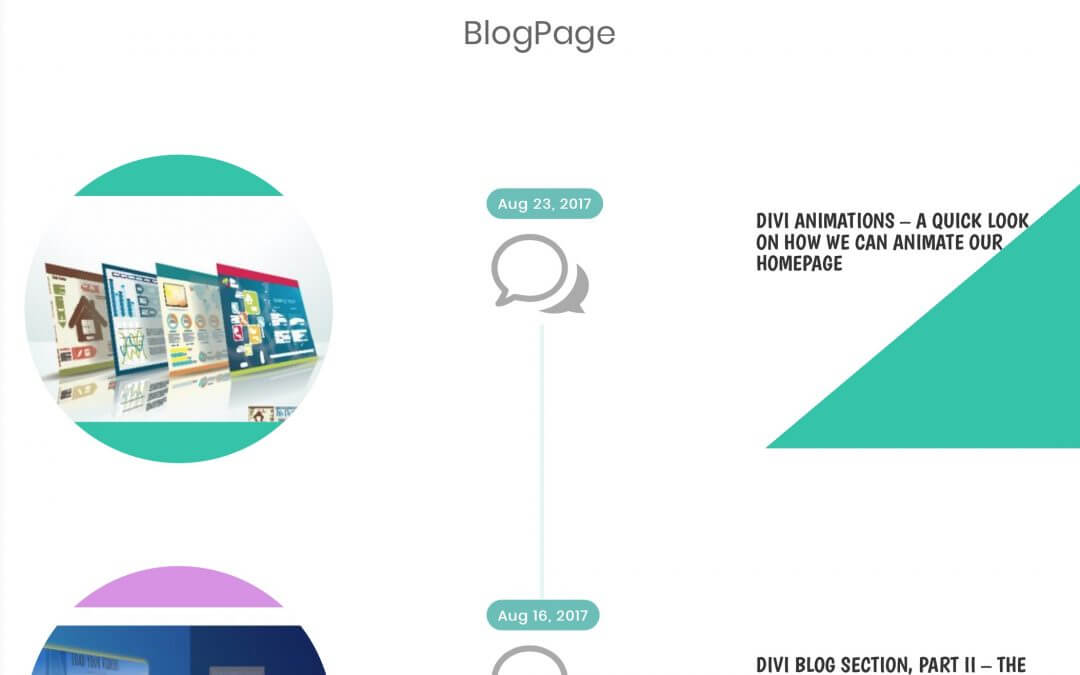
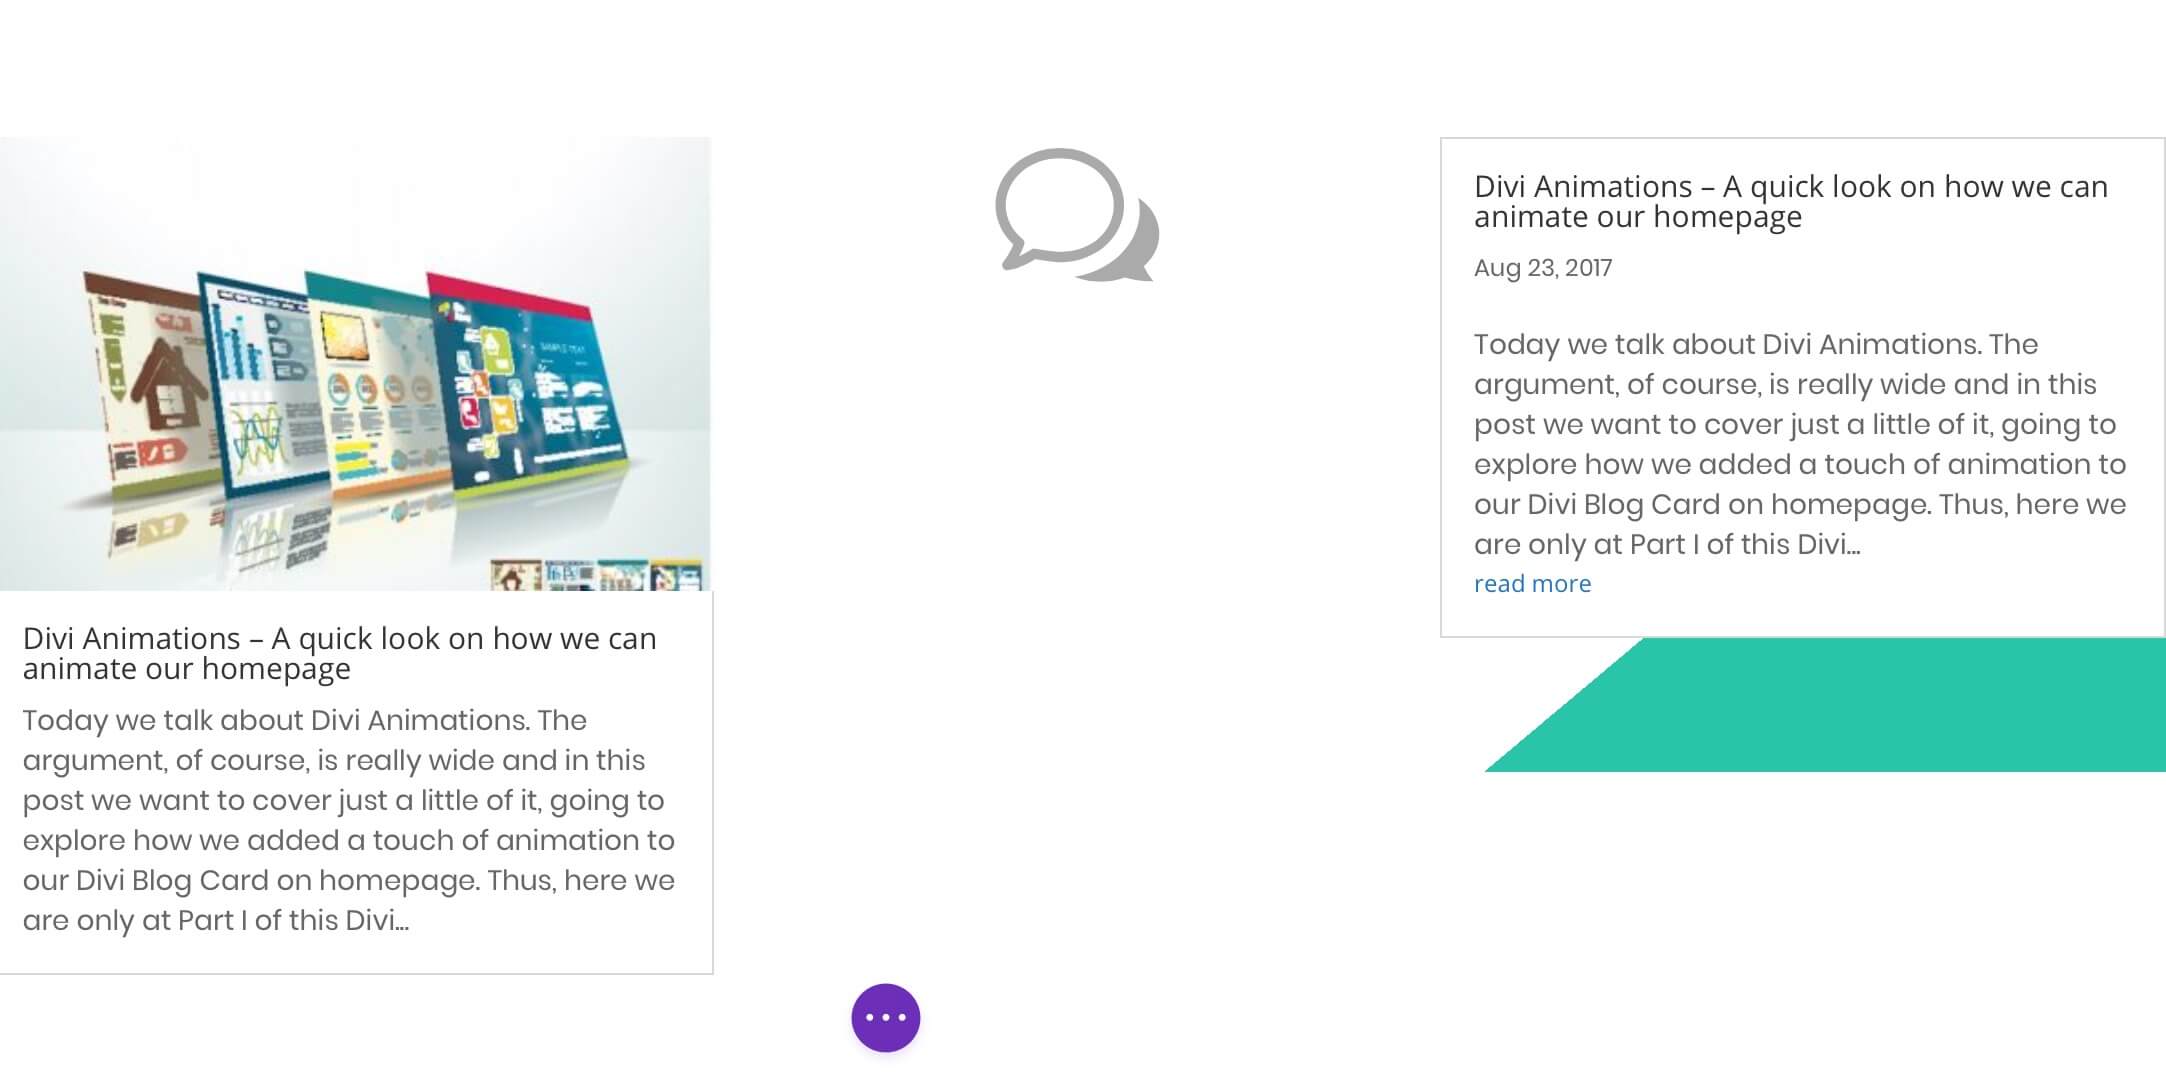
Now we pass to the Blog Page as we have just set up here on How i-Divit. This will be our final result.
N.B. This is a Desktop Design only! We will cover the mobile version in a next post.
A simple three-column layout for a strange BlogPage, strange for the timeline style, for a rounded featured image on the left and also for the hovering behaviour of the third column.
So, let’s get started!
THE LAYOUT
First of all we create our basic layout, simply adding a new section and some rows inside it, so that the final structure should be something like the following one.

Let’s leave the first row and the last two ones for a moment, containing the page title and More Posts section respectively. We focus, instead, on the three three-column rows that contain in order from left to right a blog module, a blurb and a blog again. These are the core of our design.
FIRST COLUMN
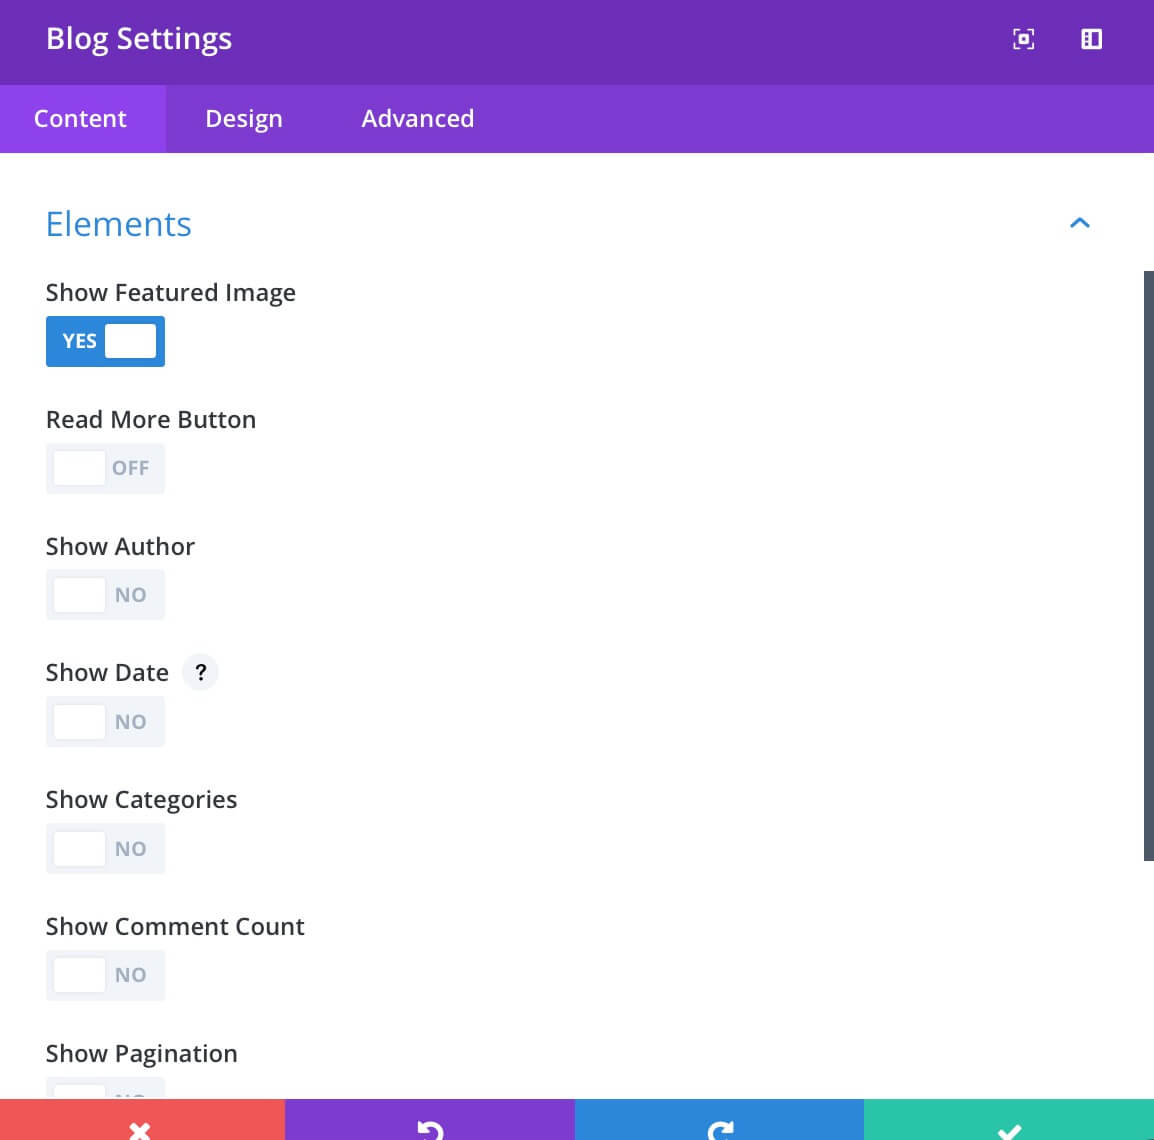
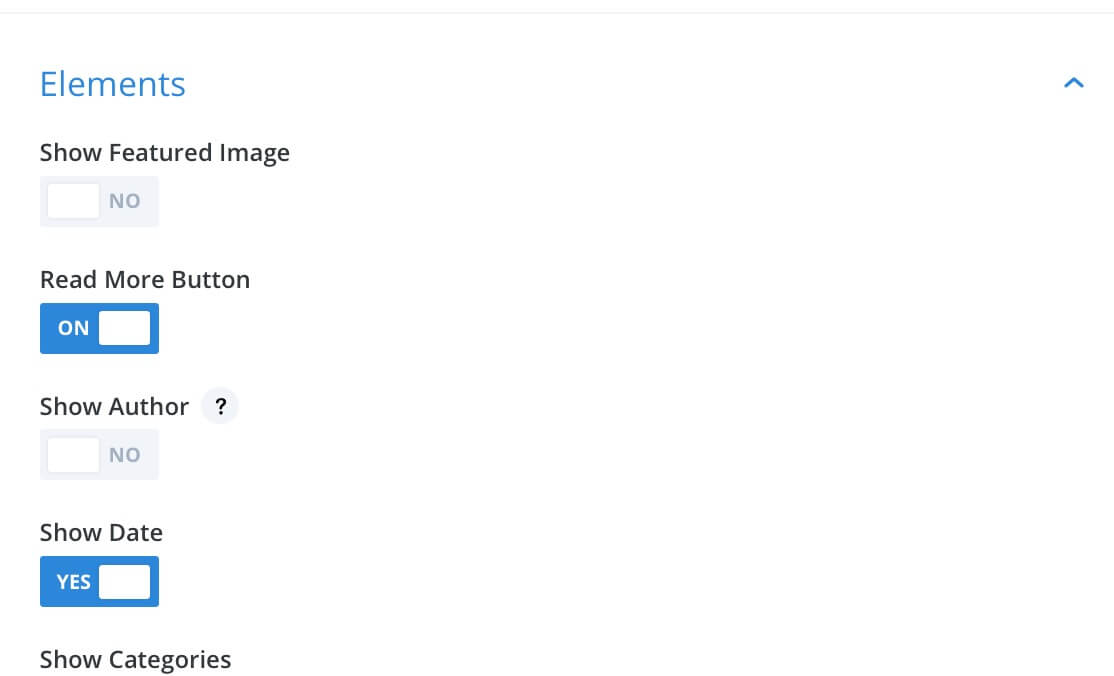
So, taking the first three-column row as example we have to add a blog module that will show only the feature image. So we select “1” as number of posts and then deselect all the elements as follows.
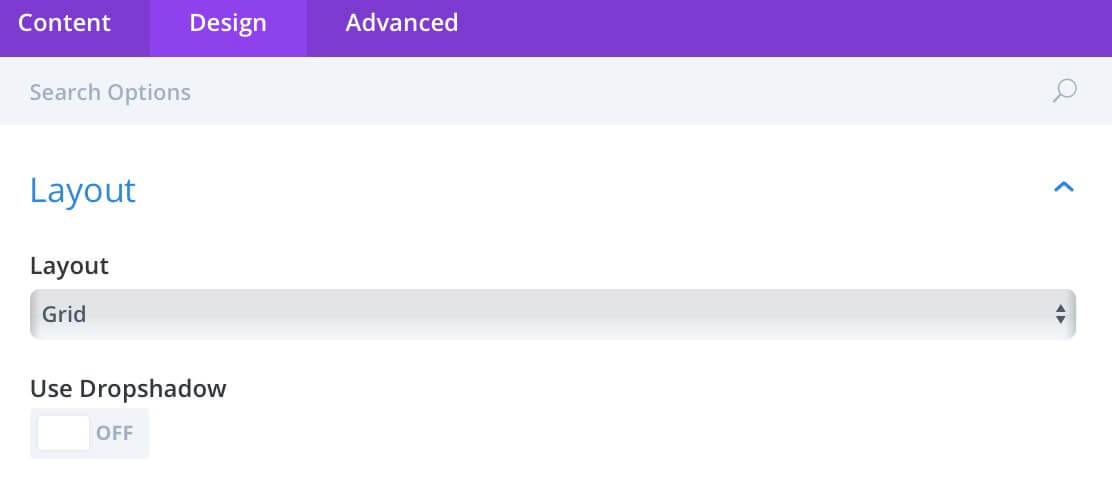
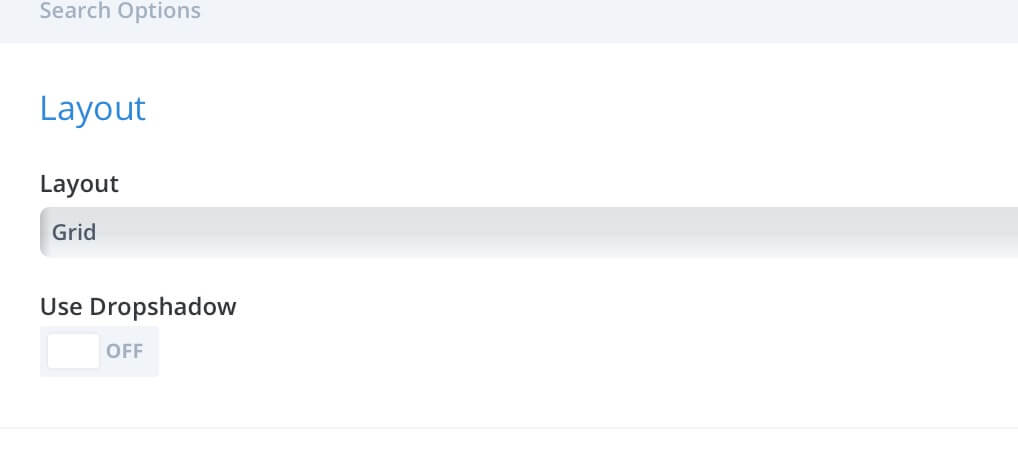
Then go into Design tab and select “Grid” as Layout. Ok, At this point we see obviously also the post title and the post excerpt together with the image but don’t worry about it. We will fix it later with the magic of Css.
The last – but absolutely not least! – thing we are going to do is add in Advanced tab the following Css classes:
“blogpage no-text“.
SECOND COLUMN
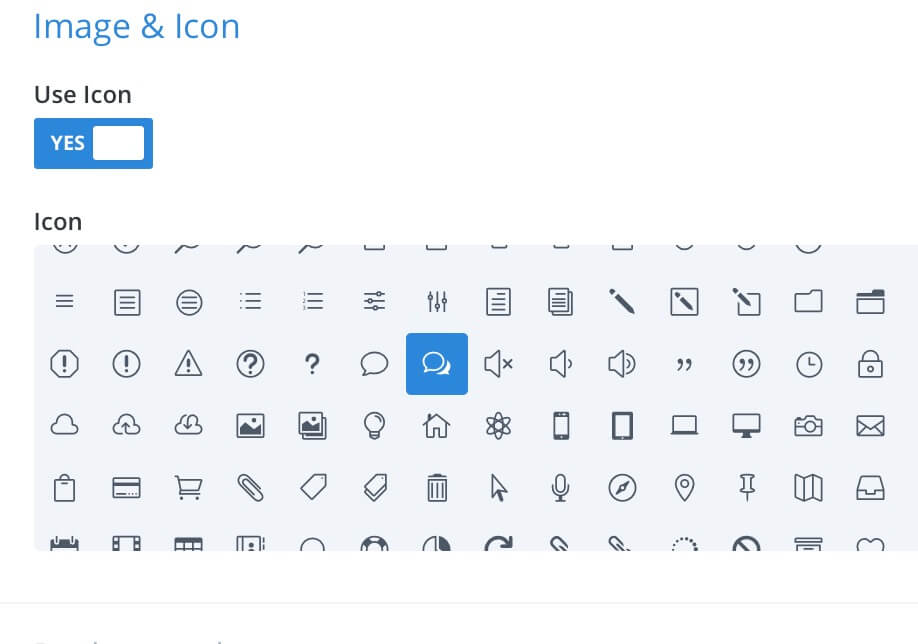
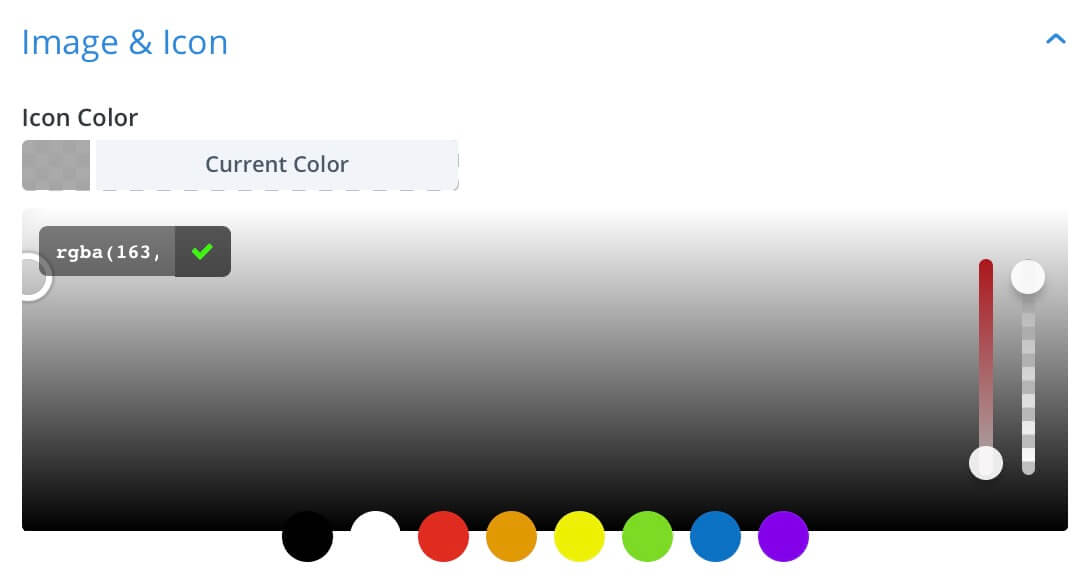
Passing to the second column we have to add a Blurb module that, with the aim of Css, will be the skeleton of our timeline. For now we simply add the module without title or text and choose the icon we want and set the icon color in Design tab.
THIRD COLUMN
Finally, we add another Blog module in our third column. This time we want this module to show only the title, the date, the Read More button and, obviously the excerpt.
Also here we have to go to Advanced tab and set the following Css Classes for this module:
“blogpage only-title“.
ROW SETTINGS
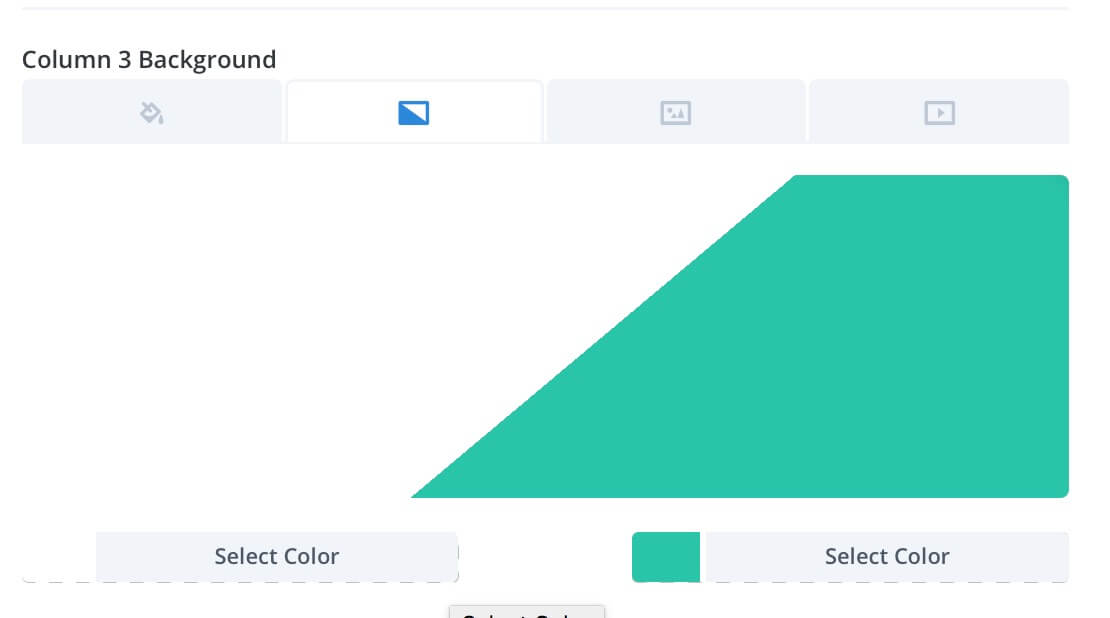
We have now to complete our columns setting going then in Row Settings and set the third column background as follow.
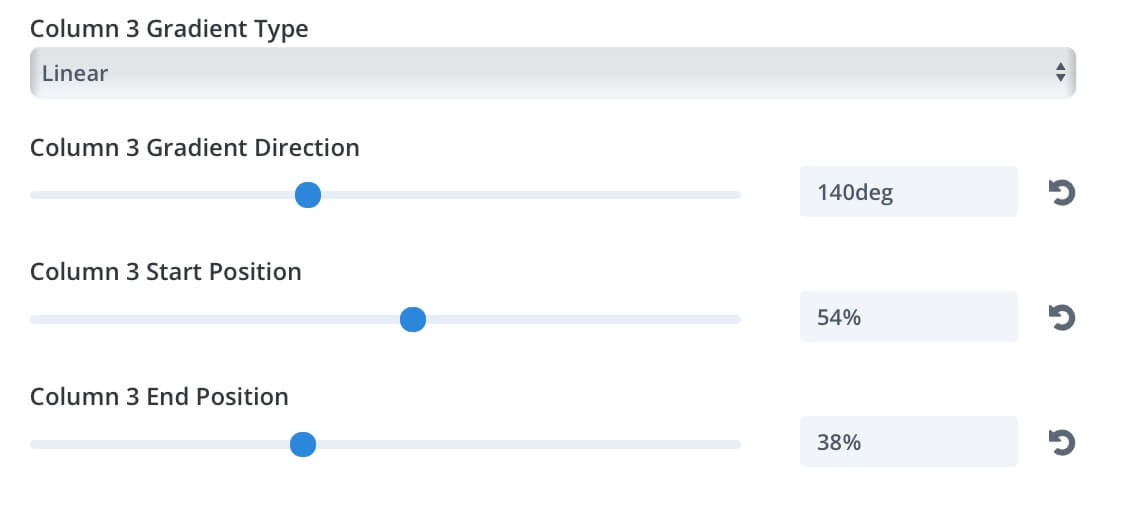
Then in the Sizing section we opt for Fullwidth row and set Custom Gutter to 1; finally moving to Advanced tab we have to add the following Css Classes and ID:
Css ID -> timeblurb1
Css Class -> timeblurb
Column 1 Css Class -> fadeTime
Column 2 Css Class -> hideTime
Column 3 Css Class -> slideTime
The result for now should be something like this.
THE MAGIC OF CSS
The result above is far from the final one, i know. But once you’ve added the following Css all will be ok. Let’s go step by step, also here progressing from the left column to the right one.
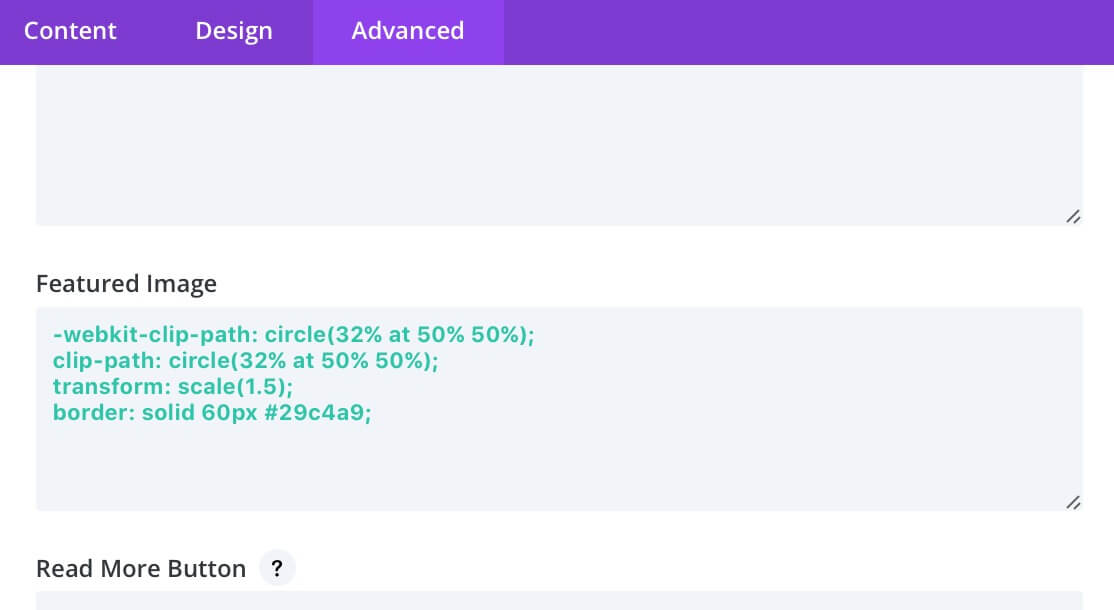
First Column Custom Css
First, only for this column, we have to add some custom css in the Advanced tab of Blog module. This will transform our standard featured image in a circle with some colorful top/bottom border according to the background color of our third column.
Then we simply go in the Page Settings -> Advanced -> Custom CSS and add the following Css blocks that for a better understanding i divided below according to the columns.
Second Column Custom Css
So we have styled our first column, now we’ll pass to add some Css code in order to make the major changement, the ‘Blurbing’ Timeline.
Third Column Custom Css
Finally we add the Css for the third column and in particular for the hovering effects.
Then we have to add some further Css lines to add all our hovering effects.
FINAL THOUGHTS
Ok. We have now our strange BlogPage with a ‘Blurbing’ Timeline style. The only step we left out is the page Title ( quite obvious, i think 😉 ) and the final section with a simple Blog section showing other posts with an opacity of .2 that pass to 1 on hover.
I hope it could be useful for your further customizations.
See you next post.
Cheers!


