
Hi, today we want to share with you the design layout we created in Divi for our Divi post Series indexes. It is a simple way for orientating the visitor among the Series posts giving him an overview of the topics of every post and a direct link to them.
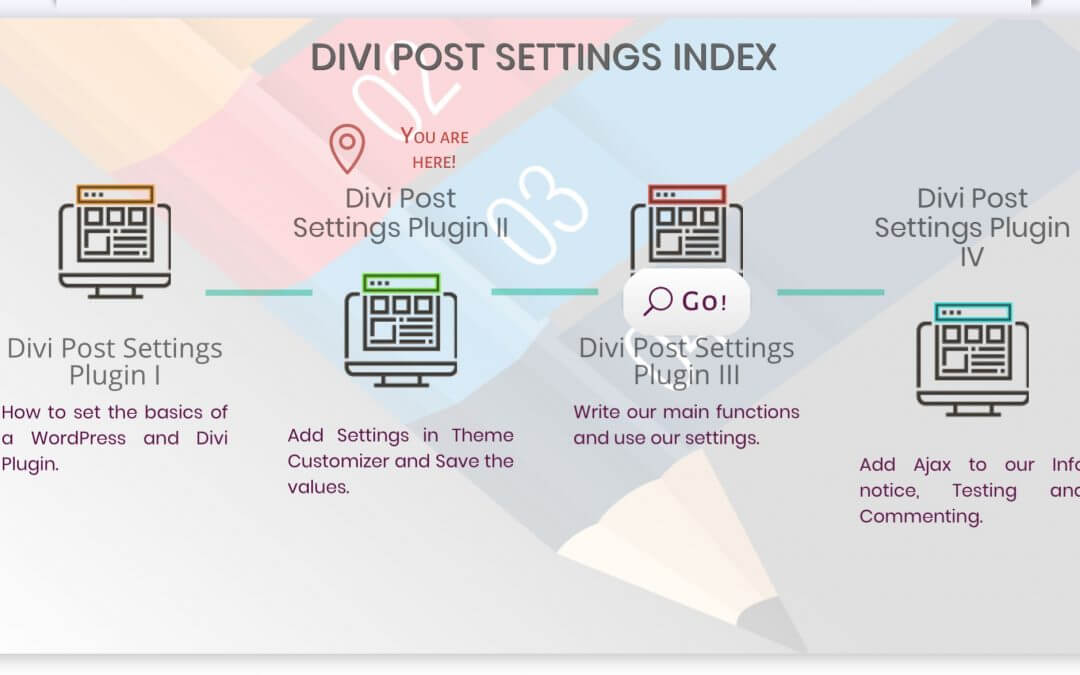
So, without too many words this is our final result as we applied to our Divi Post Settings Plugin Series.
DIVI POST SETTINGS INDEX
You are here!
You are here!
You are here!
You are here!
Divi Post Settings Plugin I
How to set the basics of a WordPress and Divi Plugin.
Divi Post Settings Plugin II
Add Settings in Theme Customizer and Save the values.
Divi Post Settings Plugin III
Write our main functions and use our settings.
Divi Post Settings Plugin I V
Add Ajax to our Info notice, Testing and Commenting.
As you can see it is a simple section with an image background and a lightgrey gradient overlay, then we have created a four-column Divi Row and we made it fullwidth.
Each column contains a Blurb module and a Button invisible one below that rises and take opacity to 1 when you hover on the column itself.
In column 2 and 4 we left blank the Blurb title, then we added instead a text module with the title above the blurb itself; so this way we get an alternating progress with the blurb image now higher up now lower.
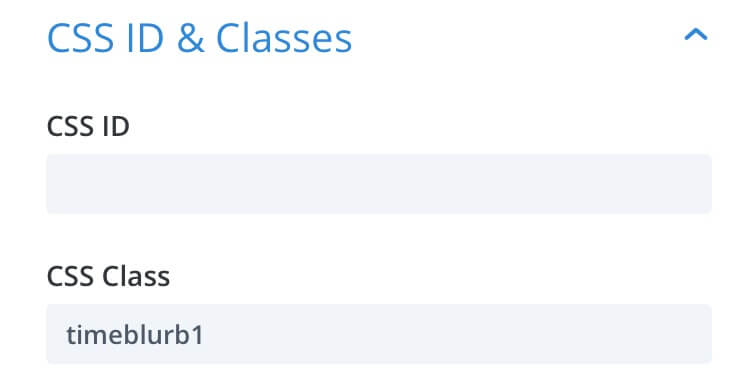
We added then a css timeline among the four Blurbs: so we added in the first three Blurbs the classes ‘timeblurb1’, ‘timeblurb2’ and ‘timeblurb3’.
We also differentiated the font color of the body and buttons. Finally we added a Row above the main one with the main title (a simpe text module with some text shadow) and as very final step we added another four-column Divi Row just above the main one (and just below the Title one) in which we put four identical blurbs with a left ‘Map Pin’ icon and a text on the right saying “You are here!”. We set the module opacity to 0 and we added as only different property to these blurbs different css classes: from left to right ‘index_pin_1’, ‘index_pin_2’, ‘index_pin_3’ and ‘index_pin_4’.
All done, the only thing we did before dive into the magic of css was add a different css id for each of the four blurb columns: ‘index_col_1’, ‘index_col_2’, ‘index_col_3’ and ‘index_col_4’. At the same time we also added four different classes to the four buttons (‘index_go_1’, ‘index_go_2’ and so on…) and doing this way we can now call the right button to appear when we hover on a certain column.
THE MAGIC OF CSS
Ok, now the only thing you have to do is download the Index Layout, modify it as you need (the titles and body copy, the images and whatever design element you want ) and then copy the following css in your Divi Theme Options -> Custom Css (or alternatively in the single Page Settings -> Advanced -> Custom Css if you need it only in a single page):
Well, now you are free to use the layout where you need adding in the single Page Settings -> Advanced -> Custom Css just this line of code in order to make the Map Pin appears above the right column (in our example the first one):
FINAL THOUGHTS
Done! Really pretty simple, is not? A simple layout with a touch of interactivity and a pretty nice and clean design in order to grab user attention without being too invasive. You can simply download it, get and use it!
Hope it can be useful. See you next post!
Cheers.


