
Hi everyone, today we are going to complete and finish our Divi Post Settings plugin series by submitting it to the WordPress repository.
So let’s get started!
The first thing to do is just re-open our readme.txt file and update it with a proper long description and an updated changelog, the section in which we track every change we make, every feature we add or bug we fix (remember this readme.txt part you will have to update every time you modify and update your plugin!).
So after this process finally we have a readme.txt file like this:
So we come to the focus of this post, we want to share our plugin as totally free and the best way to do it is without any doubt by submitting it to the WordPress repository ( we will see in the next tuesday post the alternatives you have in order to sell your plugin! ).
Basically the process is: you submit the zip file of your plugin, then you got an hosting url from WordPress, finally you upload your plugin in this space using SVN (Subversion). So we have two ways, the first one, more comfortable and easy is by using a thirdy part software like Versions, TortoiseSVN and others (we won’t talk about this however; is pretty much intuitive how to do this way), while the second one, totally free, is doing that by using the Terminal (on Mac) or the Command Prompt (CMD, on Windows).
But let’s take a step back first!
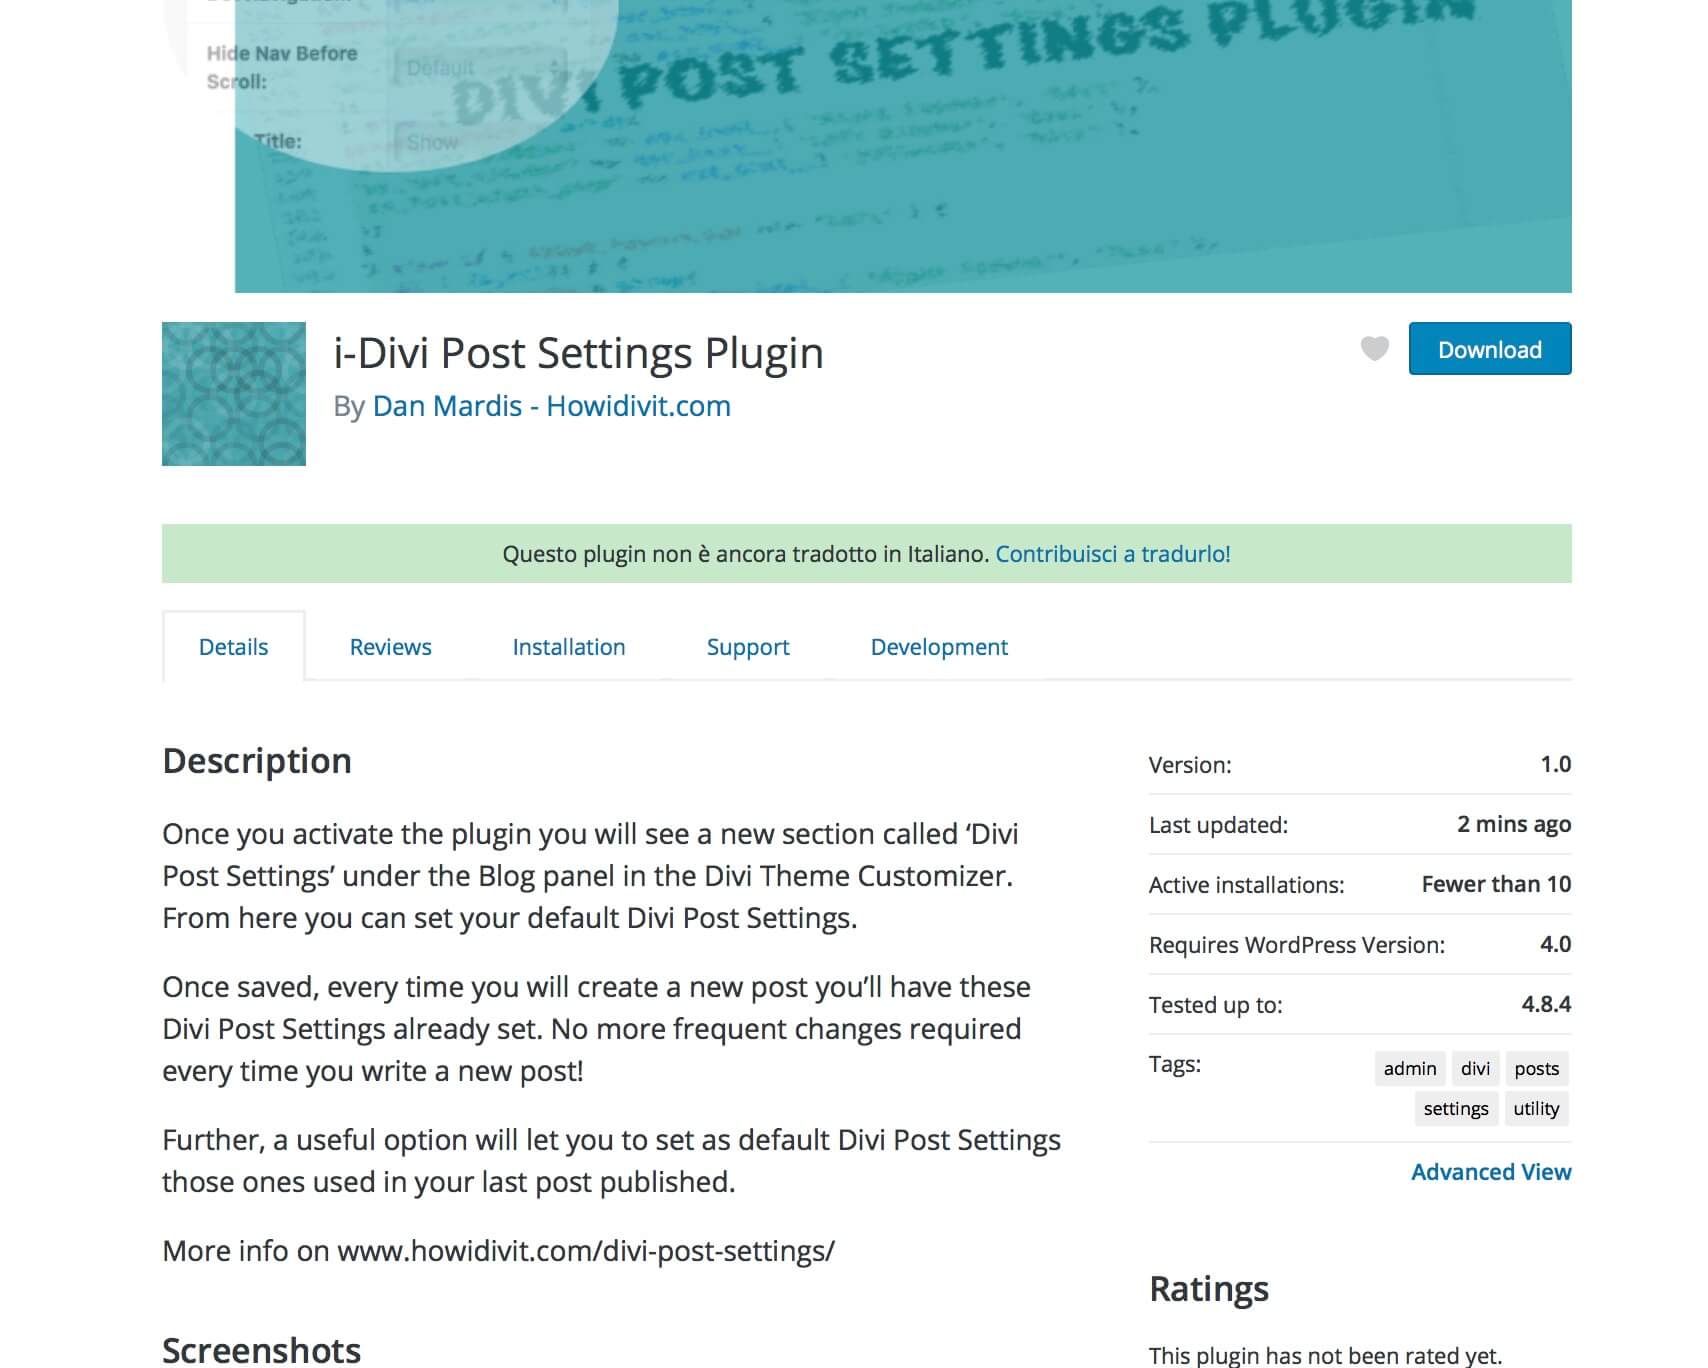
We want to start with the WordPress official reference: the Guidelines for submitting a plugin. Here you can find more detailed informations about it. However an important step in particular we care about: the name of your plugin.
Some restrictions, in fact, WordPress applies when dealing with the plugin name. In particular – this also apllies to our plugin – you can’t give your plugin a name that begins with a company or product name like Facebook, Google and others (see here for more informations). So in our case we can’t simply call it “Divi Post Settings” ’cause Divi is a product by Elegant Themes.
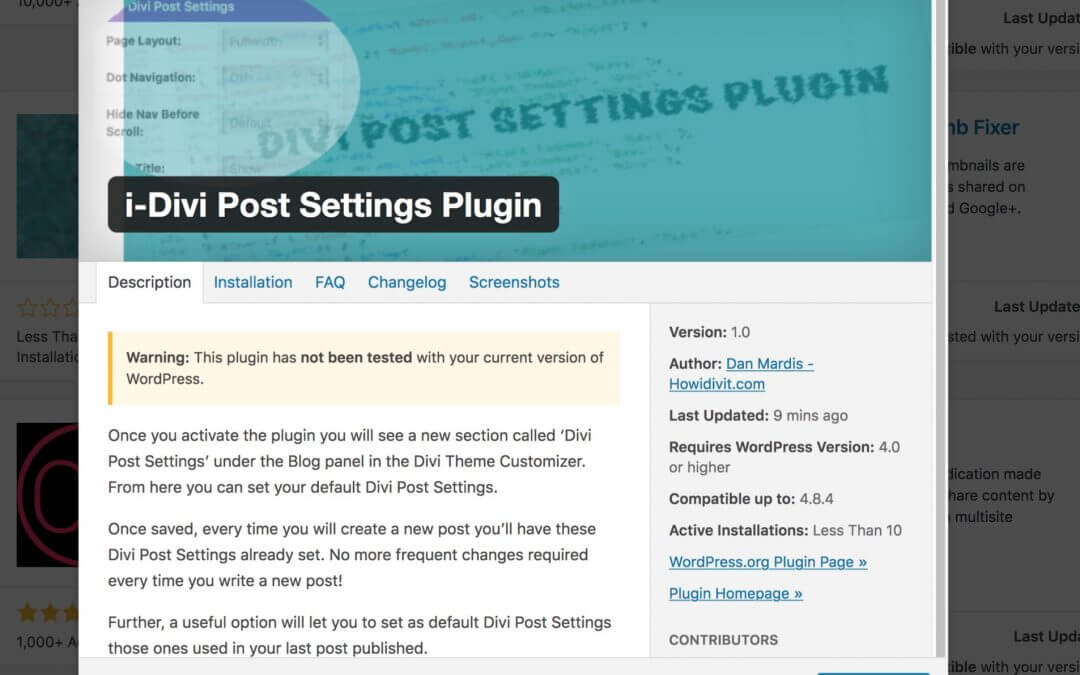
So we change it to “i-Divi Post Settings” (but could we also call it “Default Divi Post Settings” or still differently). You have, indeed, to take care about your plugin name; it will be your repository URL once your plugin will be approved (you can, instead, change the name that appears in the directory as many times as you want!)
Ok, so we have our code ready to be submitted. We just have to go to WordPress.org and login (or sign up if you didn’t) and move to the Add Plugin page.
Here you can select the zip file of your plugin and click the Upload blue button.
The first part – and also the easier one – for having your plugin on WordPress directory is done. You should have received an email from WordPress and now you just have to wait that the WordPress team examines and approves your plugin.
Usually, as WordPress itself says, the examination and approval will not take more than 5 days; however it depends from the complexity of the plugin and for the smaller ones it is not uncommon to see own plugin approved in just one day or also few ours (in our case we submitted it on sunday – yes, sunday! – morning and we got first response already in the afternoon! ).
The WordPress Plugins Review team is very efficient and take care of different aspects. They don’t test only if your plugin works, but they also check if it complies with the WordPress plugin writing guidelines.
Usually, if your plugin is well-written and you have properly tested it before to going to submit it, you shouldn’t have any problem; however could happen that your code doesn’t complies the guidelines in some respects, and with a little wonder is just what happened to us.
As we said, few hours later from our plugin submission we received another mail in which the examinator pointed out a little problem. The question in our case was the use of the ‘if exists’ function wrapping around our main function ‘et_single_settings_meta_box’ (did you remember our Divi Post Settings plugin Series?).
The use of this function, indeed, is not recommended by WordPress because it could conflict with other Themes or Plugins that have a function with the same name and that loading first could break your plugin at all.
A little problem for them, not so little one, instead, for us. If you remember our plugin creation, in fact, we did this way and we used this ‘et_single_settings_meta_box’ function just for replace the original Divi one. So our plugin need to redeclare the same function that Divi theme has already in its functions.php and we need the ‘if exists’ just for not encountering a “Cannot redeclare function” fatal error.
What to do then if it is what happen to you? Simple! Just reply to the email we received explaining the problem and the situation. On the other side, in fact, there is not a machine but people – very good people! – who can understand the particular situation or help you solve it. Sometimes you could just explain the context and it will be ok.
In our case, however, we had an alternative way – as also suggested by the WordPress team itself – in order to avoid the use of the ‘if exists’ function and so we dive again into the code and modify it in order to do it (we will see in detail the code changes in a future post; essentially we had to remove the original theme metabox and rewrite a new custom metabox function, changing so the function names and avoiding so to redeclare the function in question).
Once we fixed the issue we reply to the email attaching the link (if you’re using Gmail and your plugin has some js file in fact you can’t attach it directly 🙁 ) to the new zip plugin file.
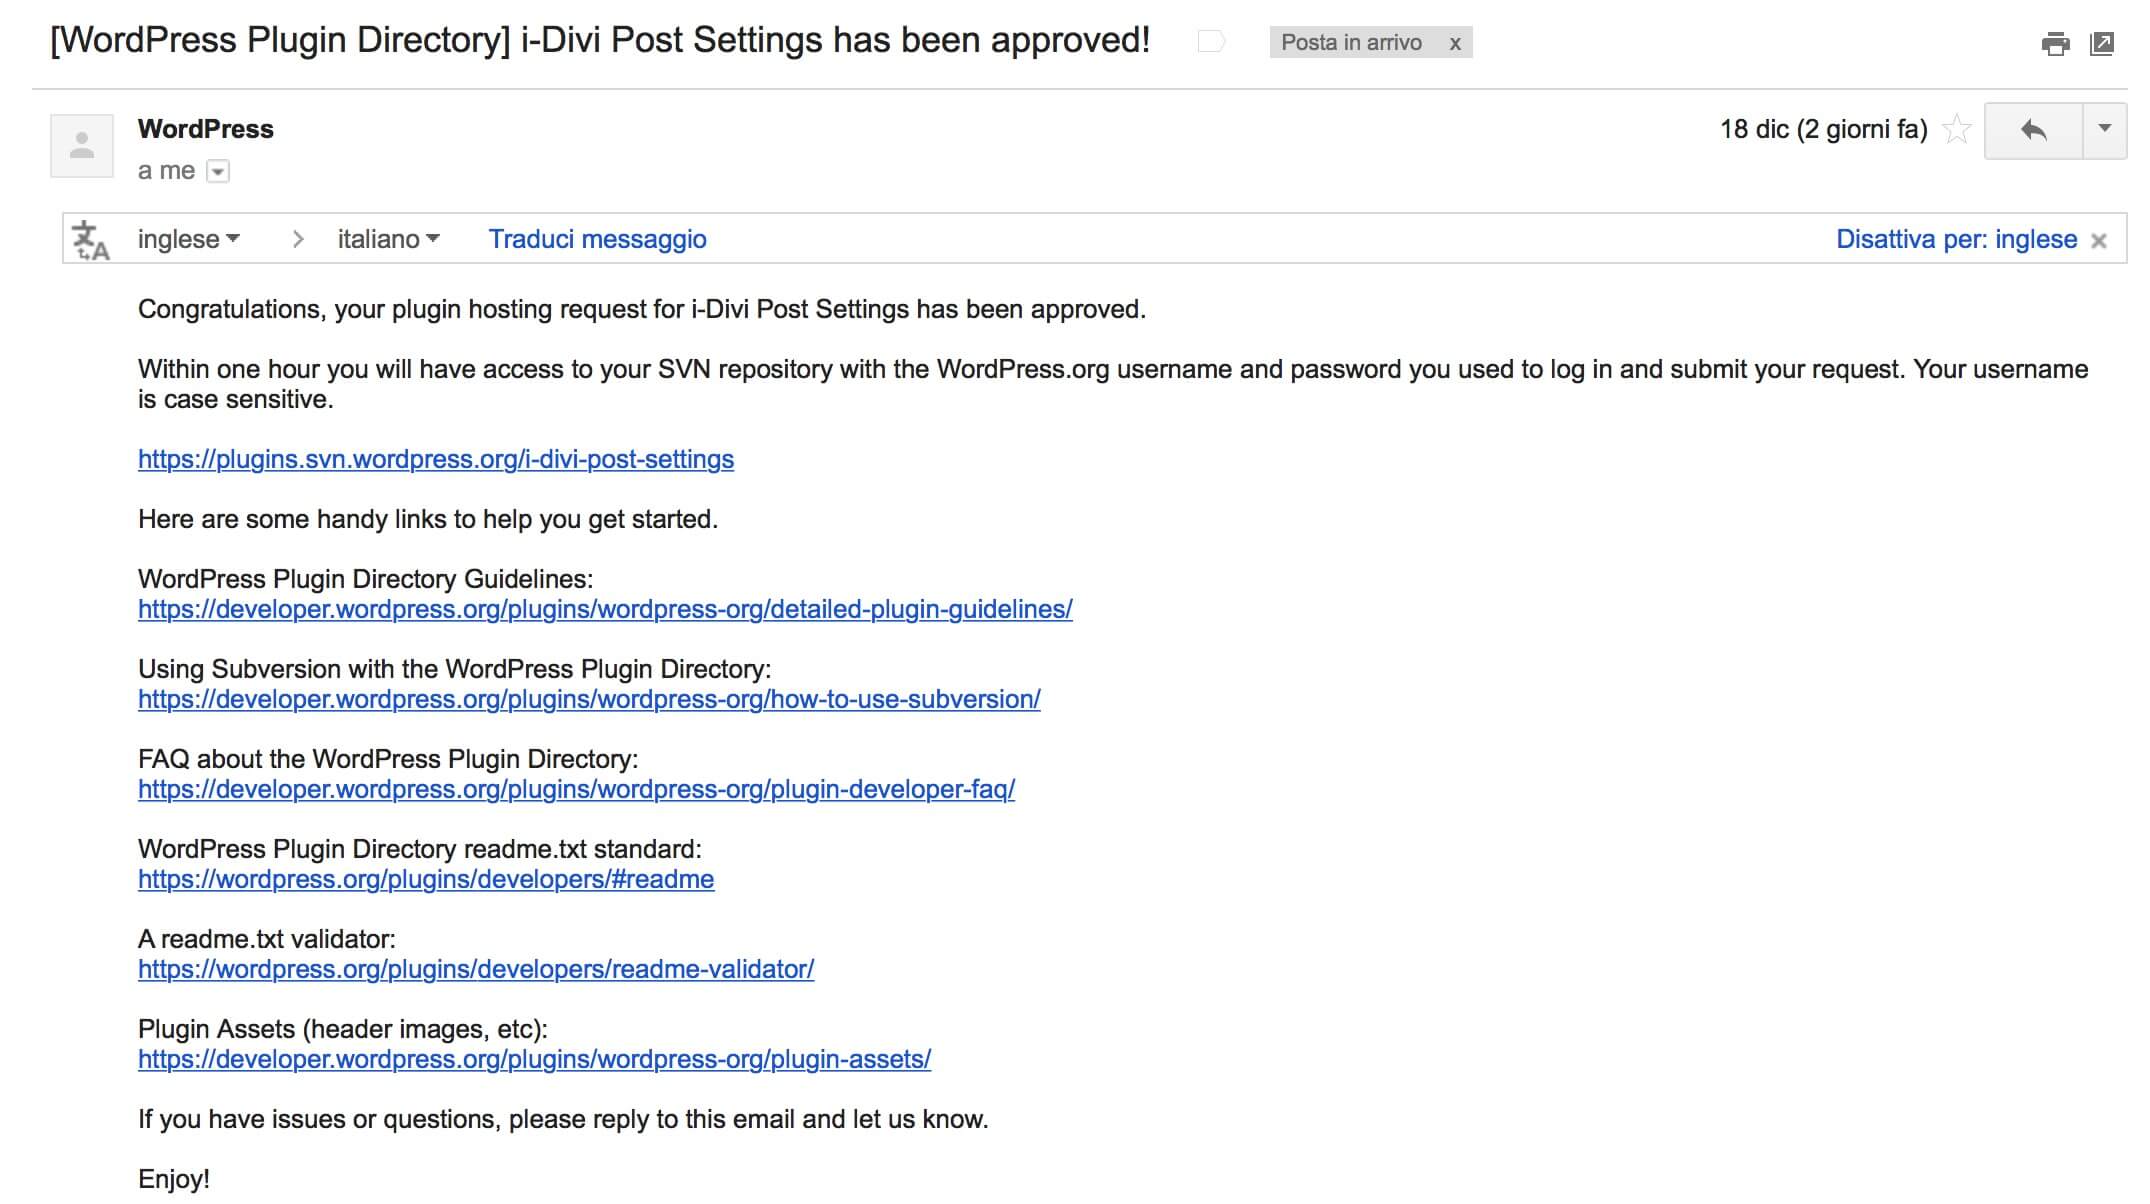
The day after we finally received a positive response and the url for hosting our plugin in a new mail that looks like the following.
Ok, so we have our code ready to be uploaded in the url space that WordPress has made available to us. In order to do it – as we said at the beginning of the post – we have to get our hands dirty with some pure code.
As we said, WordPress till now uses SVN for committing the plugin files in the repository (see here for the WordPress documentation). We are on Mac, so we will use the Terminal but if you are on Windows you can work the same way with your command prompt.
Basically we have to follow these 3 steps:
1) Checkout the pre-built repository WordPress has provided us;
2) Add the files in the local directory of your computer you previously created and chose;
3) Check in the changes to the central WordPress repository.
It could sound like very complicated without a software graphic interface; we will see in a moment, instead, how simple it is!
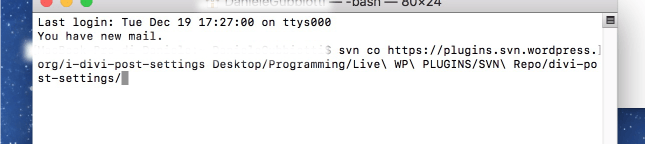
STEP 1
We open the Terminal and write the following command line:
STEP 2
Is the easiest step you have to do, simply copy and paste your plugin files into the ‘trunk’ of your local directory (remember your assets images go instead in the ‘assets’ directory!).
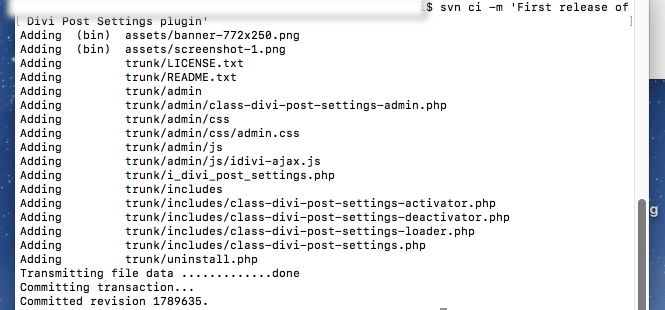
STEP 3
Is the final step but you have to divide it in two parts. First of all you have to make subversion know you want to add the files you added in the step 2; in order to do that you have to write the following command(one command for every folder you changed, so in our case we run also a ‘svn add assets/*’ command):
All done. How could you see the coding part is not really as complicated as it might seem. You don’t need a software or too much confidence with the Terminal. You just need a bit of patience helping you when needed with the WordPress Svn Guide itself and googling if you have to understand some Terminal commands.
Our plugin is now listed in WordPress directory and you can find it from the dashboard or from the WordPress.org page. Feel free to download it if you need it and comment!
See you next post!


Works like a charm! this is a very useful tool!! Thanks a lot!
Hi Sander, i’m glad it could be useful 😉