
Hi everyone, today we continue on the Blog page topic; in the last series post we have seen how to style a two-columns layout and other minor styles, then we mentioned that the next step would be to add lazy loading to our blog module. However, we thought to postpone it to give space to another and more widespread way to load only a few posts at a time, the Pagination. Divi Blog Module already owns a standard pagination that looks (if activated) like this:

However you can easily customize the graphic of the pagination thanks to the WP-PageNavi plugin that is already integrated and fully compatible with Divi. Let’s see how we did!
INSTALL WP-PAGENAVI
First of all, it is pretty obvious, we need to install the plugin WP-PageNavi by Lester ‘GaMerZ’ Chan. You can just go to Add Plugin in your dashboard and do it in a few clicks. Once activated it will look like this:
It is already a nice and clean pagination but we want to get something less anonymous. So you can go in the Settings -> PageNavi and change how the default pagination looks. In our case we just modify a little the Text for Number of Pages.
THE MAGIC OF CSS
That’s ok, now all we have to do is just add the following css in Divi Theme Options -> General -> Custom Css:
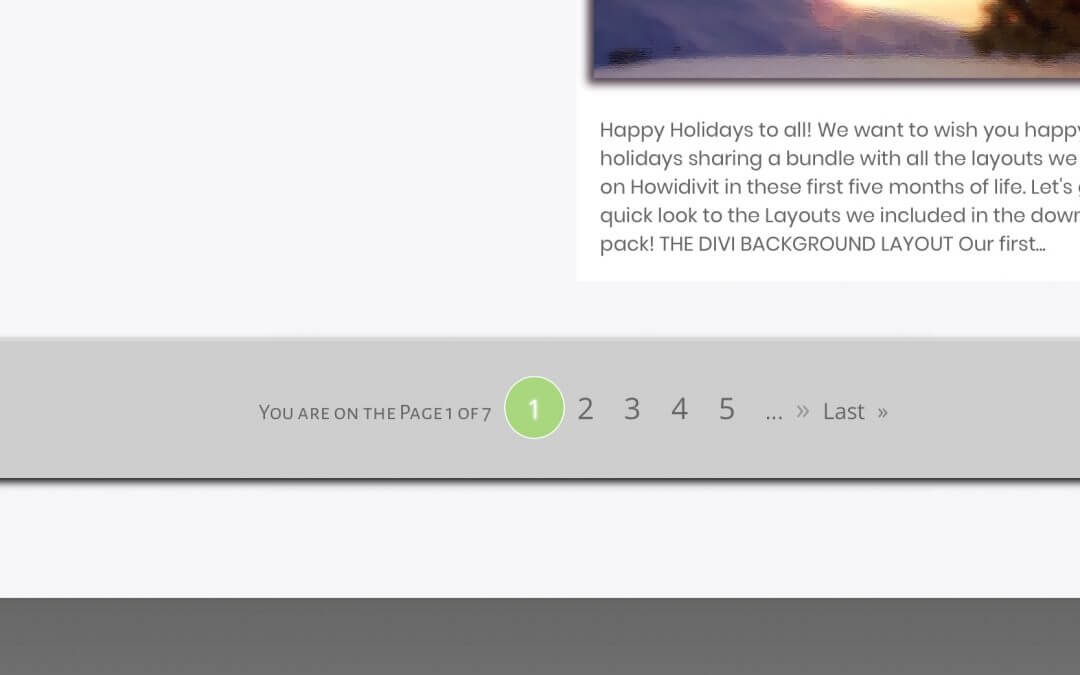
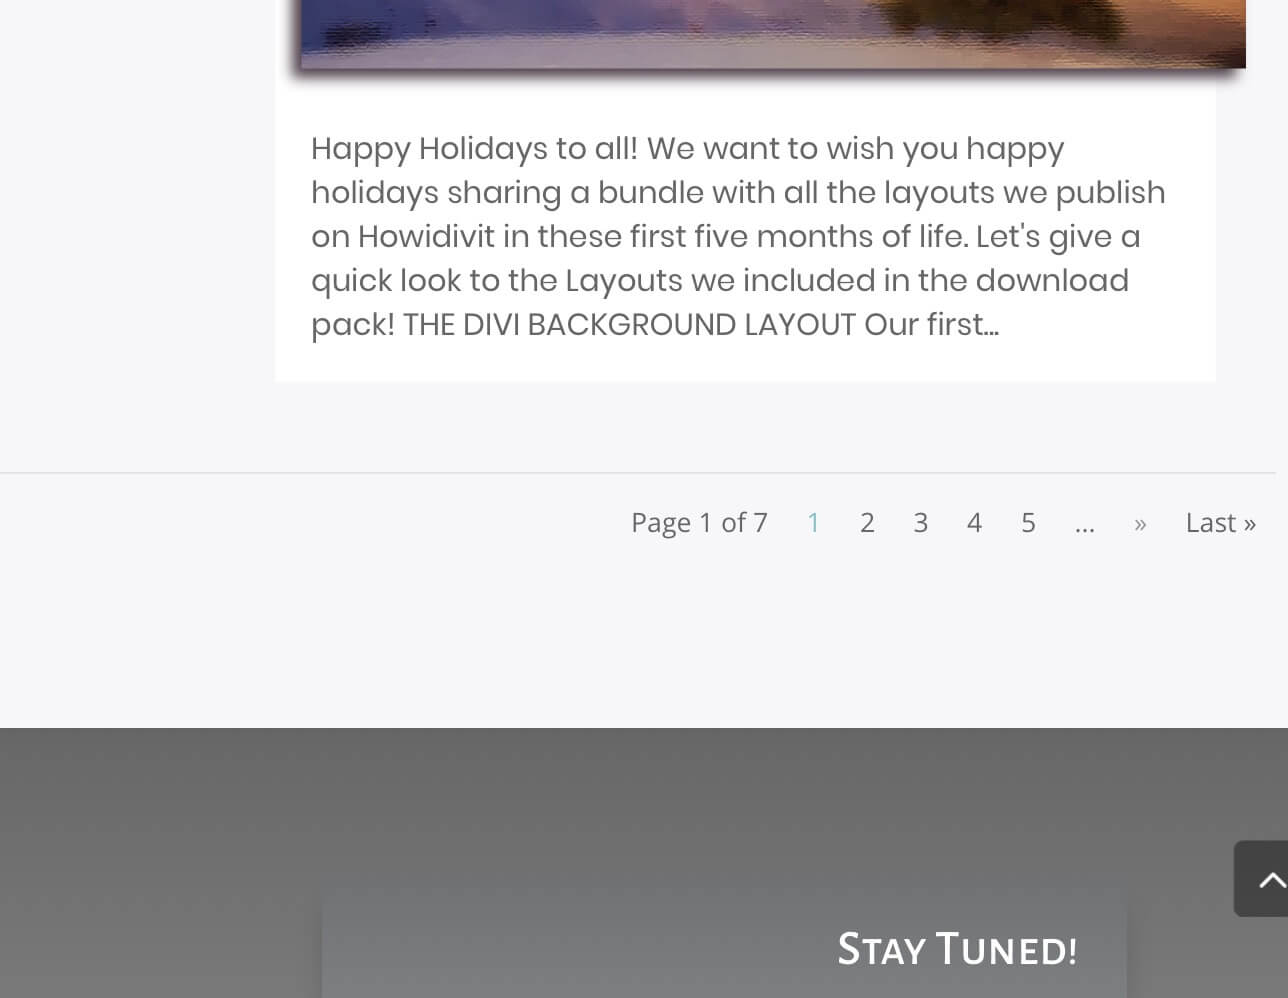
So, first we create a box with a light shadow, we centered the text and change a little the font family and size of some parts of it and we add some margin between one page number and another; finally we style with a circular green background the current page and we add a nice effect that recreate the same background on hovering the other page numbers with .5 opacity.
A LITTLE jQUERY TRICK
As final touch we want to add an animation on the ‘>>’ character on right of the ‘Last’ element (and also on the ‘<<‘ one on the left of ‘First’). We can’t do it with only css cause WP-PageNavi create an html structure with the same element for the word ‘Last’ and the sign we are interested in. So a little of jQuery comes to help us. Without deeping in too details we simply create a function that searches for the character we are looking for and adds a element aorund it with a specific css class named as we want (in our case we call ‘moveToRight’ the function as well as the class).
Now we have just to customize this css class as we want. So we create a simple animation and we apply this one to our ‘moveToRight’ class.
Note: Remember you have to set the ‘display’ property to ‘inline-block’ or ‘block’ in order to work with transforming properties; these ones, in fact, don’t work with inline html elements like the <span> ones!
IN THE NEXT POST
Now our Blog page has a nice bar with the pagination just below the last post. We will see in the next tuesday post (the final bonus one) how to further improve the lazy loading of the posts on our page. Cheers!


