
We want to complete our Divi Blog Series with a Bonus post in which we re-style completely our Blog Page; we will move our first section (the Strange ‘Timeblurb’ one) to the Homepage, add a little skew background similar to the Elegant Themes Blog one and, overall, we will add ajax post loading thanks to a great WordPress plugin like Ajax Load More.
So let’s get started!
1 – MOVE THE ‘TIMEBLURB’ SECTION
First of all, we want to make more readable our Blog Page; so just the posts and from the top of the page! We enter in our Blog Page visual builder, we save the ‘Timeblurb’ section in our Divi Library…
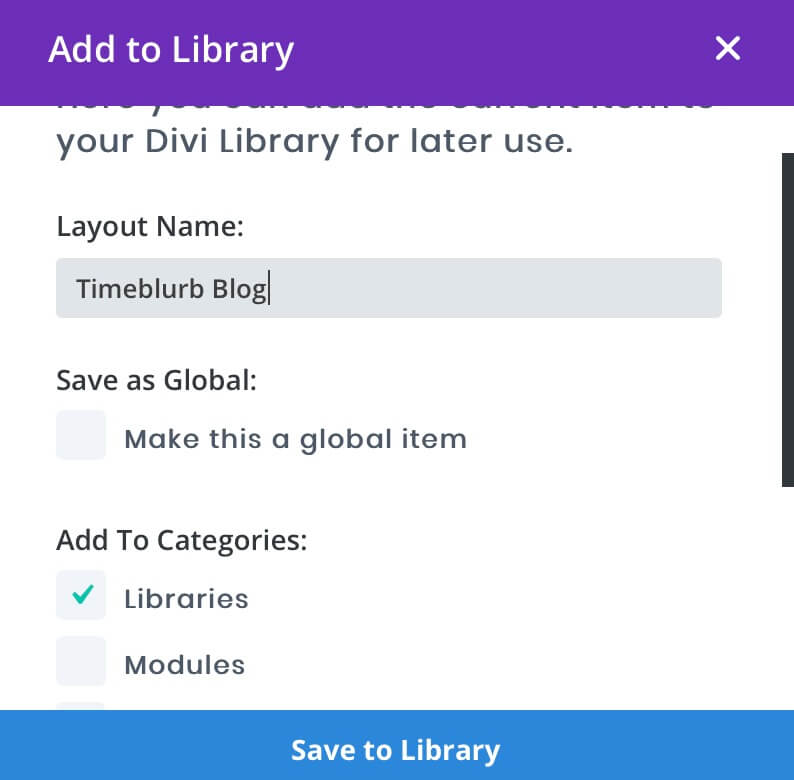
And we import it then in our Blog Page (just below our Featured post). Obviously, in order to make it works we also copy and paste all our relative Css code that we wrote in our Page Settings. All done!
2 – AJAX LOAD MORE (POSTS)
Ok, howewer just 8 posts blog grid with our pagination seem to us a little easy layout and overall we don’t want a standard pagination; we want something easier for navigating trough all our older posts.
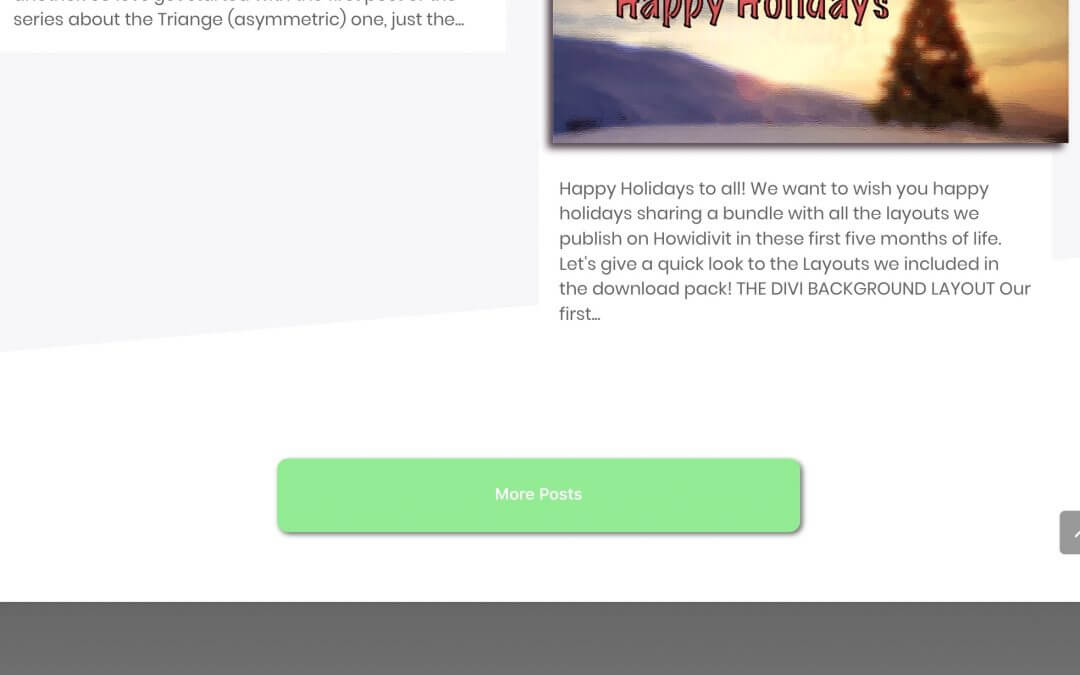
So the solution is Ajax loading with a first (12-posts) blog grid always visible (and styled as we did in our previous post) and a ‘More Posts’ button below to loading via Ajax our older posts.
This is a complex process and we will show how to do it by ourselves in a future post, but for our Blog Page we take advantage of a great (free) WordPress plugin as Ajax Load More.
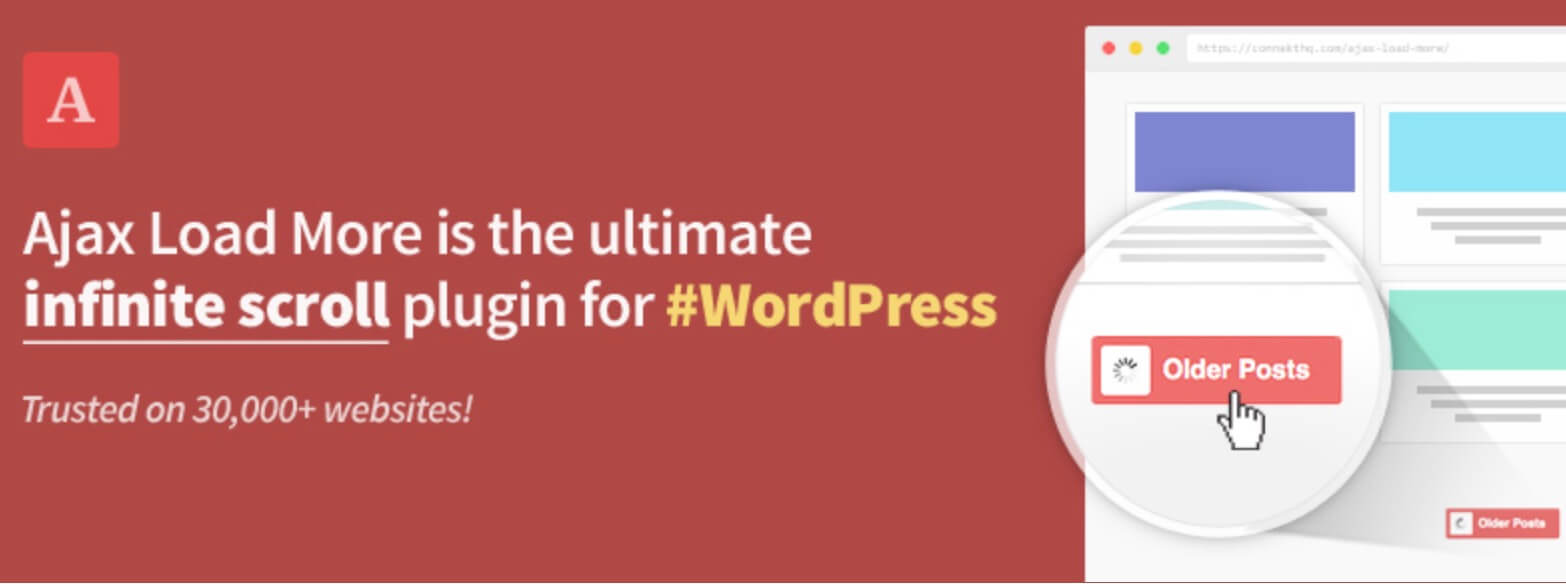
It’s a very well structured plugin that let you create your Infinite Scroll or Ajax Load More button with a lot of free options and customizations, wrapping all in a shortcode automatically generated and ready to be copied where you want.
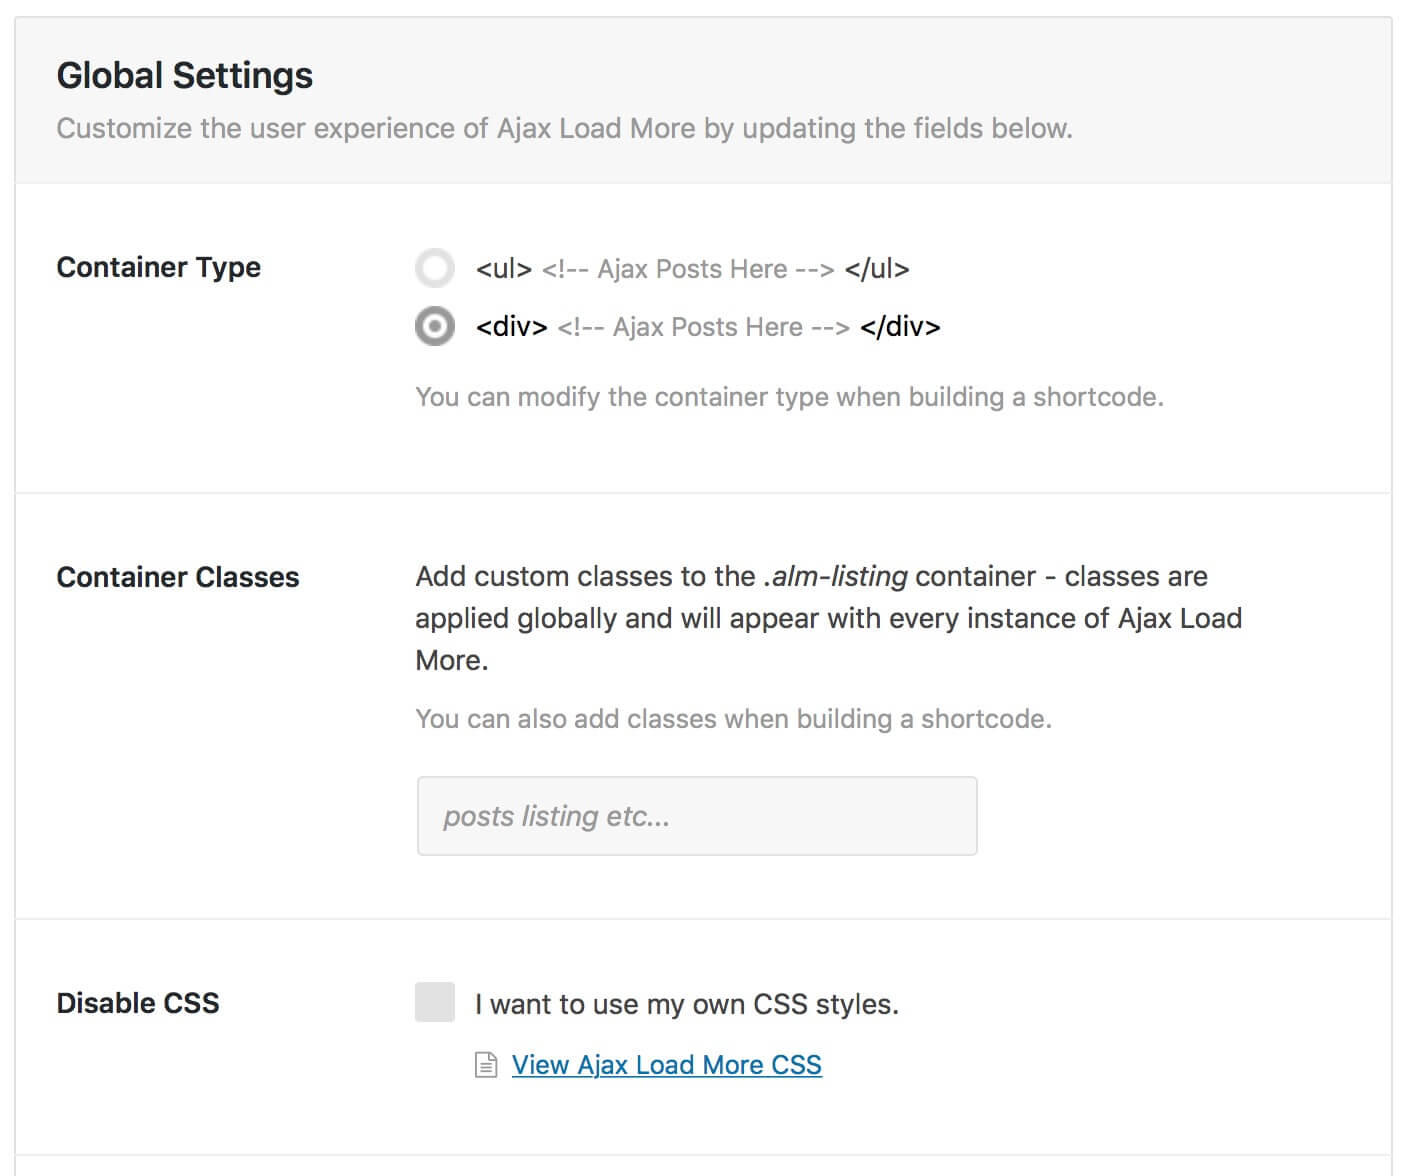
Once installed and activate the plugin we go in the Settings -> Global Settings and we start building our shortcode in this way:
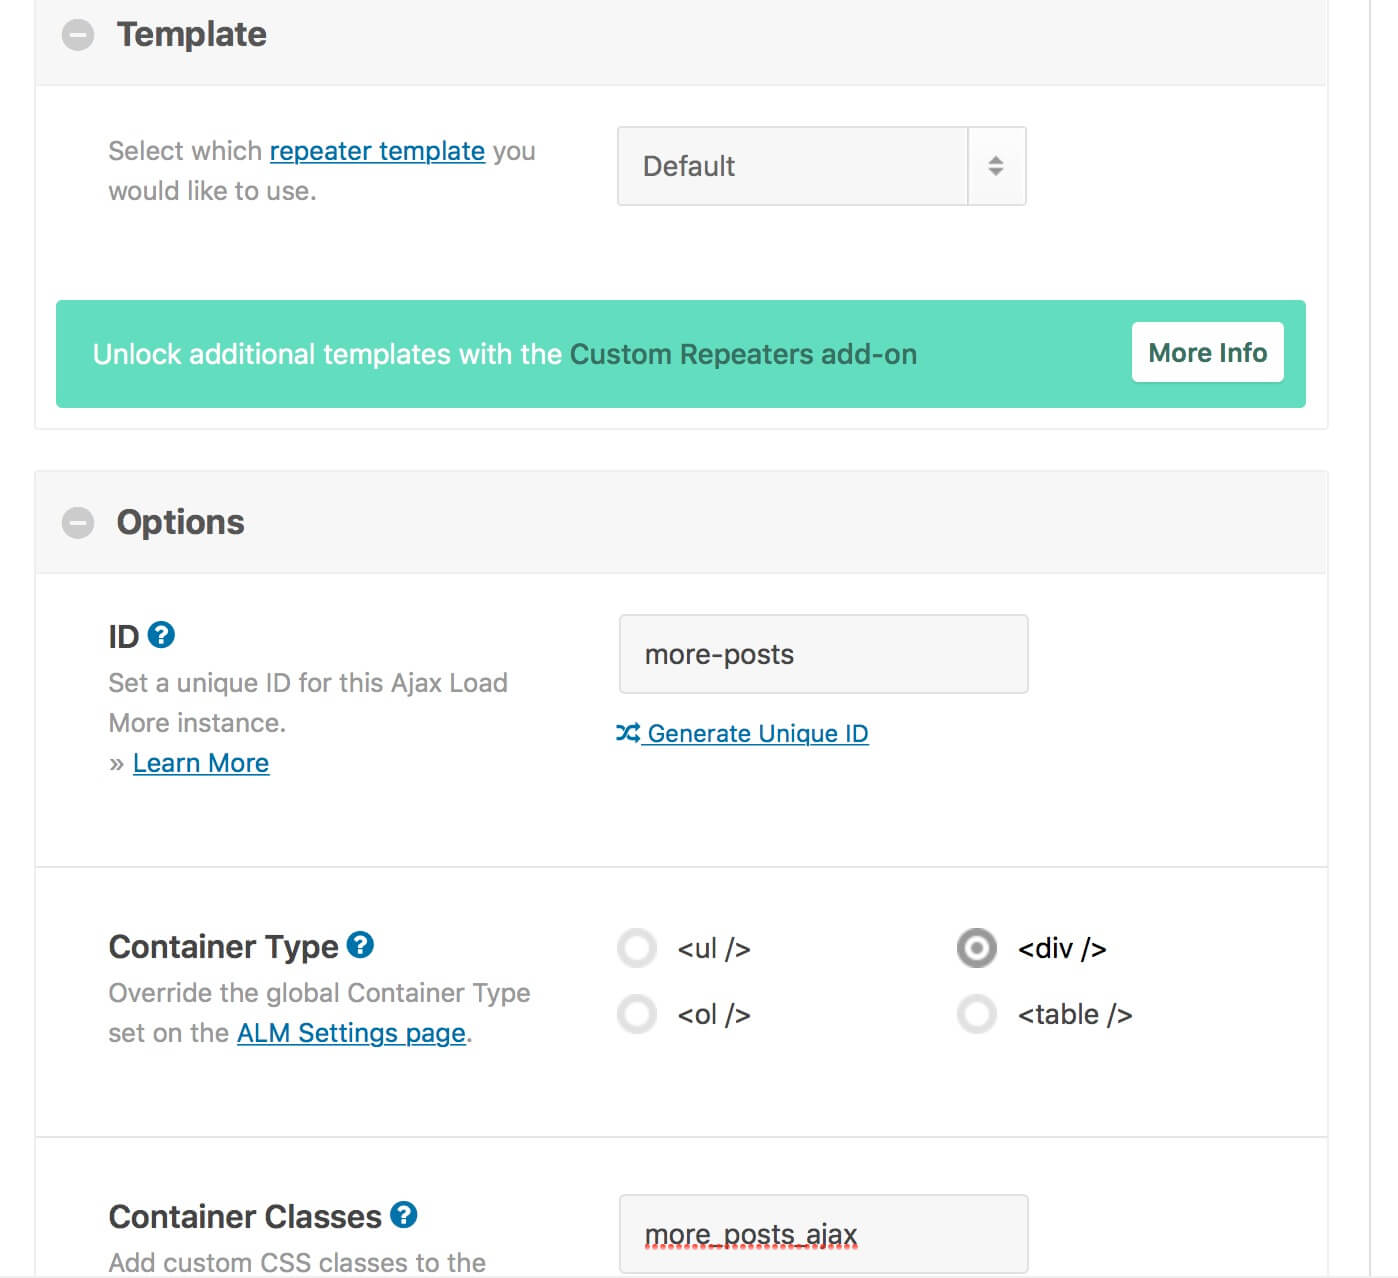
1) select <div> type for the container
Here you can create the content that will be used within the module.
2) choose the button style
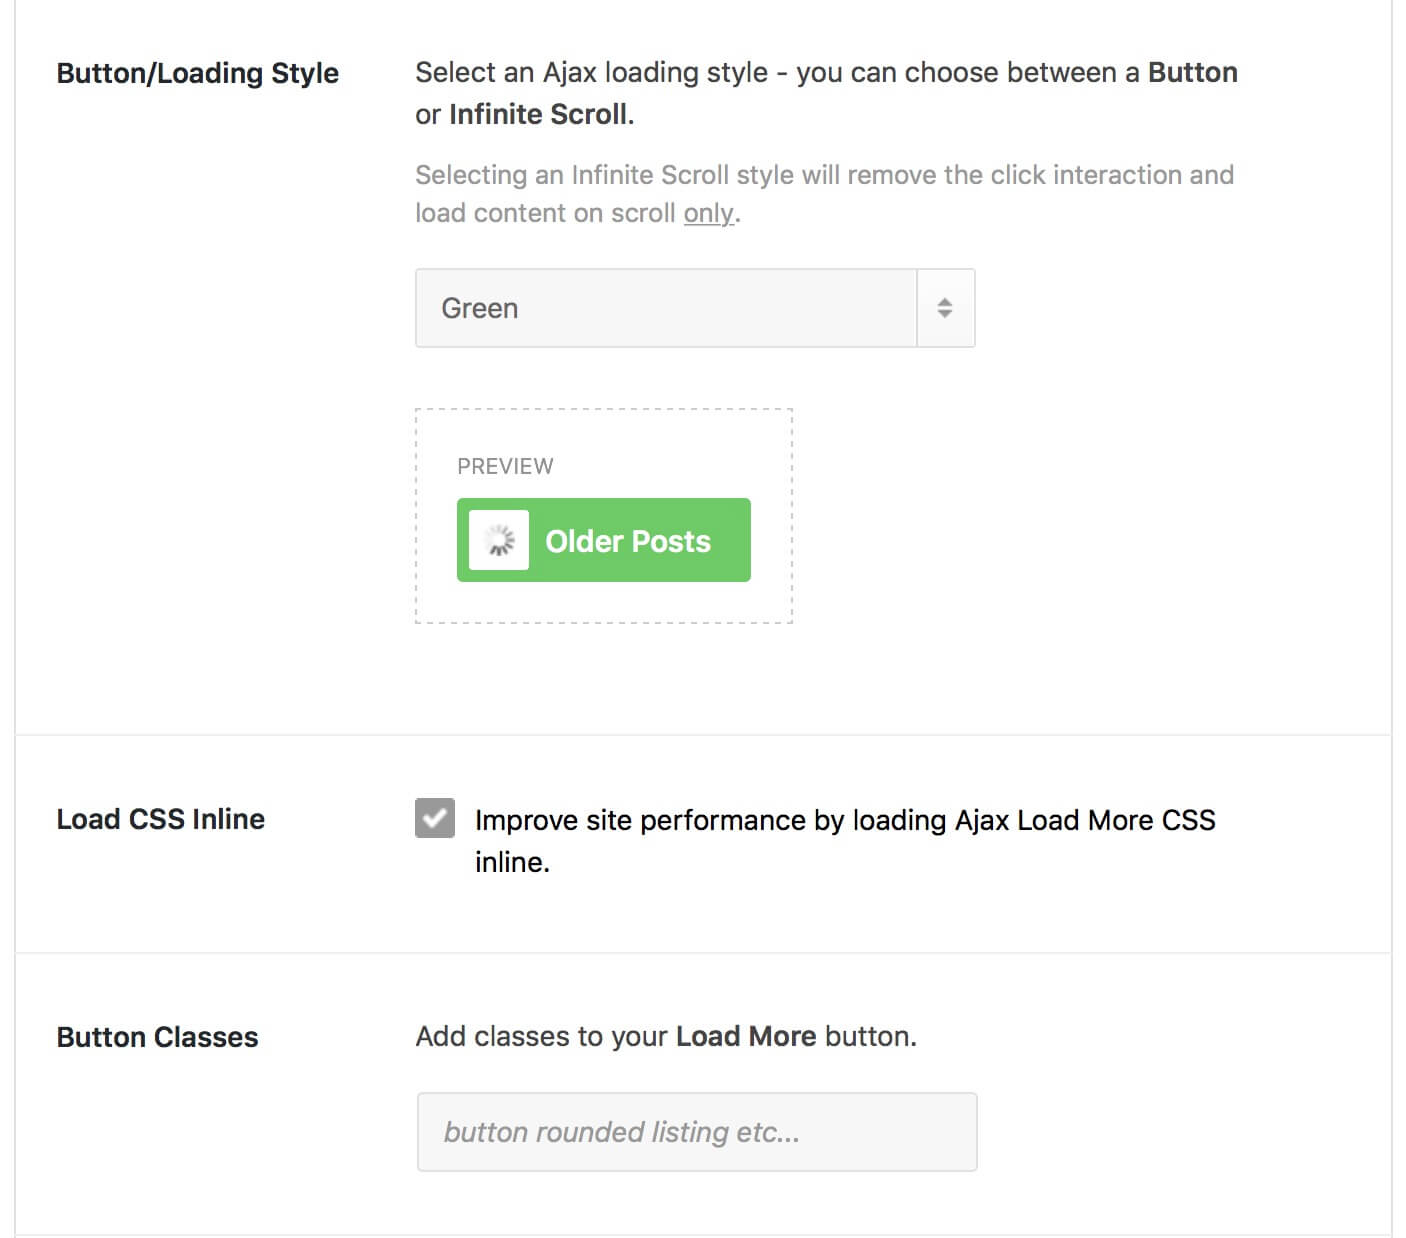
Then we pass to the Shortcode Builder menu and we set our options:
3) add Id and Class to the container
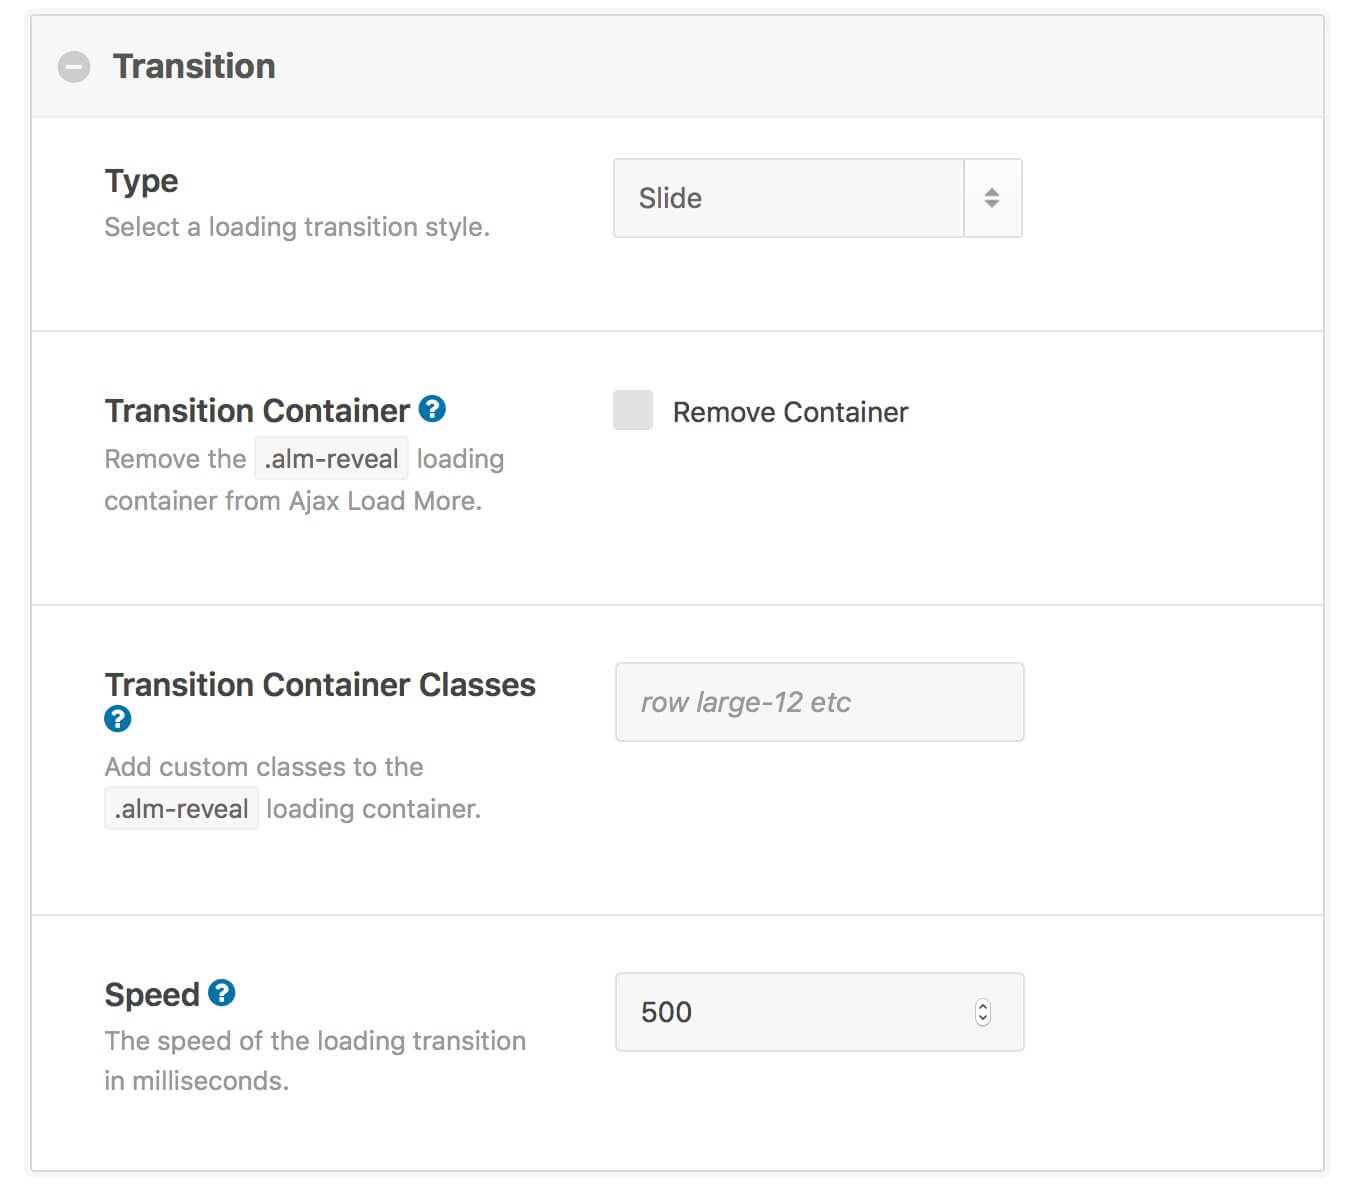
5) select transition type and transition speed
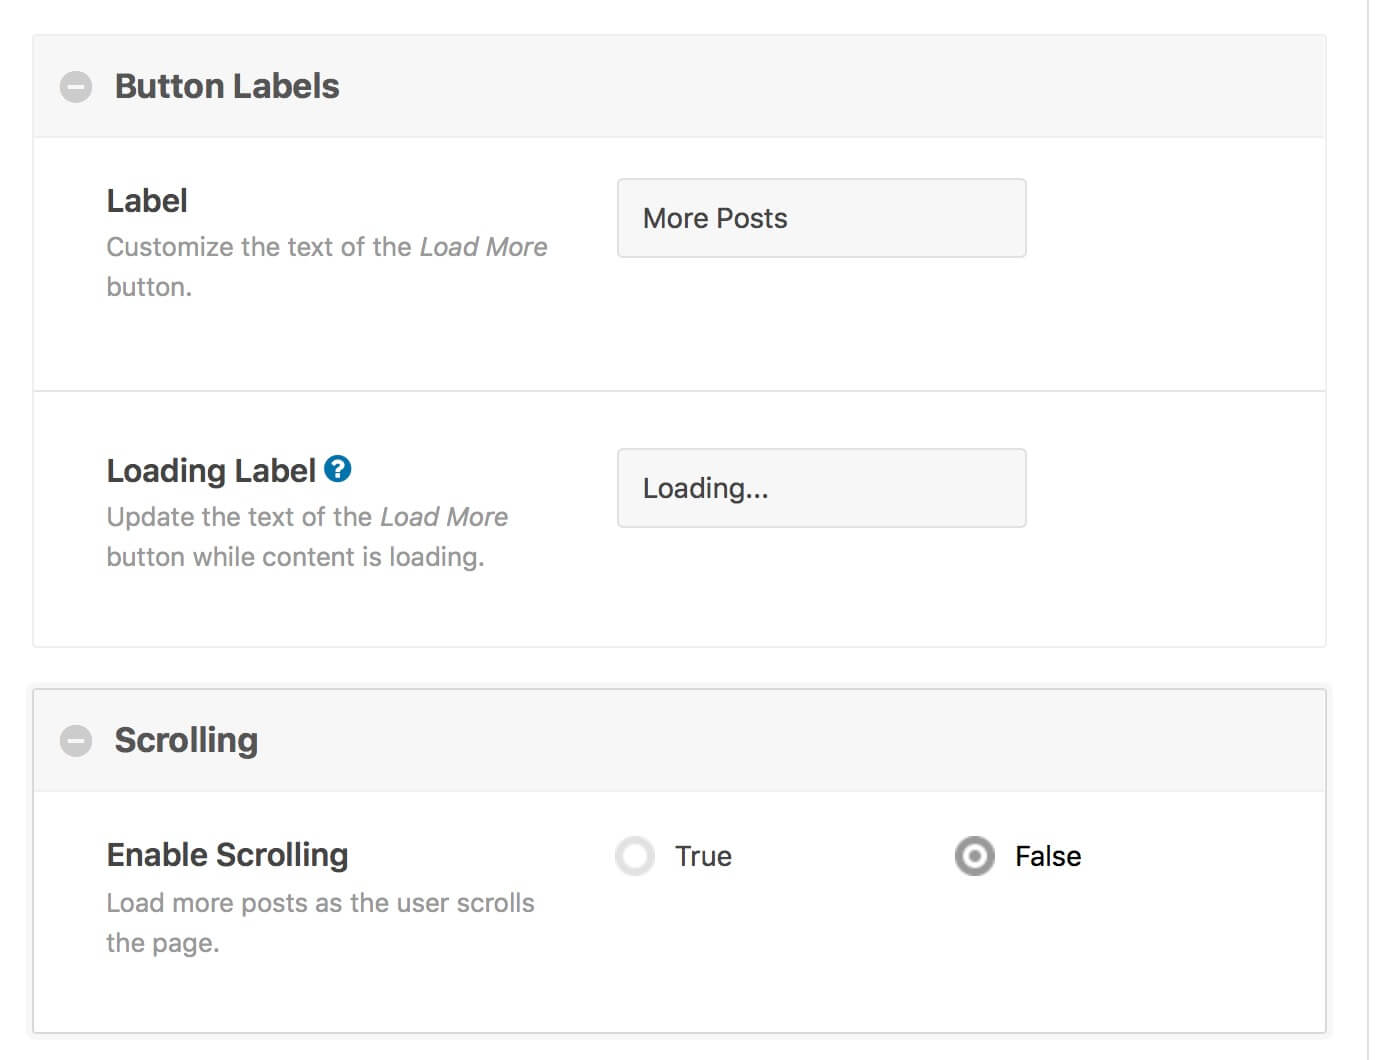
4) change the button label and the loading one, disable the scrolling
6) select posts per page and post type
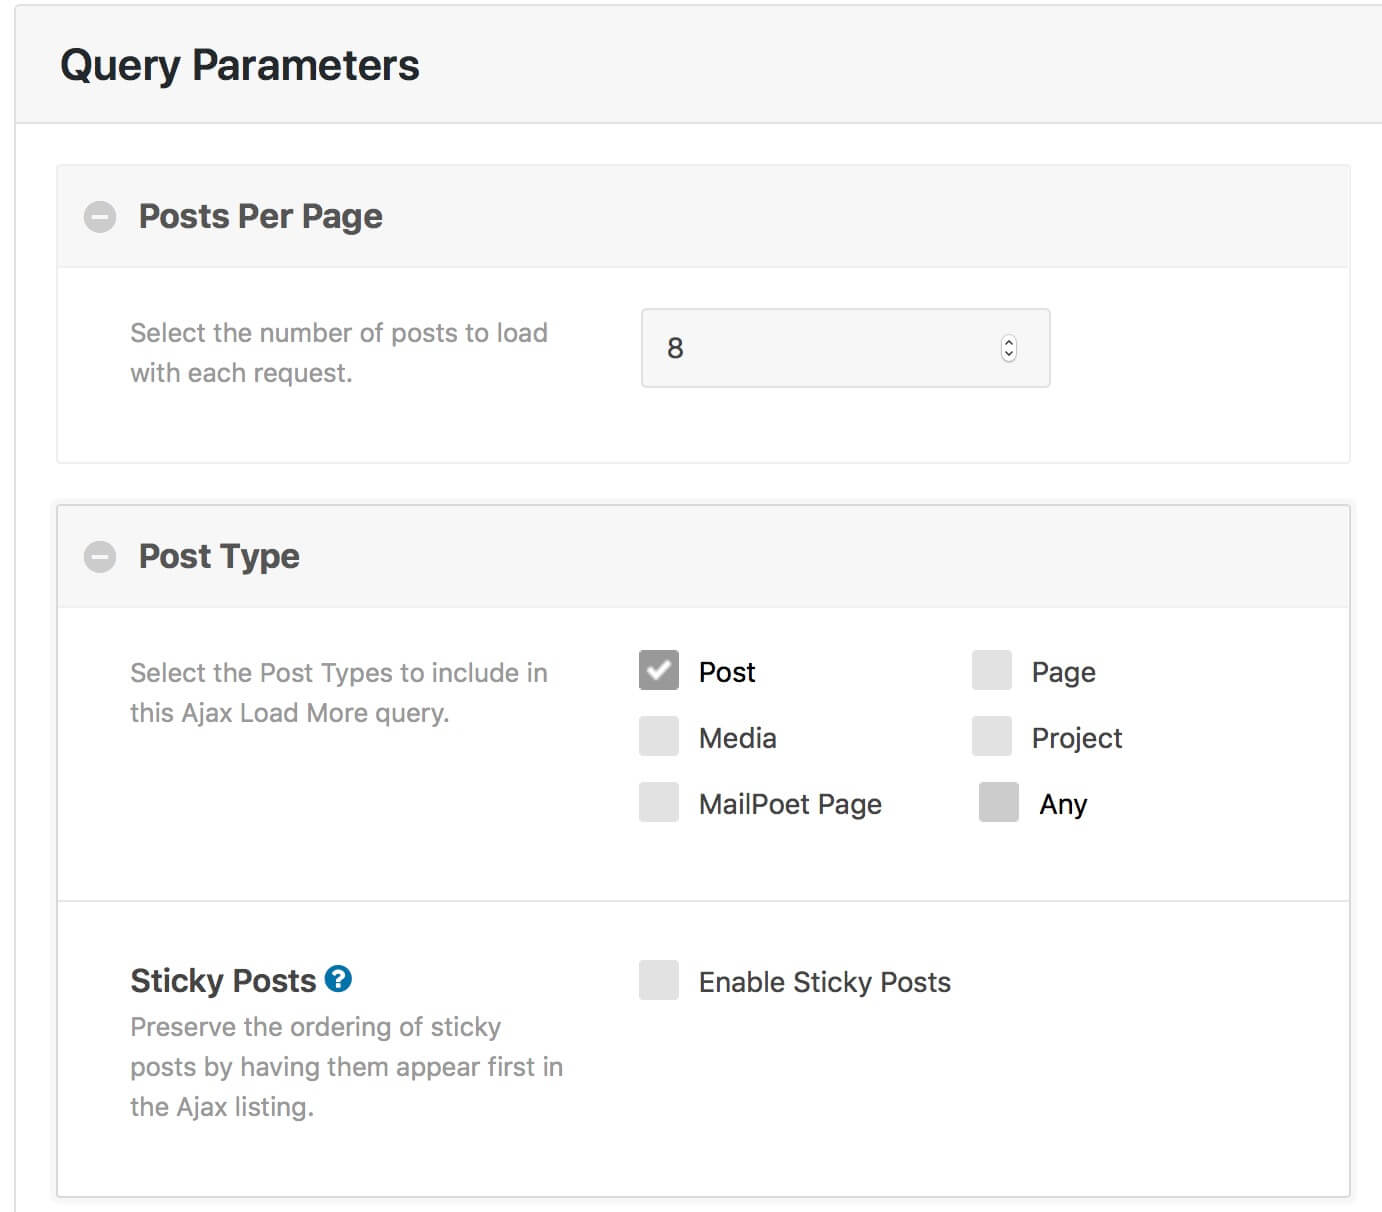
Finally we also set ‘true’ to the ‘Pause’ option so that will appear just the More Posts button at the begin. Now we get a shortcode output on the right like this:

All we have to do is copy and paste it in a Divi Code module on our Blog Page just below our Divi Blog section.
3 – FINAL CUSTOMIZATIONS
Most of the work is done, but not all. Ajax Load More, in fact, will use a default template to show your posts with a small thumbnail on the left, the title, the post meta and the excerpt on the right, something like the following:
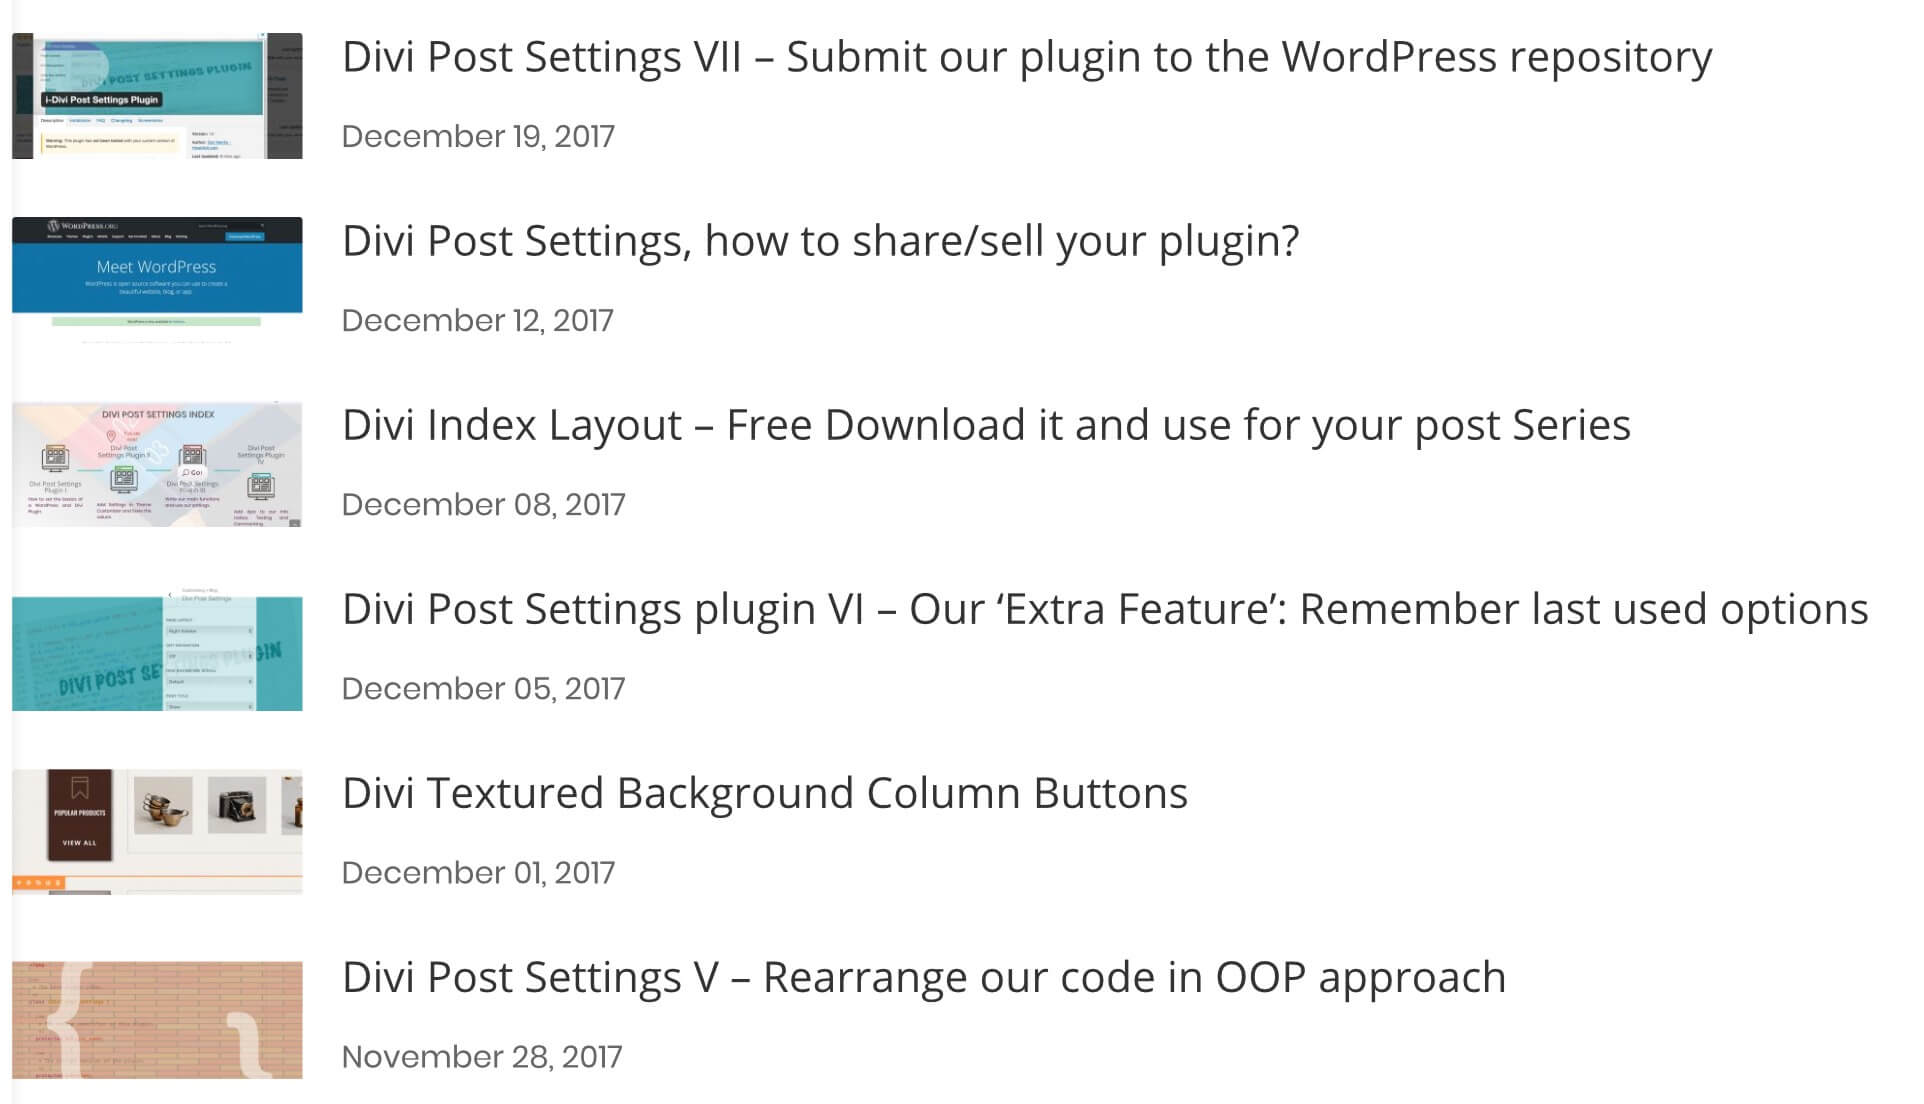
The great thing is that Ajax Load More let you write your own loop with your custom structure; in order to do it you just have to go to Settings -> Repeater Templates and modify the default one. So delete the excerpt, change the thumbnail size, link it with the post url and place title and meta before the post image.
We are really near to our final result. Now we just have to add some css in order to center the image, change the width and height, add a ‘label’ background to the post meta and customize our More Posts button. So we add the following css in our Page Settings -> Advanced -> Custom Css.
FINAL TOUCH: SKEWING THE BACKGROUND AND CUSTOMIZE THE MORE POSTS BUTTON
As very final touch we add a skewing effect with a diagonal line to our Blog Section and to our Code one (For this step we refer to the Elegant Themes Blog style); you just have to copy the following css in the ‘before’ box in Advanced -> Custom Css.
Then we want to customize a little our ‘More Posts’ button and add an animation to it taking advantage of our Waypoints jQuery code. So first of all we add the Css ID ‘more-reveal’ to the container of the button; then we add in Divi Theme Options -> General -> Custom Css the following css code:
Now as usual we go to Divi Theme Options -> Integration and we add in ourthe jQuery code in order to apply the ‘more-reveal’ class when the user scrolls till the 60% of the ‘#more-reveal’ container:
3 – FINAL THOUGHTS
All done! Now we have a cleaner and more readable Blog Page and overall our older posts are loaded in background only when needed, only when someone clicks on More Posts button.
Hope it can be useful.
See You next post!


I tried, but only got a ‘load more’ button, showing no posts. Now, i noticed the ID – shouldn’t you do someting with it?
Hi Maarten, the ID and the css Class are useful just for styling the container that will be created and filled with your posts… the post type and the number of posts can be selected in the plugin settings as you can see above… are you sure you have properly selected them and copied then the shortcode in a Divi code module of your page?