
Today we will see how we styled Divi Menus on Howidivit.
Let’s get started!
Your content goes here. Edit or remove this text inline or in the module Content settings. You can also style every aspect of this content in the module Design settings and even apply custom CSS to this text in the module Advanced settings.
First of all let’s begin saying that we used the plural form ‘Divi Menus’ not by chance. On Howidivit we have, in fact, a vertical (left aligned) header through all the pages. However while we have enough space on the Homepage, we have very little space in the Blog page and in the single pages of the posts cause here we have our Side Ads system.
So, what we need is a vertical menu for our Homepage, but a fixed top menu on all the other pages. Let’s start from the first one.
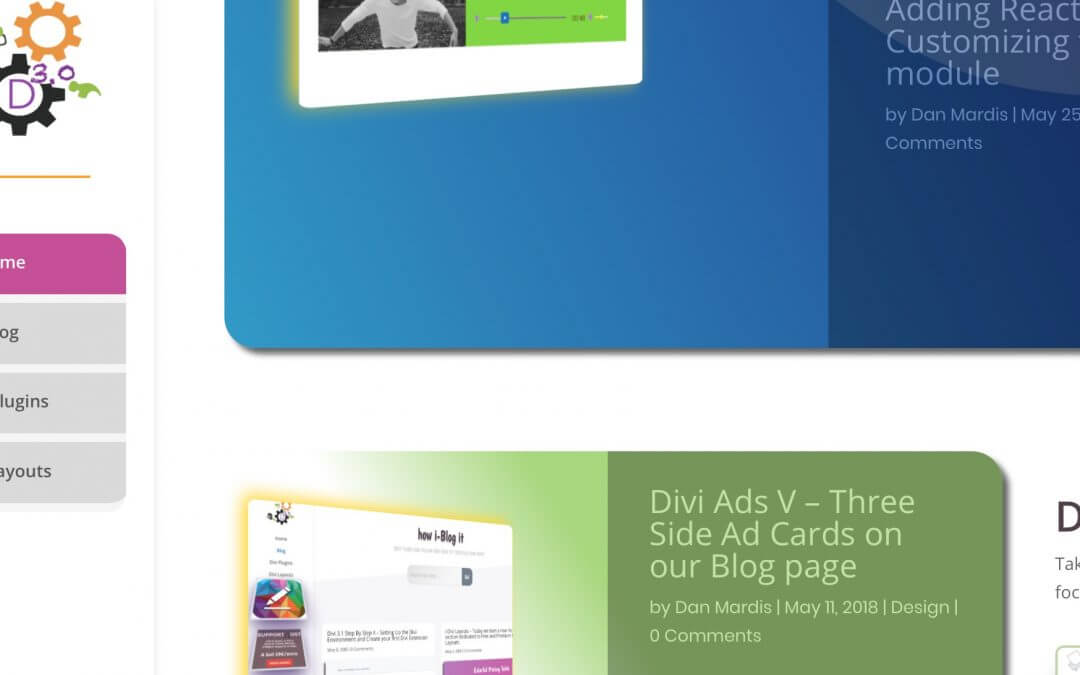
VERTICAL MENU ON HOMEPAGE
We don’t want to be too invasive with our design, so we keep it simple. We just recreate an effect similar to that of our Categories styles in Category and Archive pages: a labels-like menu with a border radius on first and last menu link, some padding and some margin-right.
We also add some padding among the menu links and a simple grey background; furthermore we add a bottom orange border to our logo for give a nice division between it and the menu:
In the code above we already have set the vertical menu as working only in the Homepage by assigning a ‘display’ value of ‘none’ to all the ‘nav ul’ except that one on the Homepage (targeted by the ‘.home’ class).
TOP MENU ON BLOG AND OTHER PAGES
Now we need to create another menu as secondary for the other website pages. So we go to Appearence->Menu, click on ‘Create a new menu’
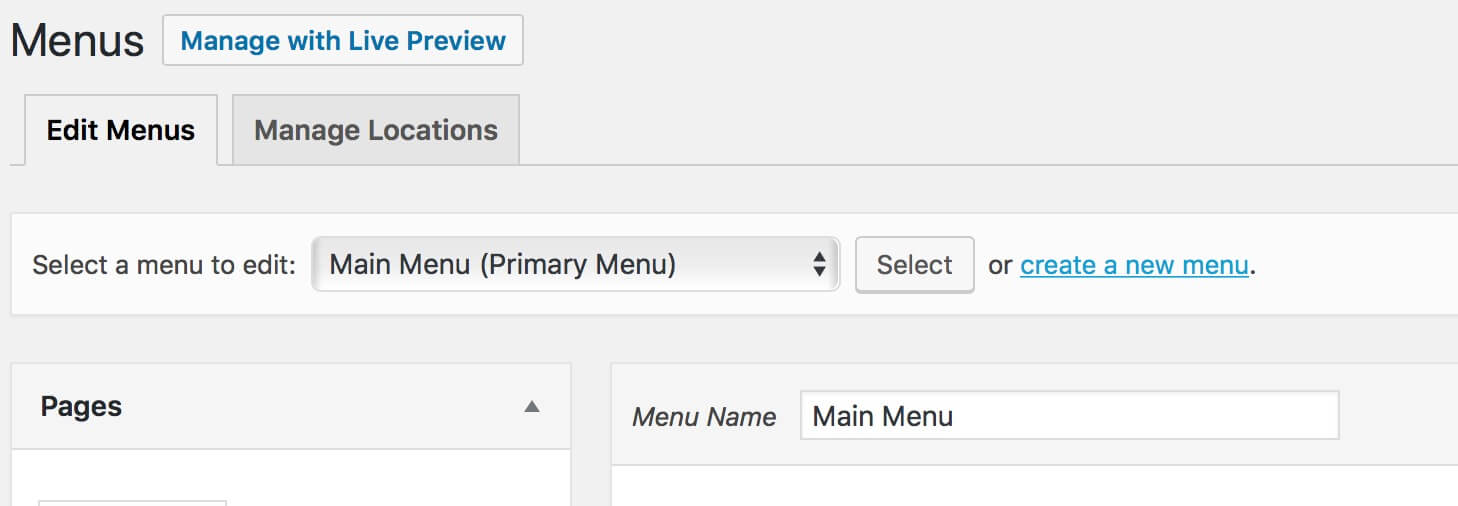
Then give it a name, click on the ‘Create Menu’ blue button and assign it the pages you want. Finally save it as Secondary Menu.
Now that we have our top menu we have in order to a) hide our top menu on the Homepage;
Then b) style our top menu:
Finally we adjust the width of the menu and hide our orange bottom border on mobile thanks to some media queries:
LET’S COLORIZE
All done. The only thing still lacks is a touch of color. So we simply create a background color animation and apply it both to the vertical homepage menu (on the selected menu link) and to the top menu of the other pages (on all the menu bar):
FINAL THOUGHTS
It’s just a simple example of how to play with colors, css and, above all, with Divi. We styled our Menu in different ways, in different positions and pages thanks to few lines of Css code keeping it simple but without giving up a touch of color.
Let us know what you think in the comments. See you next post!


