Hi everyone, today we start another Divi Series talking about a great Divi Element: the Divi Button.
Nowadays, in fact, all the modern website around the web world give a lot of importance to the button element; just think of a thousand call-to action layouts on the web, the submit buttons in forms and many other context in which we usually put this element.
Many people often do the best choice: give emphasis to the button but keep it simple and clean in order to grab the user attention without distracting too much from the message the button brings. However sometimes a little and nice effect can be more efficient that a static button and this is the case we are going to show in this post.
So let’s get started with the Ripple Out Button!
This is, in short, our final result. For our purpose, however we have choosen to use the Divi Code Module in place of the Button one. This choice is due to the fact that Divi Button module has by default a lot of css styles that should be overriden in order to get our ripple button.
So, the first thing to do is add a Divi module in our layout and insert our simple html for the button:
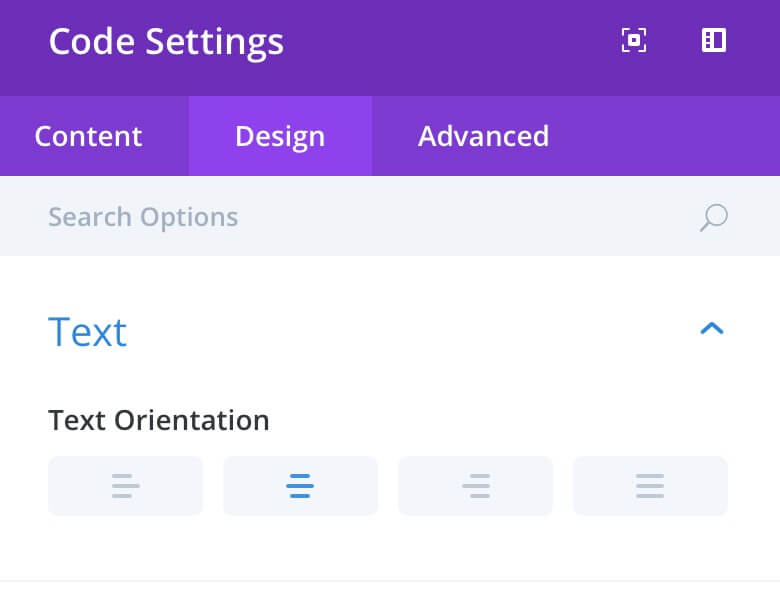
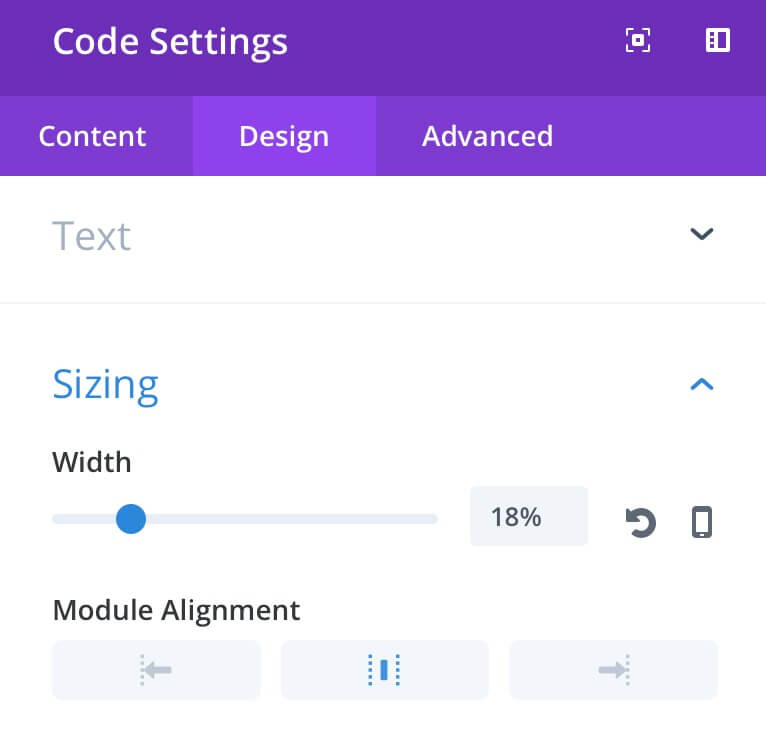
Then we have to adjust some Design setting about the Divi Code module we have just created.
THE MAGIC OF CSS
Ok, now all we have to do is rely on the magic of Css. Just few lines added in our Divi Theme Options panel or, if you need this kind of button in a specific page only, in your Page Settings -> Advanced -> Custom Css.
Note: We have added the animation-fill-mode property setting it to “forwards”. This css property will keep the final state of our animation after the animation itself has been completed; otherwise you can delete this css line. Doing this way after the animation suddenly will appear again our green border.
There's a tip for You!
We wanna suggest you also another use of the ripple effect. In fact, this Css animation is perfect for a button but you can apply it on every Divi module you want! An image module, a blurb module or also a text module or to an entire Divi row. Let’s give a try!
FINAL THOUGHTS
All done. Now we can focus on styling our background color, our link color, the border and border-radius and so on. Possibilities are endless and our button will be really clean and nice but it will also stand out of the crowd thanks to the ripple effect.
See you next post.
Cheers!
