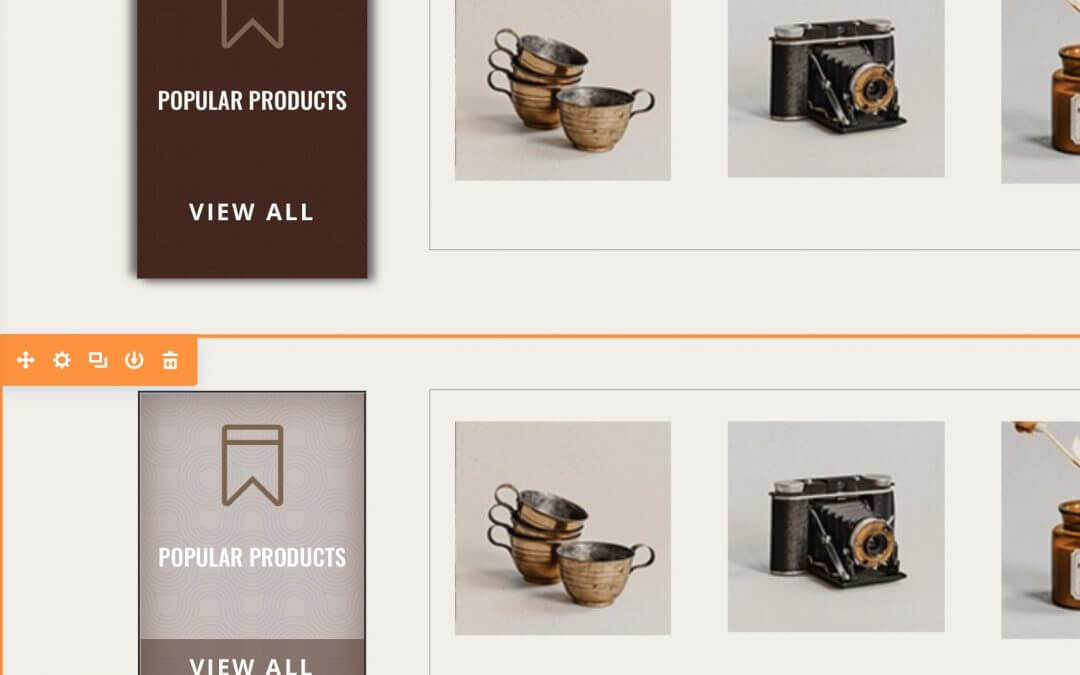
Today we talk about Buttons and its backgrounds and in order to do that we want to start from one of the wonderful layouts Elegant Themes has recently released on Black Friday, the Store Layout.
What we want to do, is simply create a button that stands out just for the reason that the user at first doesn’t see it as button but as module; and in our design we will call also the background texture in our aim.
So, let’s get started!
ONE COLUMN LABEL BUTTON
This is the original (or very close) layout from Elegant Themes:
Popular Products
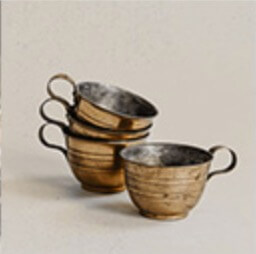
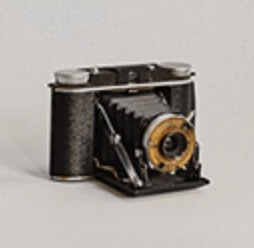
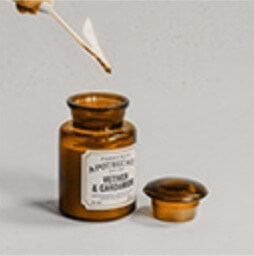
Now, we want to transform our left module in a gigantic button (and not just the ‘VIEW ALL’!).
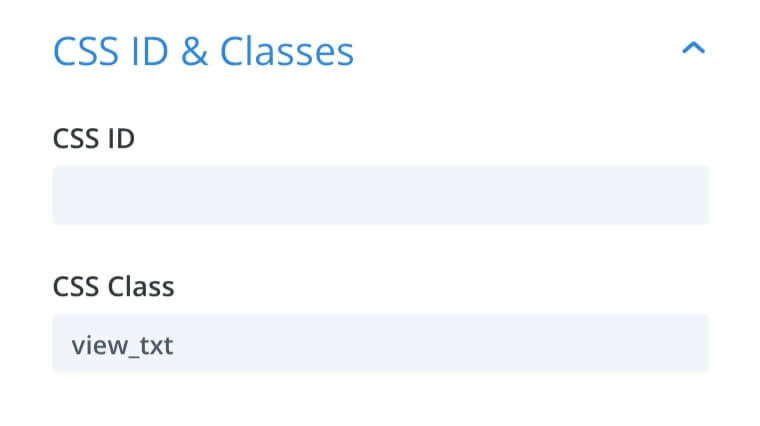
So the first thing we do is replace the ‘VIEW ALL’ button with a simple text module. We also add a custom css class to it that will be useful for us later going to Advanced -> CSS ID & Classes.
Then we add some custom css going to the Row Settings -> Advanced -> Custom Css and putting these two lines in Column 1 Main Element:
This will add a box shadow (and a transition time) to the entire column that will make the element as standing out.
We’ll move then to the hovering step. First of all in our final result the background on hover have to change color and add a texture. You can choose and download (or even create by yourself) the texture you want, we chose for our purpose a rounding vintage texture from Subtle Patterns of Toptal.com.
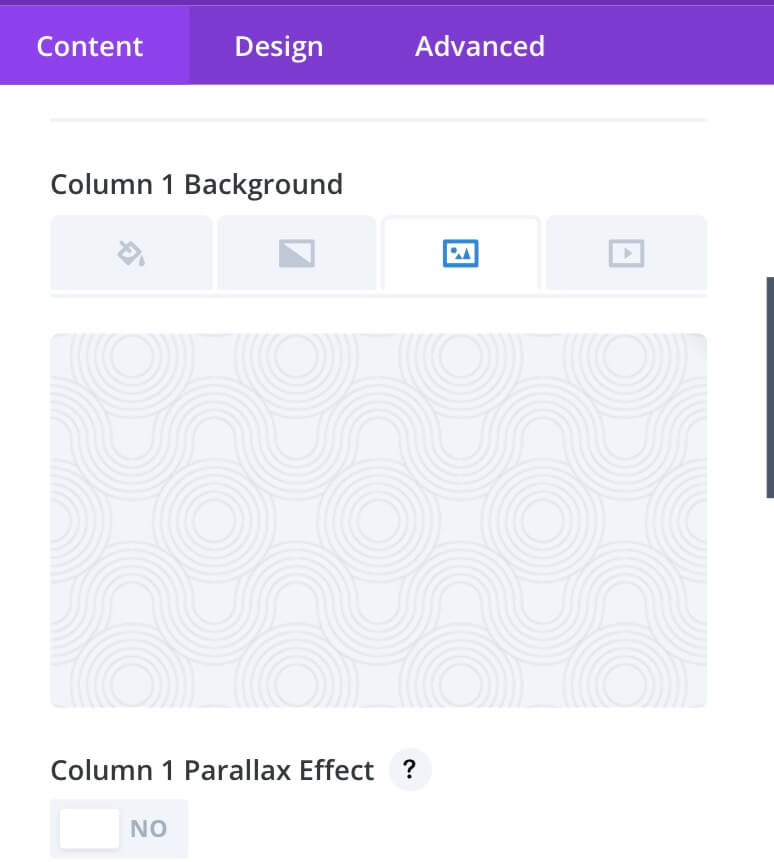
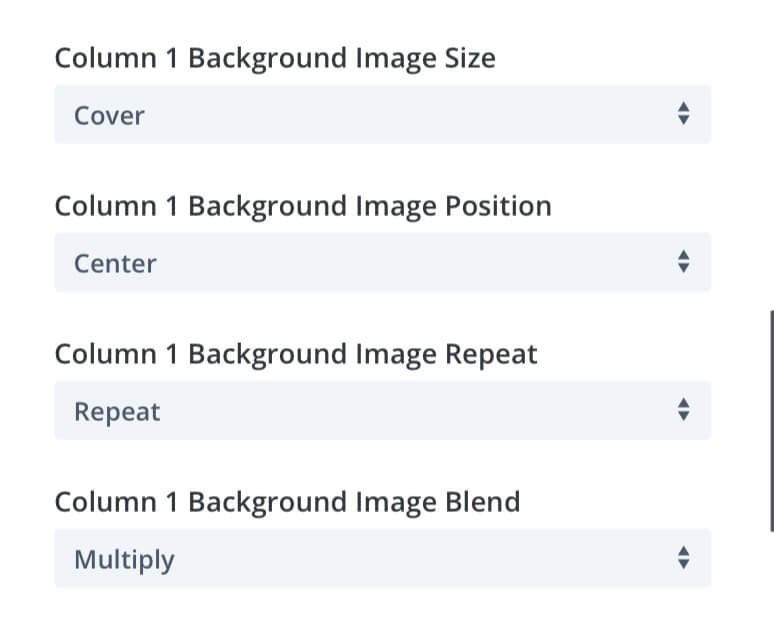
Then we go to Row Settings -> Background -> Column 1 Background, we move to the Image tab and we add our texture as background selecting the Multiply blending mode.
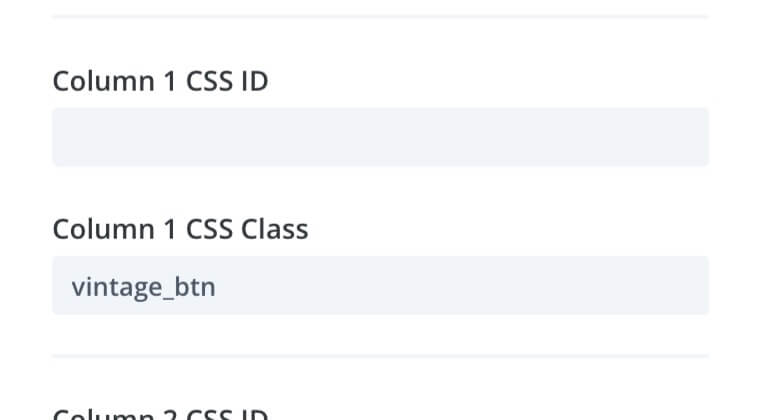
Finally we go to Advanced tab again for adding a custom css class to our column.
Ok, the last step we have to do is just open our Page Settings -> Advanced -> Custom css and add the css code in order to change our column button on hover: so we change the background color, we transform our box-shadow in an inset one adding also a slightly groove border and a little scaling of the column itself.
Finally we also change the background color of our ‘VIEW ALL’ text module to keep a little contrast inside of our column button.
So the final result will be like this:
Popular Products
VIEW ALL


However, we changed just the cursor in order to get this a pointer but no link is in our column button and a button to be such have to be a link.
We already saw in another post how to easily add a link to whatever element we want simply by using a little of jQuery:
TWO COLUMN CARD BUTTONS
Of course we can also apply the same button effect on other columns like the following ones taken from the same Elegant Themes layout too.
Antiques
Nothing Newer than 20 Years Old
Furniture
New & Restored Furniture
In this case we just need to add the box shadow and transition css code (see above) to the two columns (always going in Advanced -> Custom Css) and, as we did before, add to them the ‘vintage_btn’ class. Then the same hover css we added before in Page settings will work fine also for these two columns giving the following result:
Note: For these two columns we just changed the transition value to ‘.5s’.
Antiques
Nothing Newer than 20 Years Old
Furniture
New & Restored Furniture
FINAL THOUGHTS
So this means just scratching the surface of really endless possibilities we have when working with Divi and the magic of Css. Hope it can be useful for getting ideas and inspirations.
See you next Post.
Cheers!
