Today we want to continue our Mini Series on WordPress Plugin update. We already talked about the new features introduced in our i-Divi Post Settings plugin. Now we want to share with you the method we use – taking advantage of just the Terminal and the SVN language – for uploading our new files and thus updating the plugin in the WordPress Repository.
So let’s get started!
STORE THE TRUNK PLUGIN FILES IN A NEW TAG 1.0
First of all we have to open our local repository in which we have our plugin files separate in the four default WordPress folders: Assets, Branches, Tags, Trunk.
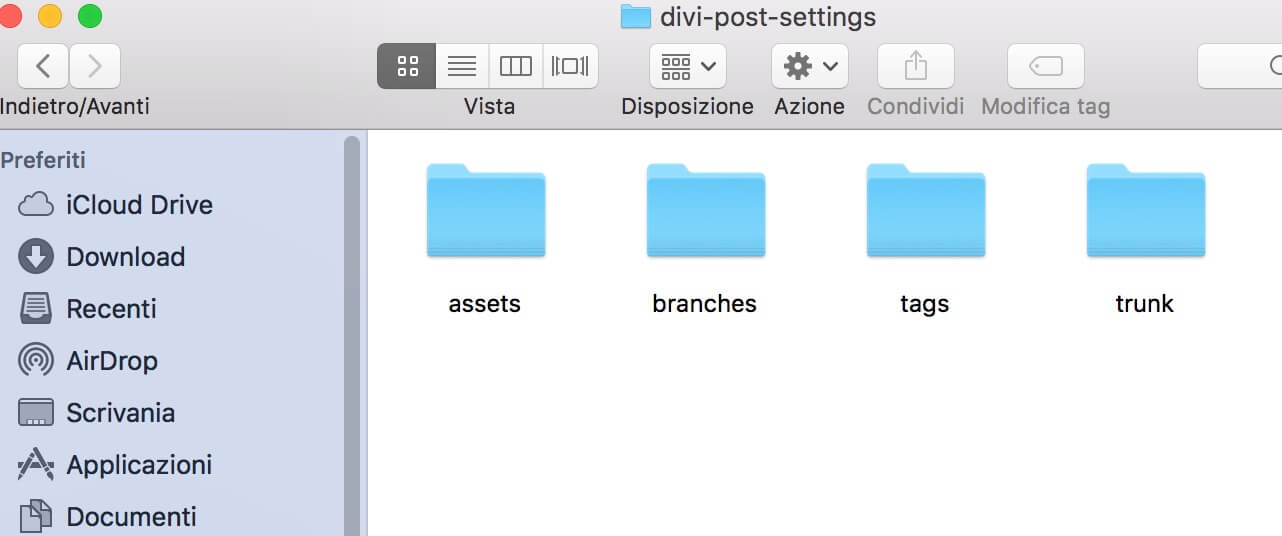
Then we have to copy all the files inside our ‘trunk’ folder (those ones that effectively are on WordPress Repo) and paste them in a new folder we are going to creare inside the ‘tags’ and that we will simply call with the version number, in our case will be ‘1.0’.
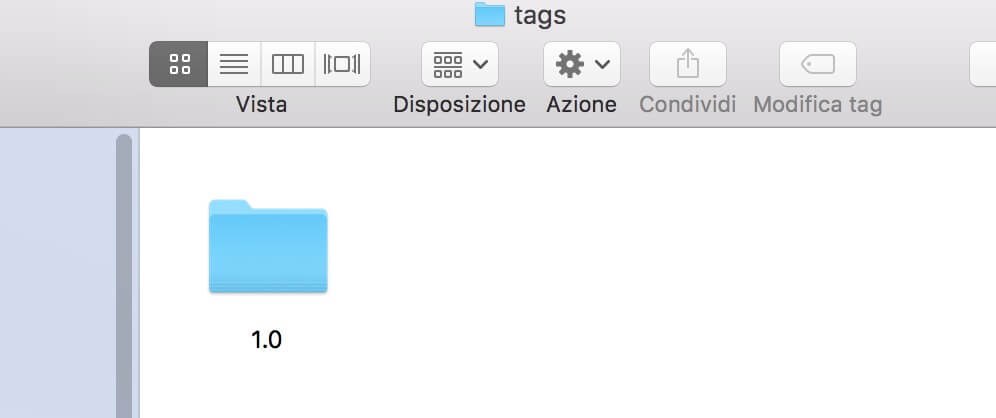
From this folder WordPress users can download and install the old ‘1.0’ version of your plugin, a thing that could come in handy if your new plugin version – obviouly we always hope not! – should have some problems and bugs.
UPDATE THE TRUNK PLUGIN FILES
This second step is really easy. We just have to copy our new plugin files and paste them in the ‘trunk’ letting them to override our old code.
REMEMBER is always inadvisable to go directly to modify the code in the ‘trunk ‘folder. You’ll have always to update the code in a safe local environment and then override your old ‘trunk’ code!
NOW THE TERMINAL AND THE SVN CODE
Finally we are at the last and most important step. Upload your code to the SVN WordPress Repository by using the Terminal. So, first of all, let’s open the Terminal itself and let’s see the steps we need to do.
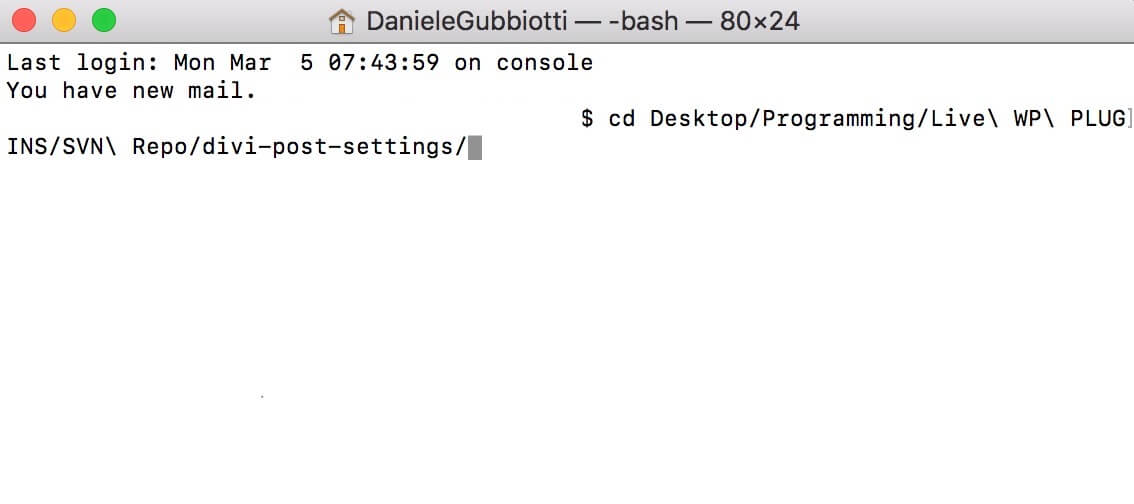
1 – Call the local Repo directory: first of all we digit the ‘cd’ command followed by the local path of your Repo folder. In our case something like this:
2 – Check for the last revision: now we run the command ‘svn up’, wait just a moment and we will get the last revision number.

3 – Check for the changes from the Repo: our third step will be to check for the differences we have between our WordPress Repo and our local one. In order to see these changes and the files interested in we have to type ‘svn stat’ and enter. In our case the terminal returns to us the following files changed for this update.
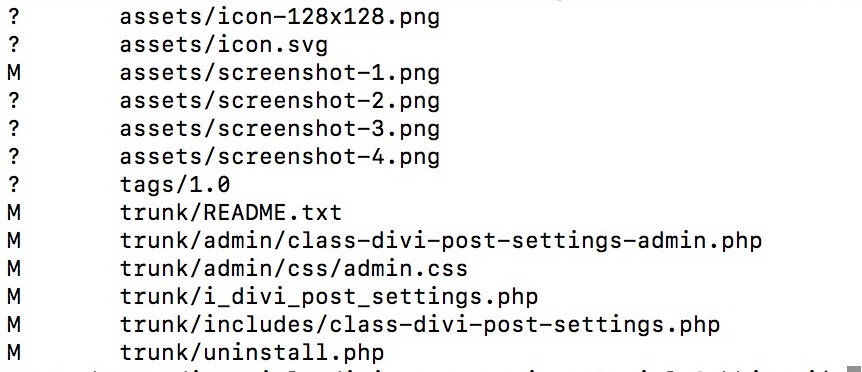
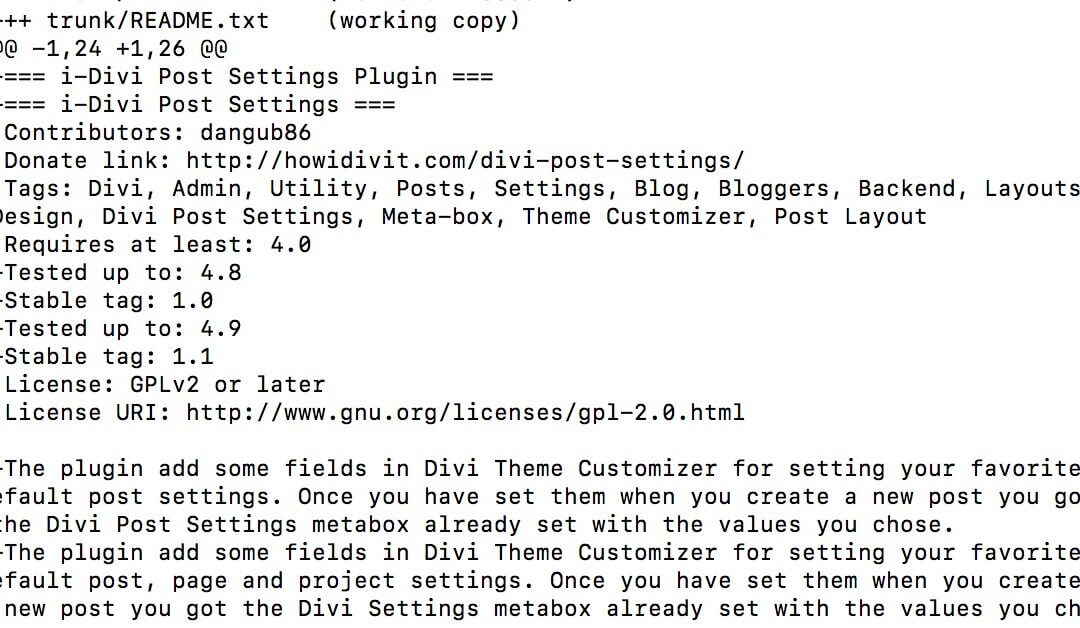
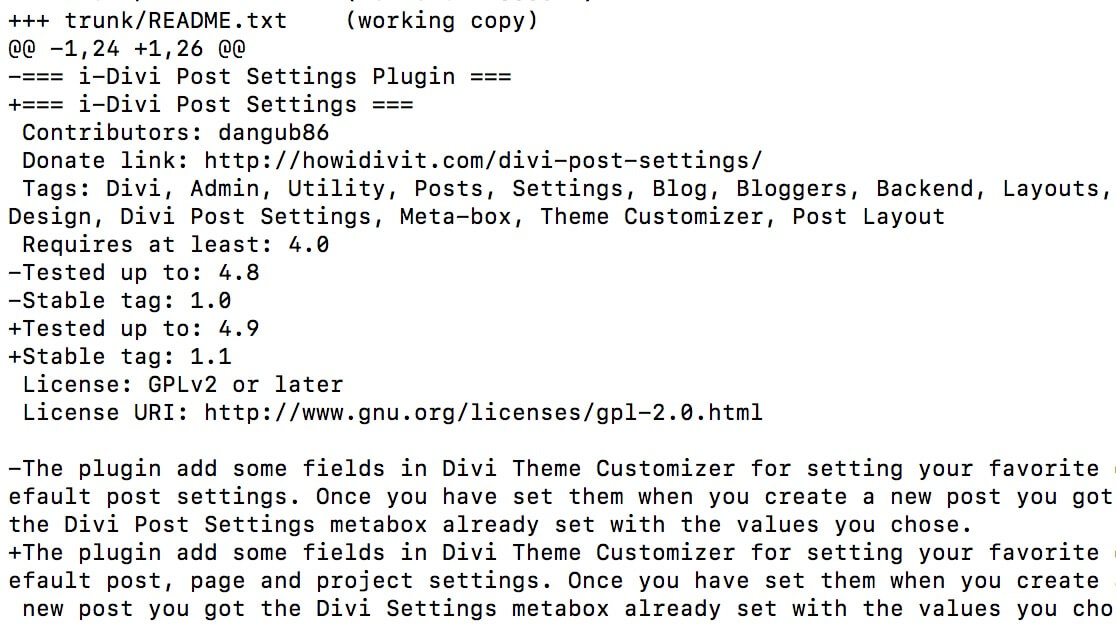
4 – Compare the detailed differences among the files: You can (and you should) also check in a more detailed way all the code differences. To do that you have to run the command ‘svn diff’ (obviously the diff list may vary in lenght).
5 – Check in the changes: our final step will be that concerning the check in of the updated files and the final commitment to the WordPress Repository. So we just have to run the command ‘svn ci’ followed by the ‘-m’ (for message) command and the message we want as update description. In our case the terminal will look like this.

As you can see from the screenshot above we are sending all the different files and at the end of the process we will get a success message that will sound like ‘Committed revision’ followed by the new revision number. All done! now in the trunk we’ll have the new code and the changes will be reflected on the new plugin downloads.
Obviously you would have updated the version number of your plugin (to 1.1 in our case) either in the main plugin file (and in the other files you need it) either in the readme.txt; so that WordPress will notice the version update to all the users that already use your plugin with the classic dashboard advice!
FINAL THOUGHTS
We finally updated our plugin. Five simple steps you can do directly from your terminal (on mac, or by your default shell command tool on different systems) in less than five minutes. The code now is updated and all goes in the right direction. We recommend, however, that you strictly check all your code by testing it over and over again to avoid having to commit more than one update at close range of time.
That’s all. Next tuesday post we will discuss about Svn, Git and Github in a more detailed way.
Cheers!

