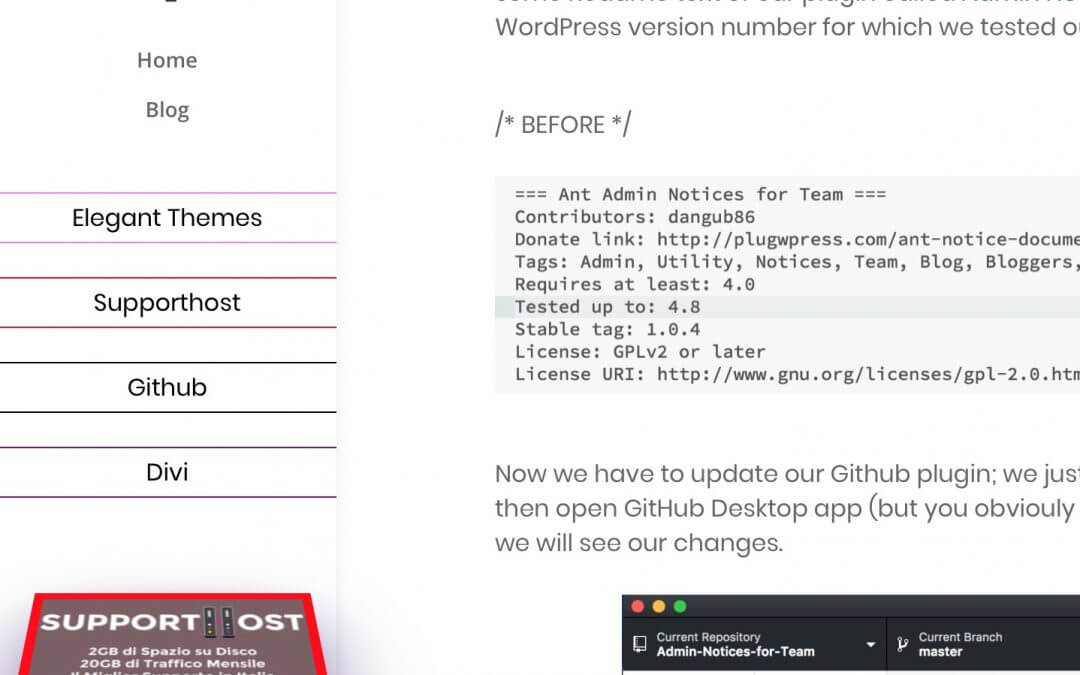
Hi everyone, today we will show you how we re-styled our Side Ads on posts. We already covered this topic in a previous post in which we designed a three rumble side ads using Bloom, jQuery and Css. Now we want to go further with a more complex and cleaner design.
Note: Just as for our previous Ads design it will work only on desktop devices!
So, let’s get started!
THE FINAL RESULT?
First of all, if you are curious about the final result, you just have to look at your left side on the screen, right below the menu, you can click on the Ad you want and the banner will appear right below our Ad labels. Simple and clean!
ADDING OUR AD LABELS
Let’s begin adding the Ad labels you see on the left. In order to do this we have to modify our DOM structure going to add some labels in every post and some others according to the post tags; so we will add the following jQuery code in Divi Theme Options -> Integration -> “Bottom of Posts”:
As you can see, we use the ‘.insertAfter’ jQuery function for adding Html divs with simple ‘p’ elements inside and wrapping these elements in ‘if statements’ that check if the post has specific css classes for specific tags and if it has will be added the relative Ad label.
As you can see, we use the ‘.insertAfter’ jQuery function for adding Html divs with simple ‘p’ elements inside and wrapping these elements in ‘if statements’ that check if the post has specific css classes for specific tags and if it has will be added the relative Ad label.
CREATE OUR BLOOM OPTINS
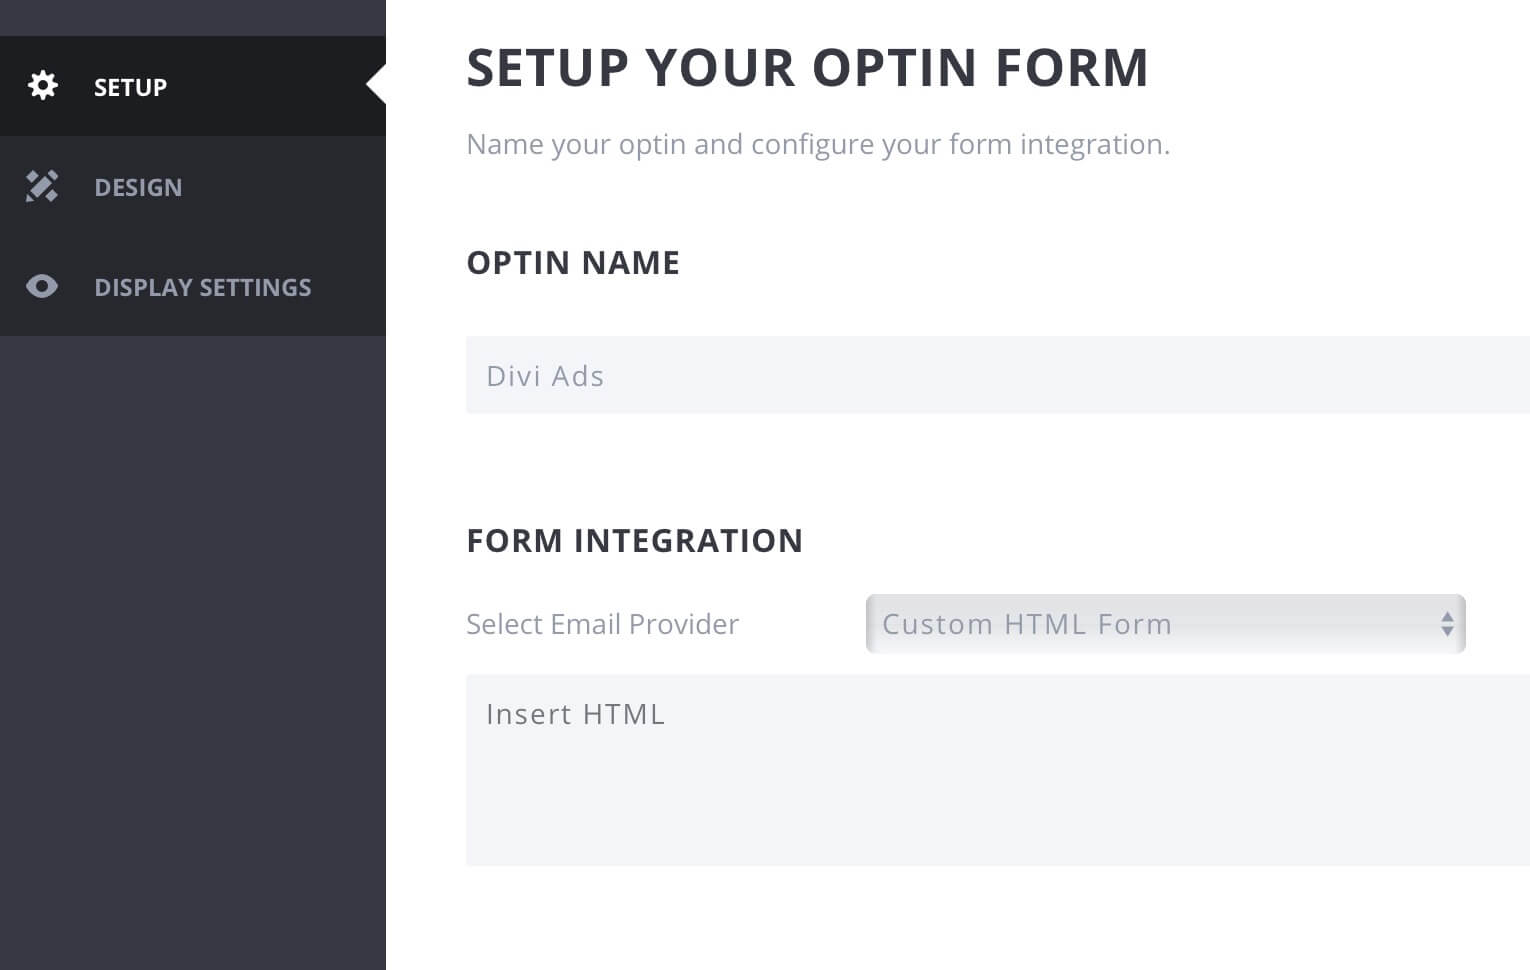
Ok, now we have to create our Bloom optin, we just create these ones as ‘Flying’ left optins with a custom html form that we’ll leave blank.
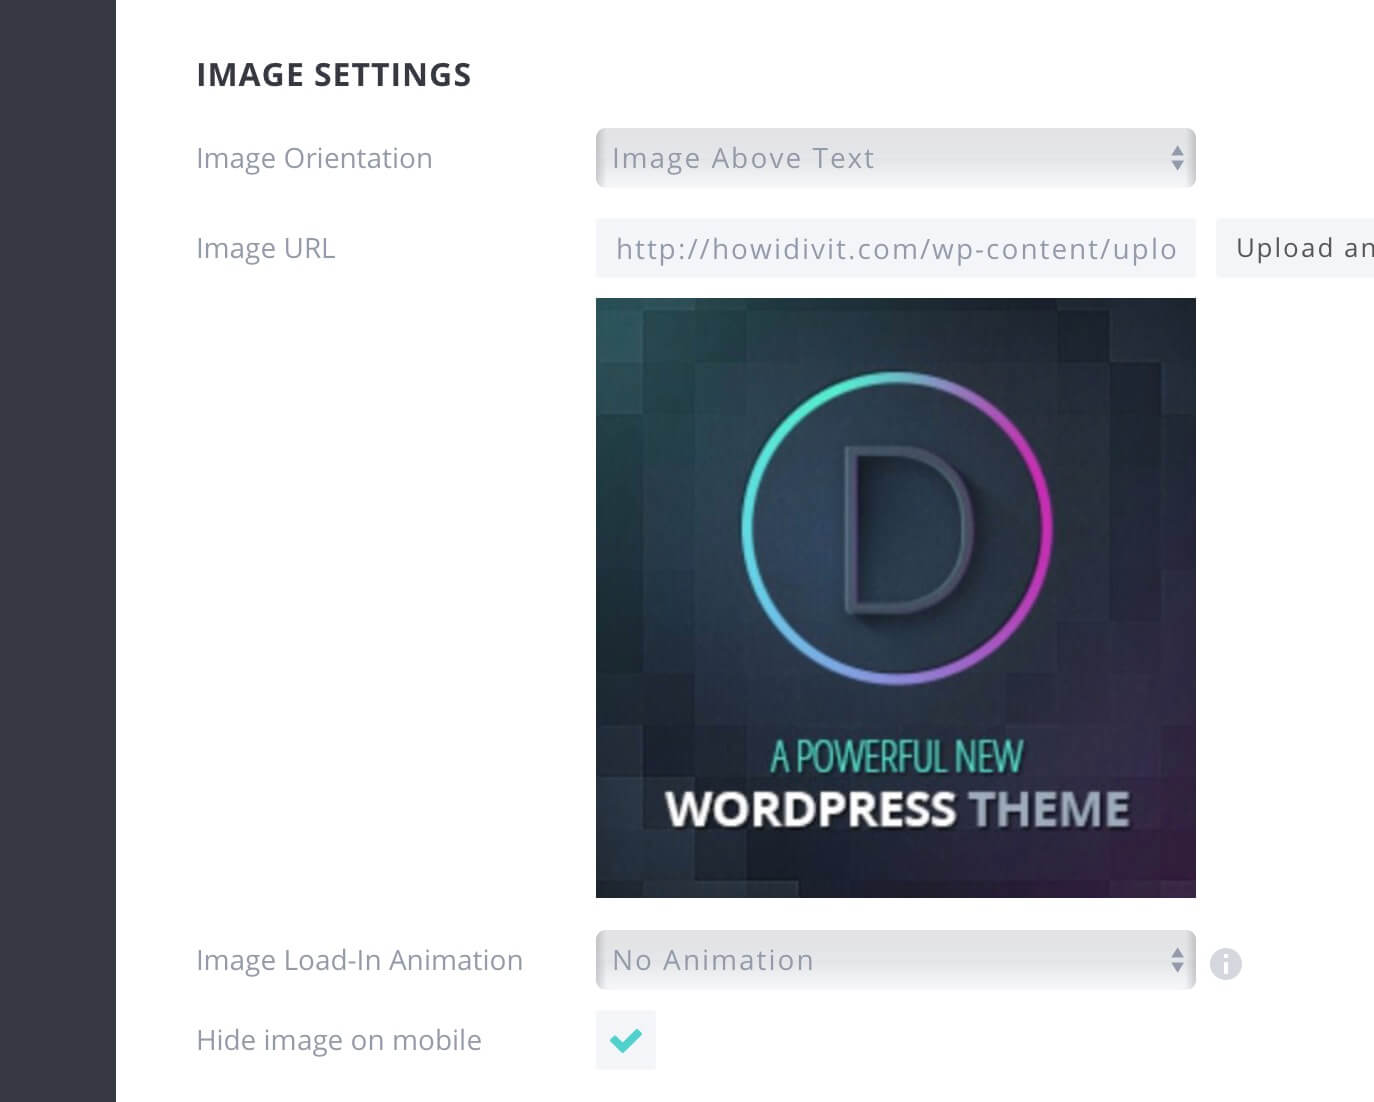
Then we will add our banner image without taking care about other design options
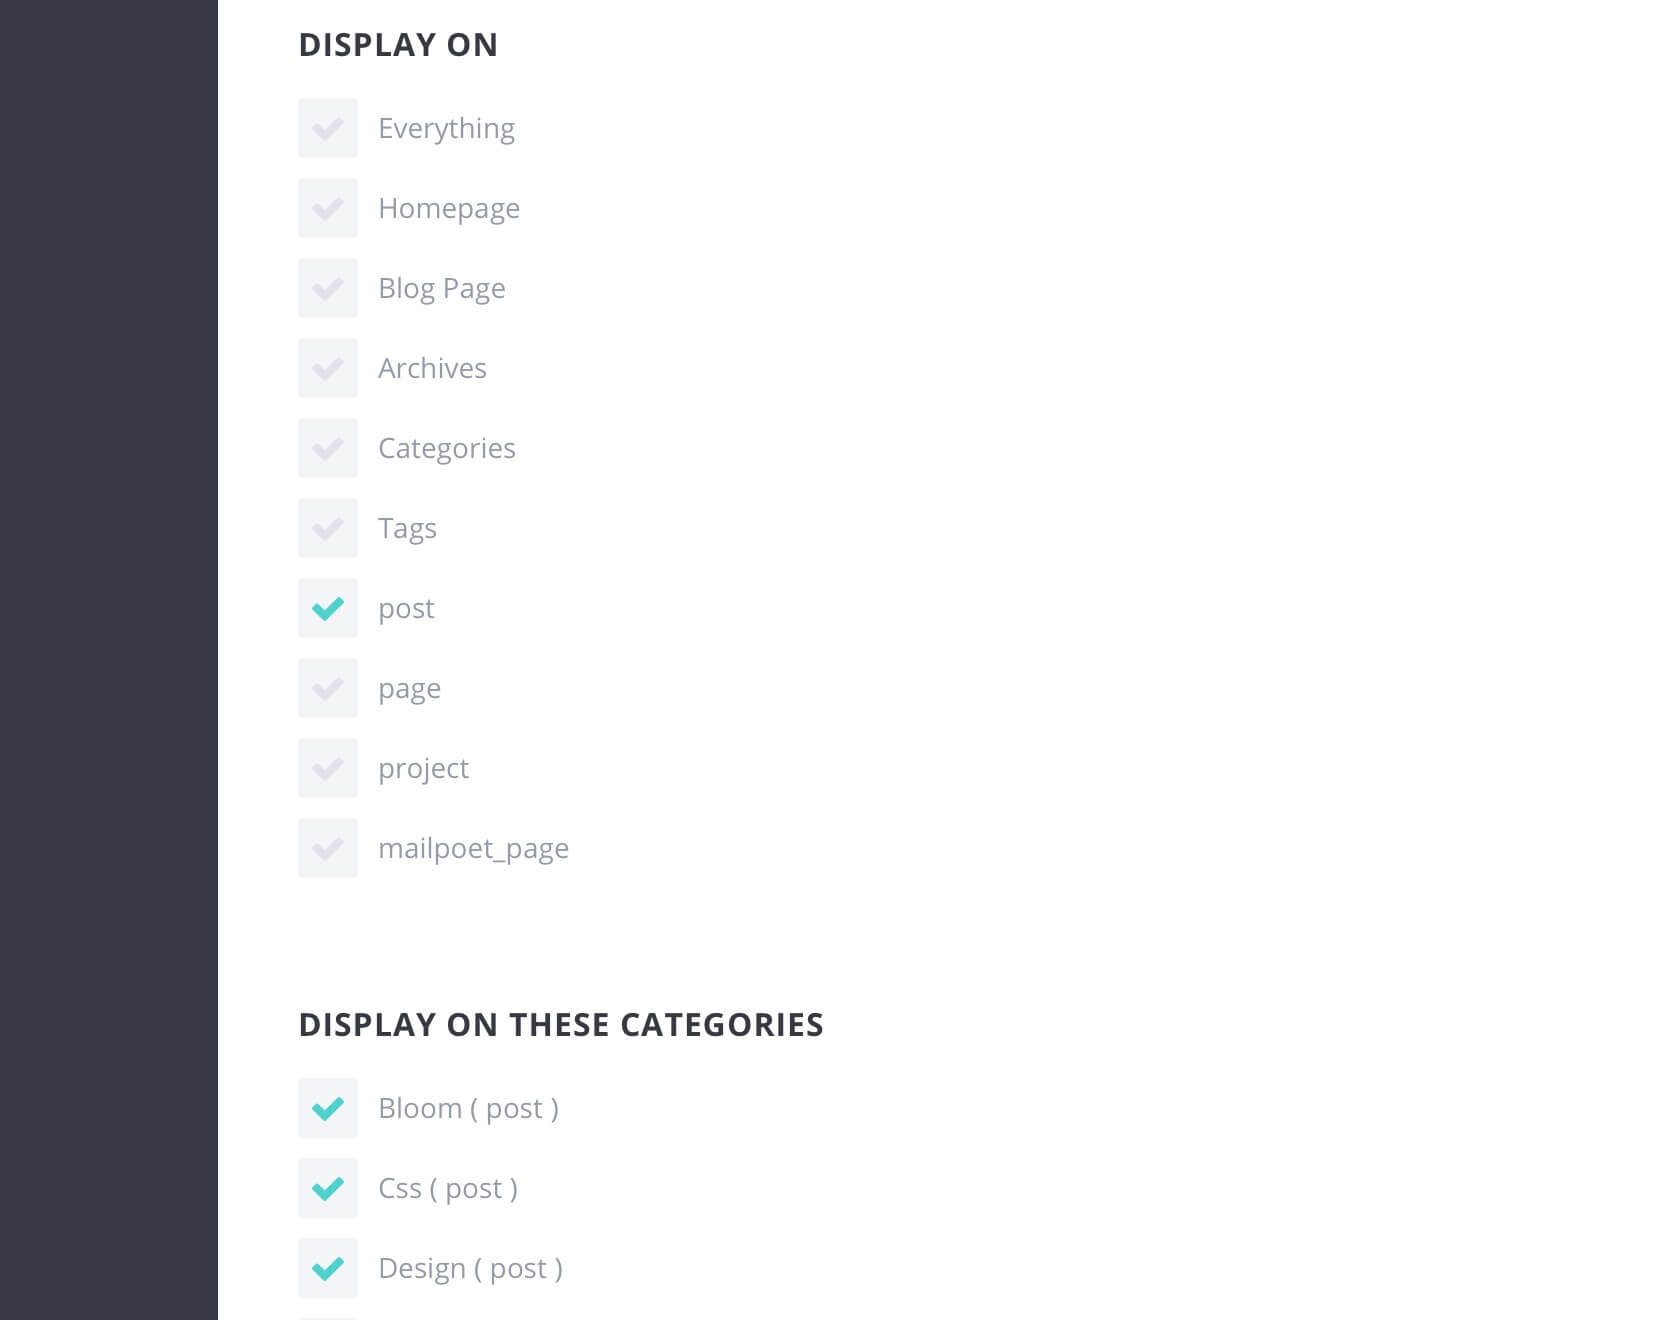
and we pass to the ‘Display’ section: here we choose to show the ad only in posts and we select all the categories we want. Finally we save and exit.
CSS AND THE FINAL jQUERY TOUCH
We are at a good point. Now we add the following Css (in Divi Theme Options -> General -> Custom Css) in order to style our Ad Optins adding a perspective inclined effect that will return in frontal position on hover:
Then we will add the following jQuery code in order to wrap our optins with our referral links:
Finally with this jQuery snippet we will link the click event on Ad labels with the appearing of the relative Ad optin:
FINAL THOUGHTS
Obviously the code above is just an example with few Ads and you can add as many Ad labels and Ad optins you want. Hope it can be useful.
See you next post!

