
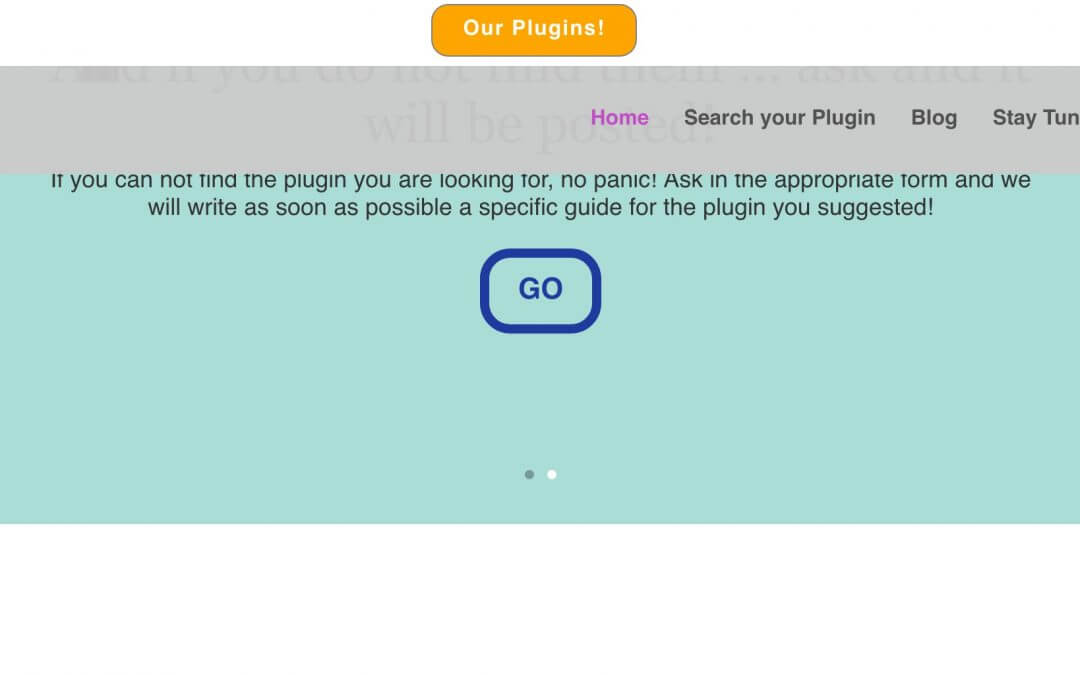
Hi everyone. Today we go on with the second part of Divi Menu mini-series and in particular we are going to set how the button page link we have seen in our last post have to appear on scrolling the page. In the last post, in fact, we simply adjusted the position of the button in the fixed header that appears in Divi when scrolling; now, instead, we want to get the following result.
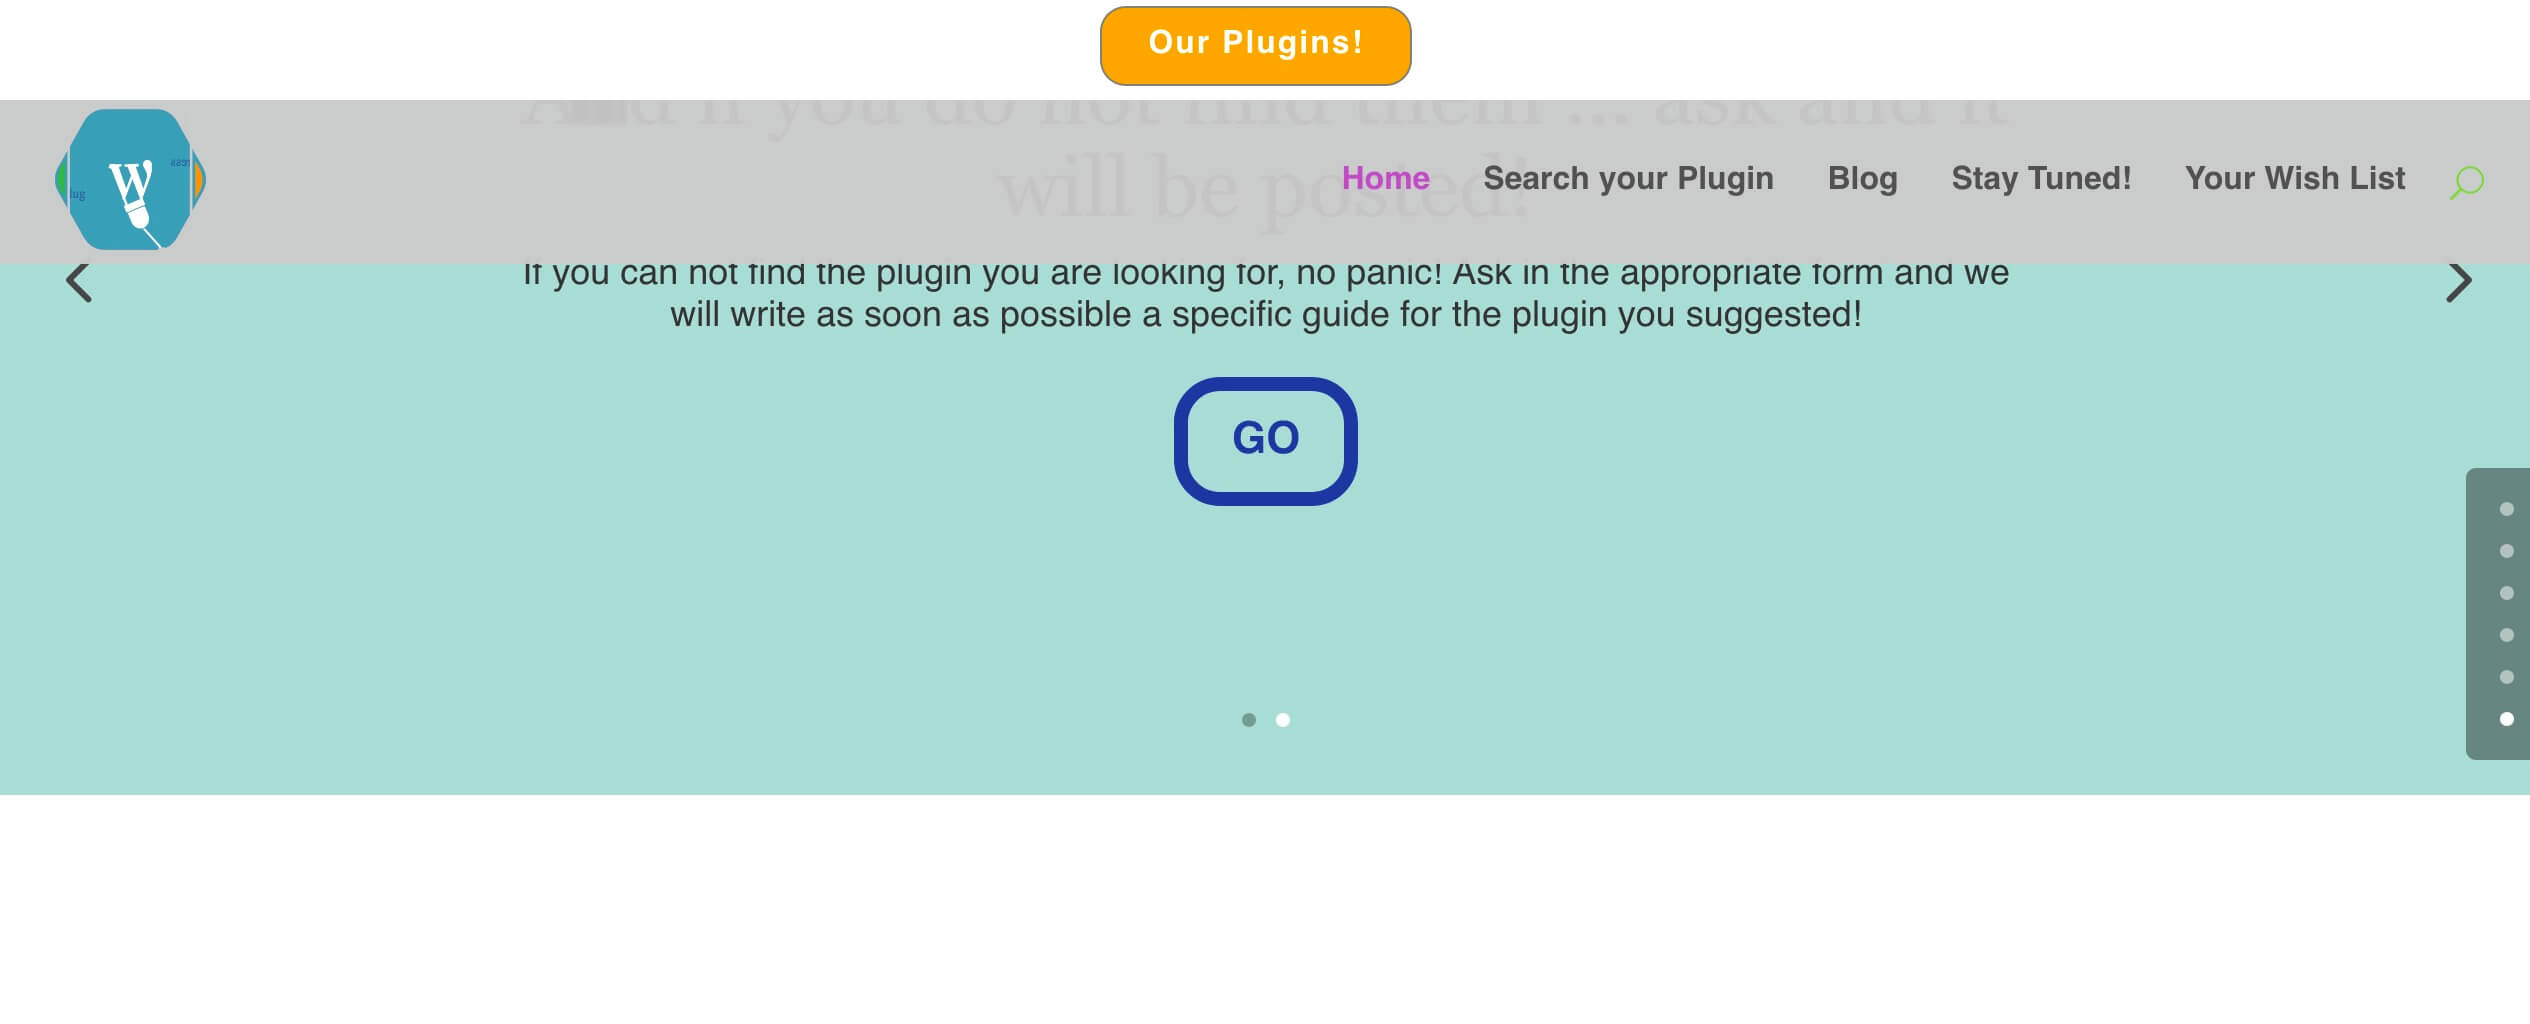
A white background fixed menu that will grab yet more attention on scrolling down the page. In order to do it we will use the Divi secondary menu.
So let’s get started!
SET THE SECONDARY MENU
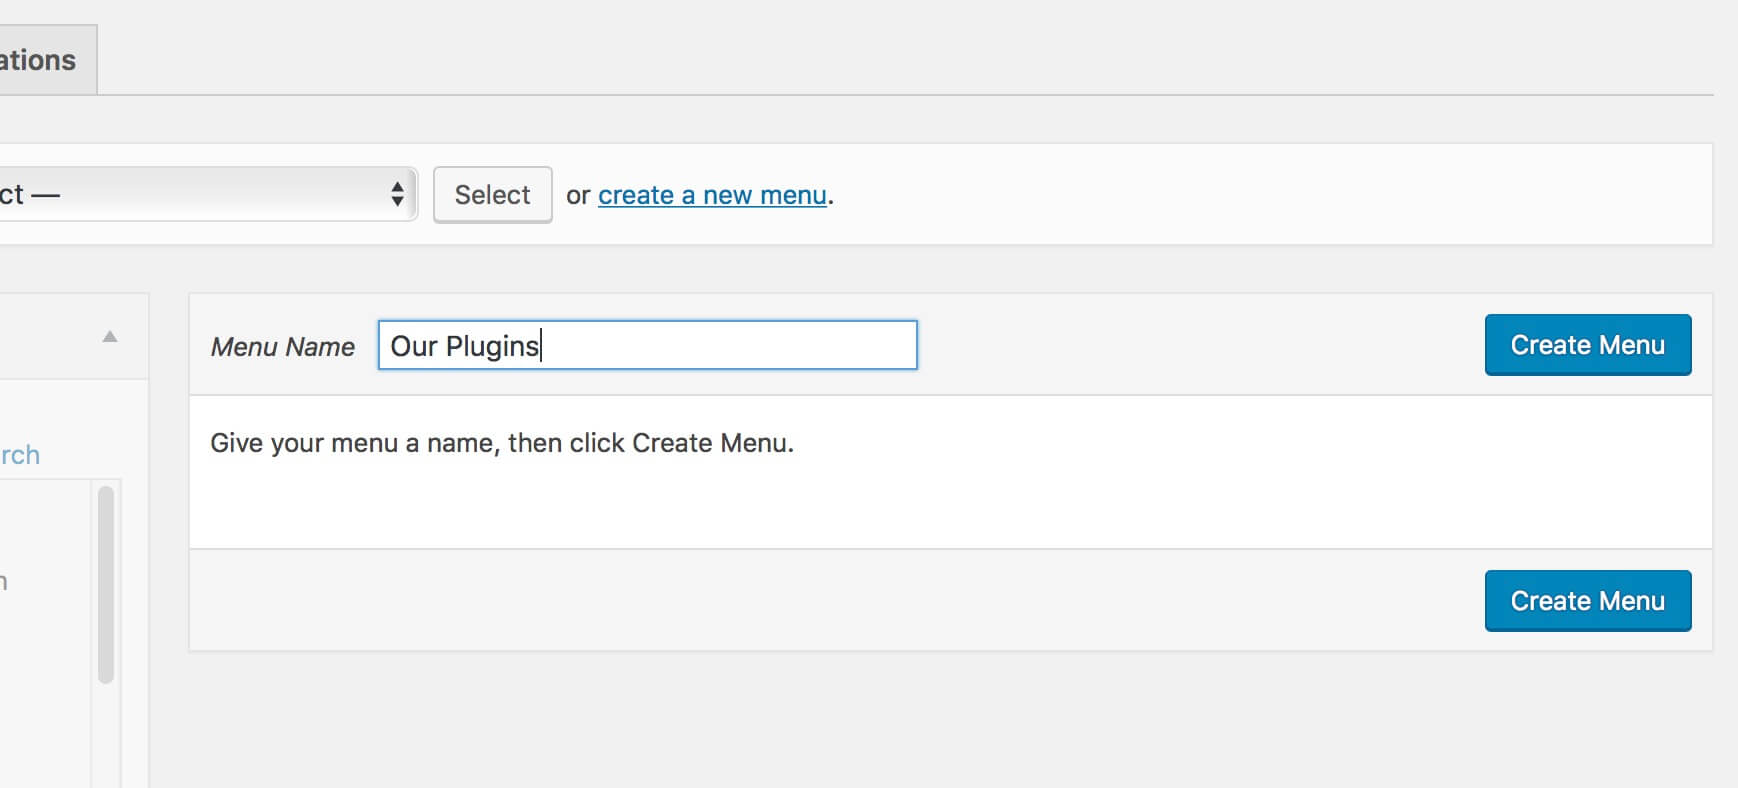
First of all we create our menu simply going in Appearance -> Menus and clicking on ‘Create new menu’ link.
We will call our secondary menu simply “Our Plugins”, just like the page link we will add to it.
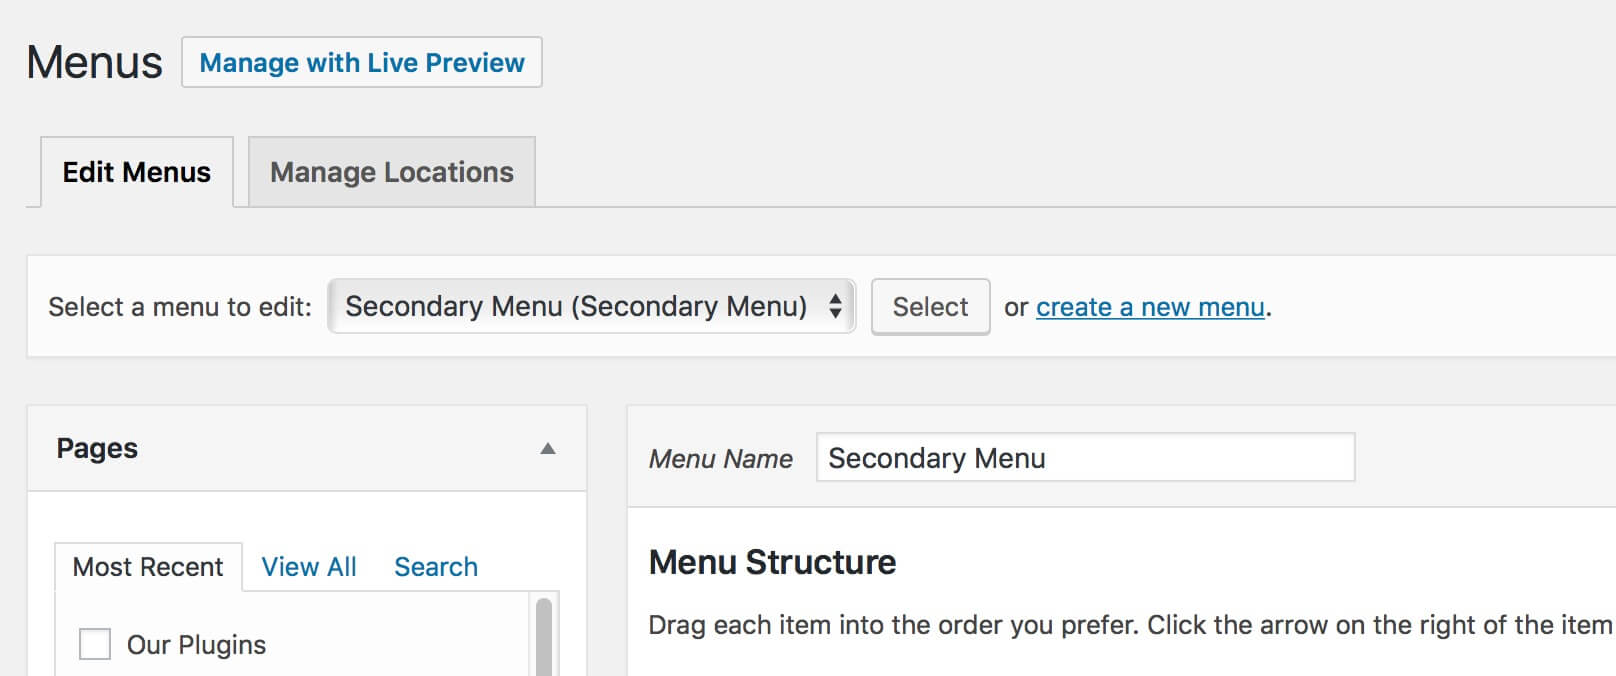
Then select the Page link/links you want to add and remember to set the menu displays as Secondary Menu before going to save it.

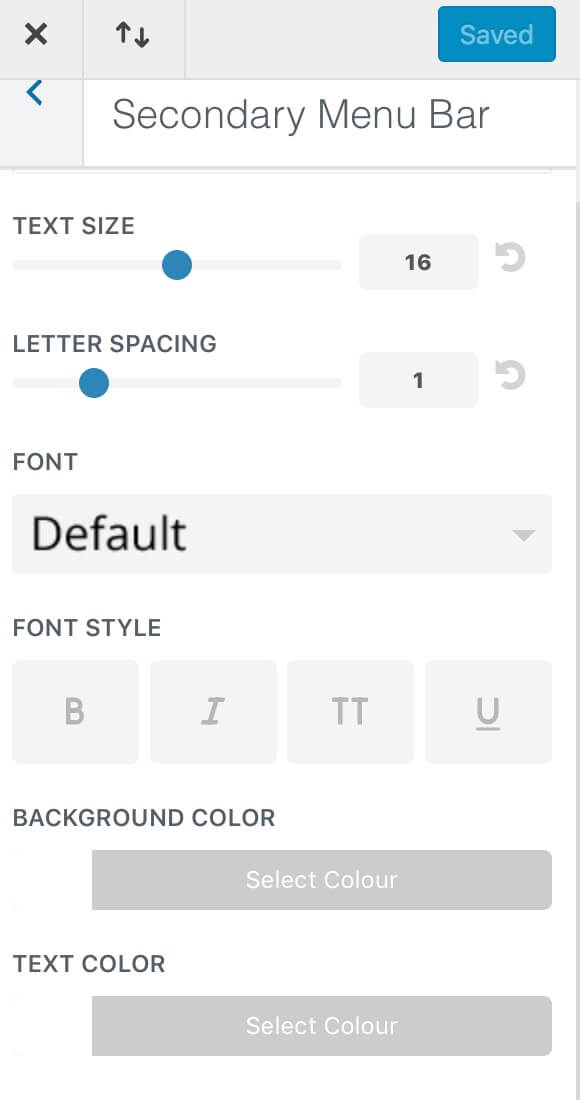
Well, now the last thing we have to do before we pass to the coding part is going to the Divi Theme Customizer -> Header&Navigation -> Secondary Menu Bar and set the font size, the background and text color ( in our case we opt for white for the background as like for the link text ).
ADD THE jQUERY
Ok, now we have a simple fixed secondary menu just above the main menu. Before we can pass to customize the menu design what we’d like to do is make this secondary menu appears only after scrolling, just in the scrolling point in which our main menu shrinks.
So, simply we have to add the following jQuery code in the Divi Theme Options -> Integration -> Add to the <head>
We work just with a couple of css properties that will change according to the scrolling height of the window; in our case the switching line will be at 60 px of scrolling.
THE MAGIC OF CSS
Ok, we are just a stone’s throw from the finish line. But we have forget to hide our secondary menu on loading the page and we have also to customize our design ( till now we have only set link color and background in the Theme Customizer! ). So we go into Divi Theme Options -> General -> Custom Css and add the following lines.
Note: Please note that we have also changed the button opacity and the fading effect on scrolling going to modify just a line of our old code. Below the Css code before and after:
FINAL THOUGHTS
All done. Few simple steps and we have our secondary menu on scrolling. We have played just with a few lines of jQuery and a couple of Css properties like Opacity and Max-Height in order to get a transitioning nice effect when the secondary menu appears that we would not have achieved by simply using the Display (none/block) property.
See you next post!


