
Hi everyone, today we are here with our second Series post about the new Divi 3.1 and how to create our custom Divi Extension. Specifically today we will see how to set up our Divi development environment.
So let’s get started!
1) THE DOCKER
The Documentation page to which refer is always the Divi Developers one. As you can read in this documentation you have more than one choice in order to start your Divi environment. We choose, however, the simpler and more direct way: the Docker.
NOTE: You can skip 1), 2) and 3) if you have already a standard WordPress/Divi local environment!
So the first thing you have to do is giving a look at the table you can find in the “Divi Development Environment Setup” tutorial.
You have to find the needed version of Docker for you and just click on the Installer link.

2) SETTING THE DIVI DEVELOPMENT IMAGE
Once downloaded and installed you have to create your development directory, in our case we will call it Divi Environment; then open your favorite IDE and create a new file with the following code inside:
Save and name the file “docker-compose.yml”.
NOTE
: Remember that this file must be in the development directory you chose!
Now, just open the terminal (or similar command tool), change the directory to match that one in which we have placed our “docker-compose.yml” (in our case we run the command: “cd Desktop/Programming/DiviEnvironment”) and simply run the following command:
Thanks to the .yml file the whole process will be taken care of by the instructions in the code
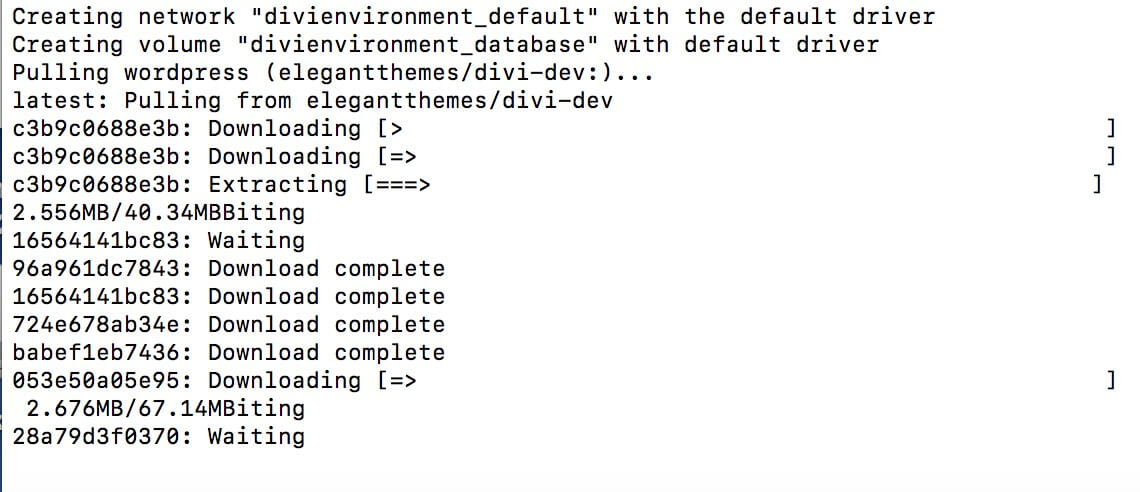
So all the data needed for our Divi environment will be extracted and downloaded from the docker image made available from the Divi team; you just have to wait some minutes and at the end you should see a couple of success messages like the following:

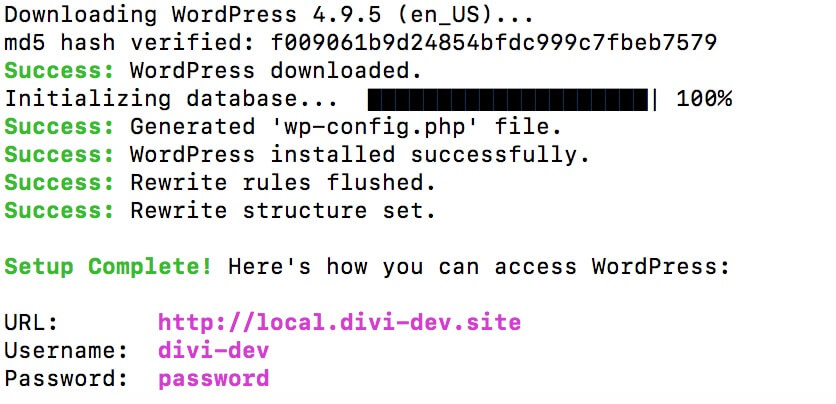
It’s time now to run the second command line:
It will start immediately the WordPress download and setup and at the end you will get the local url of your Divi environment together with the user and the password to enter.
3) INSTALL DIVI
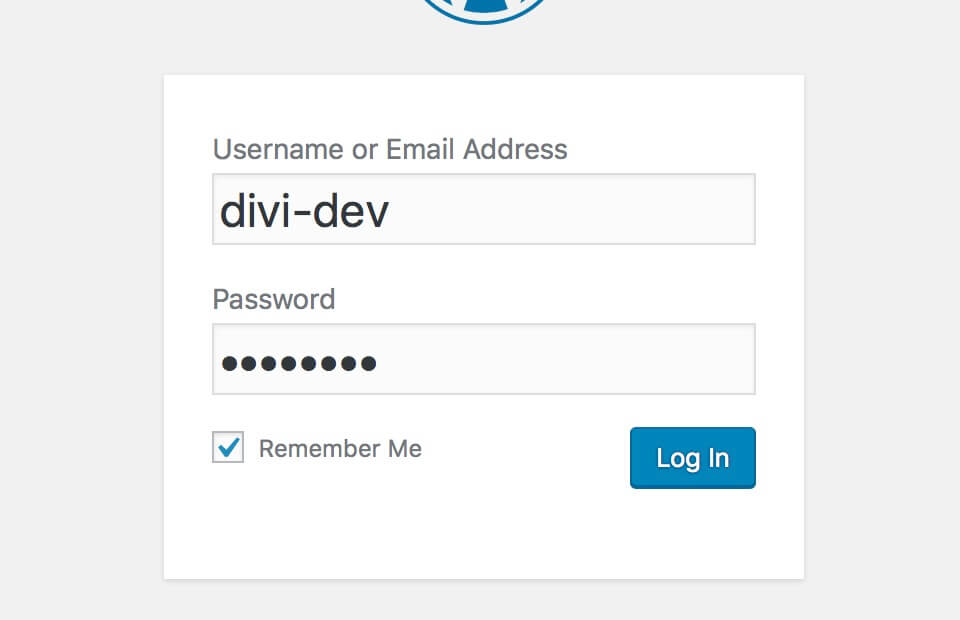
All done. Now you can enter the url in your browser and you will see your local website. Divi however isn’t included, so you have to access your backend going to: “http://local.divi-dev.site/wp-admin” and entering the credentials.
Finally you can download the latest Divi Theme version from your account dashboard on Elegant Themes and copy the Divi folder in Divi environment directory (under /wp-content/themes).
4) NODE.JS and YARN (and GETTEXT)
Before we can effectively start developing our Divi Extension and custom modules we also need to install two other components: Node.js and Yarn.
The first one is a Javascript runtime built on Chrome’s V8 JavaScript engine, we need it especially for the Npm package manager and, at the end, for installing the React javascript library. Yarn is a dependency management and is optional; however we suggest you to install it.
You just have to follow the links above, download them accordingly with your system and follow the instructions (we installed Homebrew in order to install Yarn but you can choose the method you prefer).
As final step you have (optional but you should) to install Gettext too. If you have installed Yarn with Homebrew you can just open the terminal and run the command: “brew install gettext”.
5) CREATE DIVI EXTENSION TOOL
At this point we have our WordPress environment set up and a fresh installation of the Divi theme. Now you just have to do a further little extra step in order to create your plugin, the Divi Extension.
Fortunately the Divi team with the Divi 3.1 release made available to all Divi developers community an awesome tool that will make it much easier and faster to reach the goal: the “Create Divi Extension” tool.
All you have to do is open your terminal, change directory to the “/wp-content/plugins” of your WordPress environment and simply run the following command:
Divi will take care of all, it will install React, React-dom and all the Divi scripts you will need and it will configure for you the Divi plugin and its structure.
Everything you will be asked will be a series of six questions in order to customize your Divi extension: the Extension Name, the Extension URL, the Description, the Author and Author URL, finally a unique Prefix that the script will use in order to create unique variables, functions and classes.

The process will be completed in few seconds and your Divi Plugin/Extension will be ready to be customized in your “/plugins” directory.
NEXT TUESDAY
You are now ready for the next step we will see in the next tuesday post: create your first Custom Module!
So stay tuned. See you next post!
Cheers


