<?php
class IDAA_AudioAdvanced extends ET_Builder_Module {
public $slug = 'idaa_audio_advanced';
public $vb_support = 'on';
protected $module_credits = array(
'module_uri' => 'https://howidivit.com/i-divi-advanced-audio',
'author' => 'Dan Mardis - Howidivit.com',
'author_uri' => 'https://howidivit.com',
);
public function init() {
$this->name = esc_html__( 'Audio Advanced', 'idaa-i-divi-advanced-audio' );
}
public function get_advanced_fields_config() {
return array(
'fonts' => array(
'title' => array(
'label' => esc_html__( 'Title', 'et_builder' ),
'css' => array(
'main' => "{$this->main_css_element} h2, {$this->main_css_element} h1.et_pb_module_header, {$this->main_css_element} h3.et_pb_module_header, {$this->main_css_element} h4.et_pb_module_header, {$this->main_css_element} h5.et_pb_module_header, {$this->main_css_element} h6.et_pb_module_header",
'important' => 'plugin_only',
),
'header_level' => array(
'default' => 'h2',
),
),
'caption' => array(
'label' => esc_html__( 'Caption', 'et_builder' ),
'css' => array(
'line_height' => "{$this->main_css_element} p",
'main' => "{$this->main_css_element} p",
'plugin_main' => "{$this->main_css_element} p, {$this->main_css_element} p strong",
),
),
),
'background' => array(
'use_background_color' => 'fields_only',
'settings' => array(
'color' => 'alpha',
),
'css' => array(
'important' => true,
),
'options' => array(
'background_color' => array(
'default' => et_builder_accent_color(),
),
),
),
'box_shadow' => array(
'default' => array(
'css' => array(
'custom_style' => true,
),
),
),
'margin_padding' => array(
'css' => array(
'important' => 'all',
'padding' => '.et_pb_column %%order_class%% .et_pb_audio_module_content',
),
),
'max_width' => array(
'css' => array(
'module_alignment' => '%%order_class%%.et_pb_audio_module.et_pb_module',
),
),
'text' => array(
'use_background_layout' => true,
'css' => array(
'text_orientation' => '%%order_class%% .et_pb_audio_module_content',
'text_shadow' => '%%order_class%% .et_pb_audio_module_content',
),
'options' => array(
'text_orientation' => array(
'default_on_front' => 'center',
),
'background_layout' => array(
'default_on_front' => 'dark',
),
),
),
'filters' => array(
'css' => array(
'main' => '%%order_class%%',
),
'child_filters_target' => array(
'tab_slug' => 'advanced',
'toggle_slug' => 'image',
),
),
'image' => array(
'css' => array(
'main' => '%%order_class%% .et_pb_audio_cover_art',
),
),
'button' => false,
);
}
public function get_custom_css_fields_config() {
return array(
'audio_cover_art' => array(
'label' => esc_html__( 'Audio Cover Art', 'et_builder' ),
'selector' => '.et_pb_audio_cover_art',
),
'audio_content' => array(
'label' => esc_html__( 'Audio Content', 'et_builder' ),
'selector' => '.et_pb_audio_module_content',
),
'audio_title' => array(
'label' => esc_html__( 'Audio Title', 'et_builder' ),
'selector' => '.et_pb_audio_module_content h2',
),
'audio_meta' => array(
'label' => esc_html__( 'Audio Meta', 'et_builder' ),
'selector' => '.et_audio_module_meta',
),
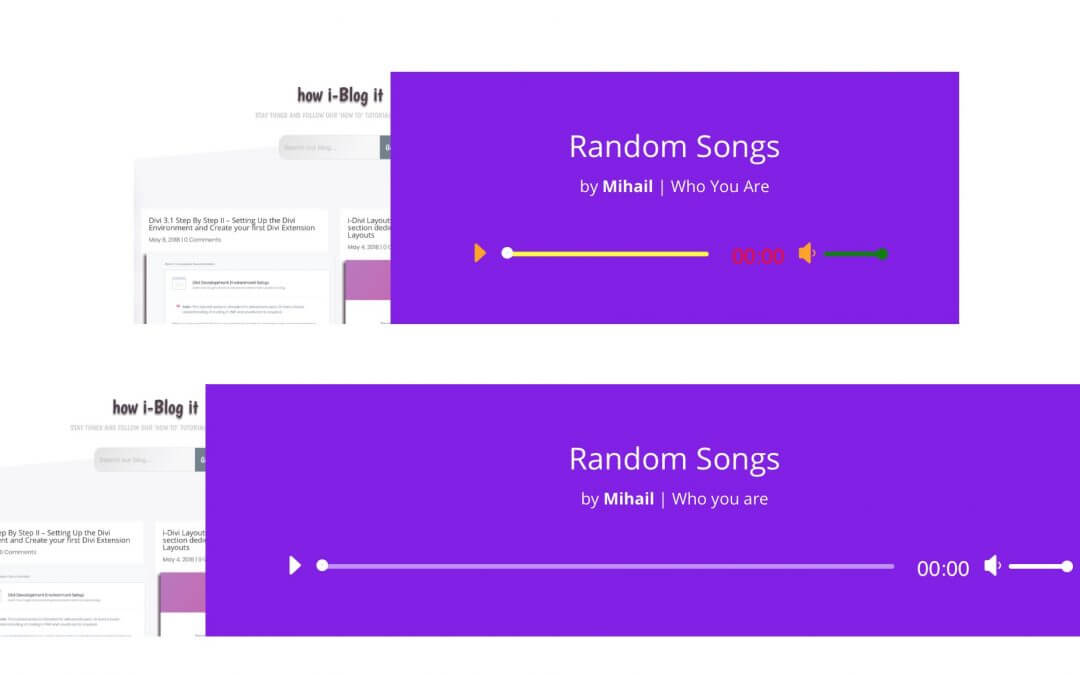
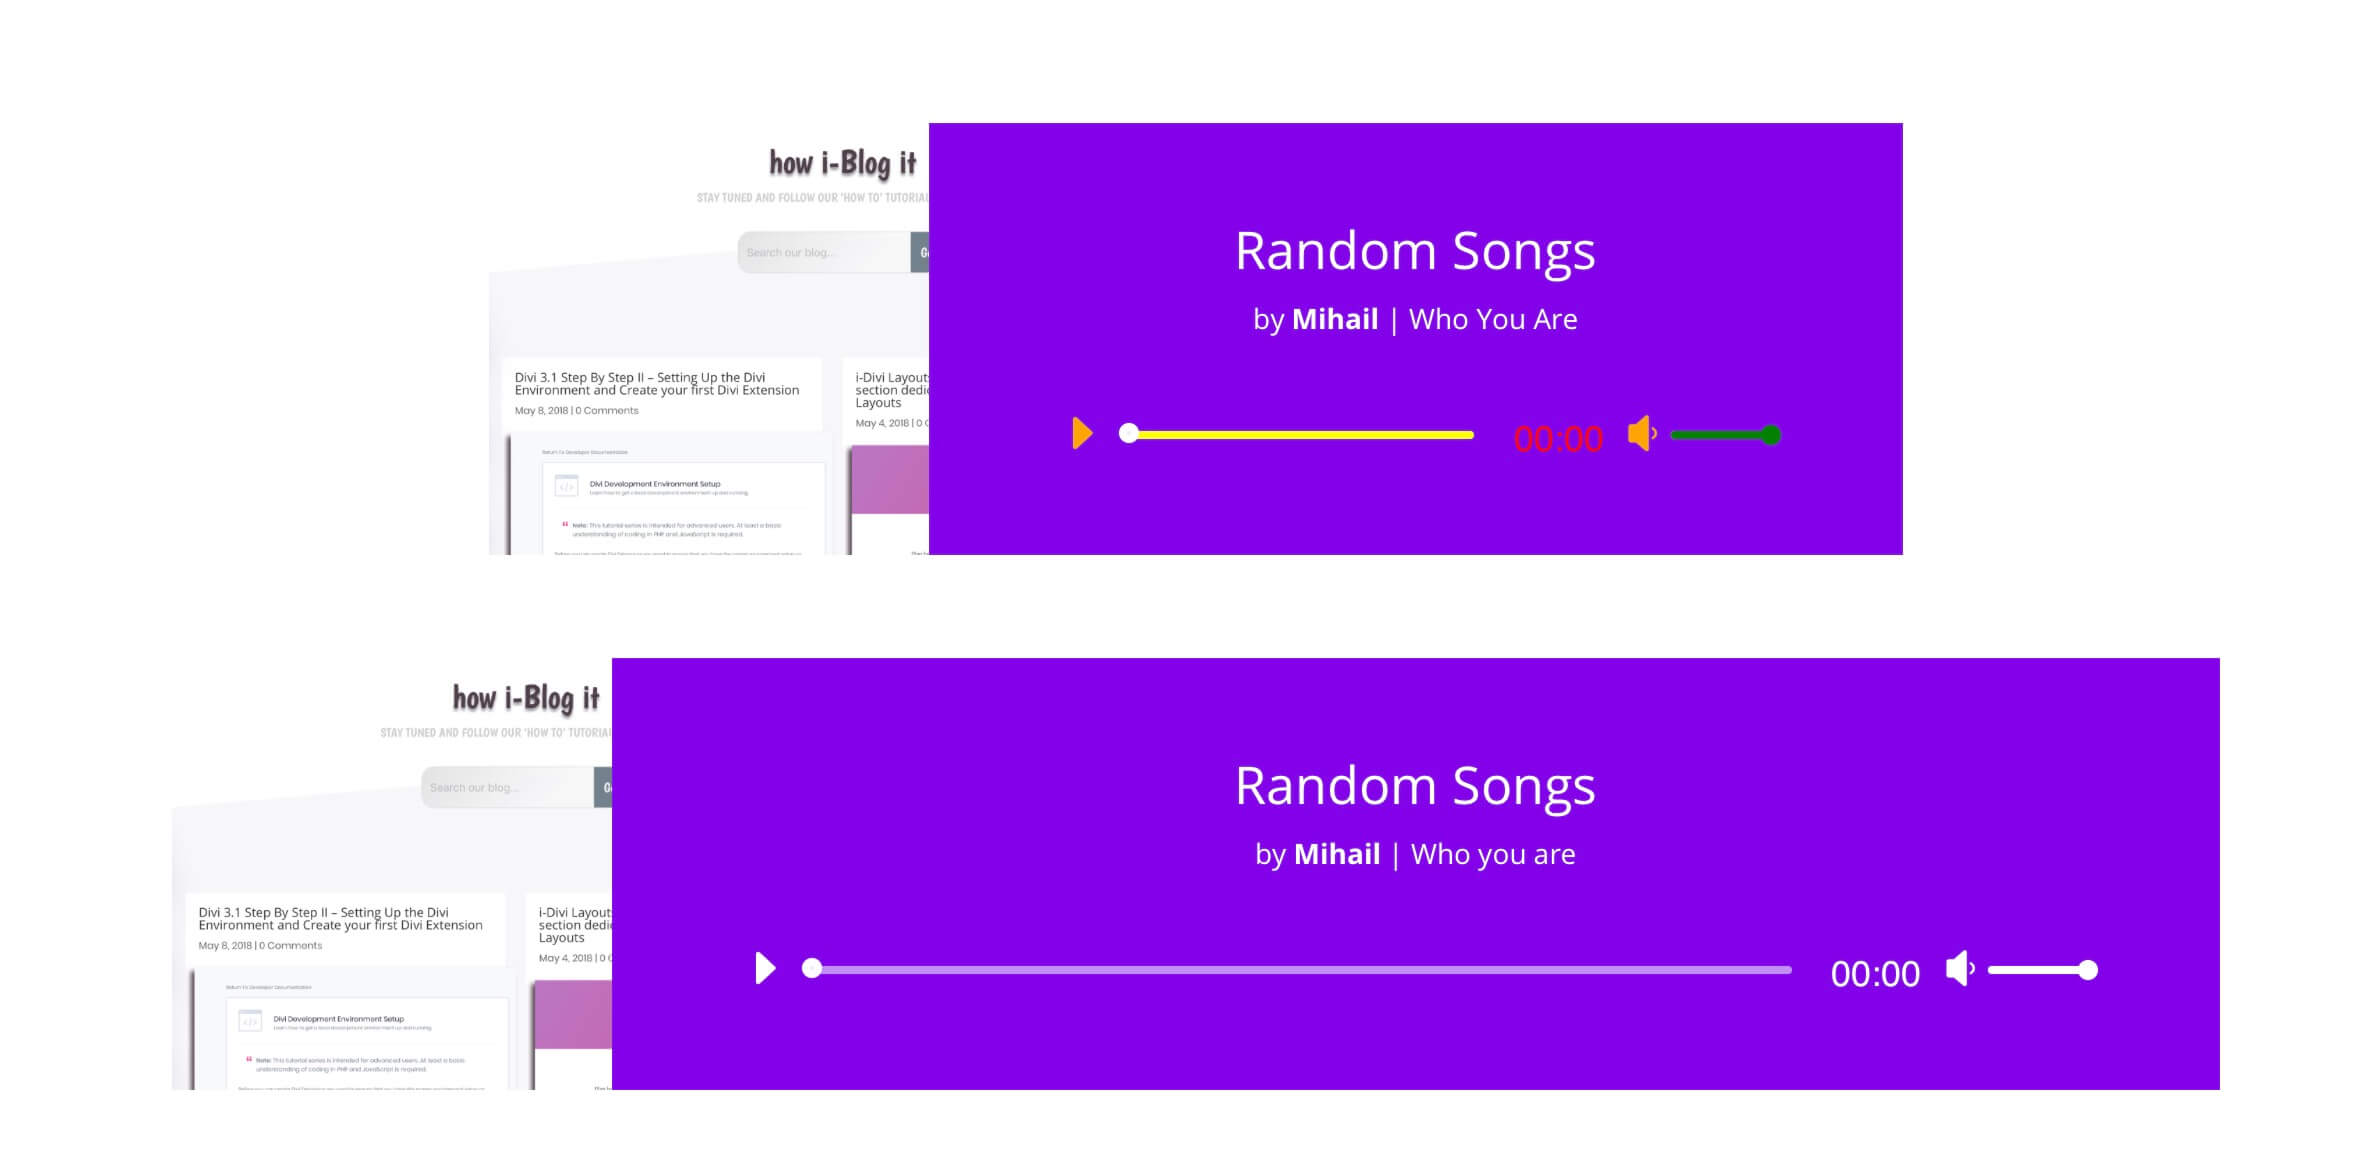
'audio_buttons' => array(
'label' => esc_html__( 'Player Buttons', 'et_builder' ),
'selector' => "{$this->main_css_element} .mejs-button.mejs-playpause-button button:before,{$this->main_css_element} .mejs-button.mejs-volume-button.mejs-mute button:before",
),
'audio_timer' => array(
'label' => esc_html__( 'Player Timer', 'et_builder' ),
'selector' => '.mejs-time.mejs-currenttime-container.custom',
),
'audio_sliders' => array(
'label' => esc_html__( 'Player Sliders', 'et_builder' ),
'selector' => "{$this->main_css_element} .et_audio_container .mejs-controls .mejs-time-rail .mejs-time-total,{$this->main_css_element} .et_audio_container .mejs-controls .mejs-horizontal-volume-slider .mejs-horizontal-volume-total",
),
'audio_sliders_current' => array(
'label' => esc_html__( 'Player Sliders Current', 'et_builder' ),
'selector' => "{$this->main_css_element} .et_audio_container .mejs-controls .mejs-time-rail .mejs-time-current,{$this->main_css_element} .et_audio_container .mejs-controls .mejs-time-rail .mejs-time-handle,{$this->main_css_element} .et_audio_container .mejs-controls .mejs-horizontal-volume-slider .mejs-horizontal-volume-current,{$this->main_css_element} .et_audio_container .mejs-controls .mejs-horizontal-volume-slider .mejs-horizontal-volume-handle",
),
);
}
public function get_fields() {
return array(
'audio' => array(
'label' => esc_html__( 'Audio', 'idaa-i-divi-advanced-audio' ),
'type' => 'upload',
'option_category' => 'basic_option',
'data_type' => 'audio',
'upload_button_text' => esc_attr__( 'Upload an audio file', 'idaa-i-divi-advanced-audio' ),
'choose_text' => esc_attr__( 'Choose an Audio file', 'idaa-i-divi-advanced-audio' ),
'update_text' => esc_attr__( 'Set As Audio for the module', 'idaa-i-divi-advanced-audio' ),
'description' => esc_html__( 'Define the audio file for use in the module. To remove an audio file from the module, simply delete the URL from the settings field.', 'idaa-i-divi-advanced-audio' ),
'toggle_slug' => 'audio',
'computed_affects' => array(
'__audio',
),
),
'title' => array(
'label' => esc_html__( 'Title', 'idaa-i-divi-advanced-audio' ),
'type' => 'text',
'option_category' => 'basic_option',
'description' => esc_html__( 'Define a title.', 'idaa-i-divi-advanced-audio' ),
'toggle_slug' => 'main_content',
),
'artist_name' => array(
'label' => esc_html__( 'Artist Name', 'idaa-i-divi-advanced-audio' ),
'type' => 'text',
'option_category' => 'basic_option',
'description' => esc_html__( 'Define an artist name.', 'idaa-i-divi-advanced-audio' ),
'toggle_slug' => 'main_content',
),
'album_name' => array(
'label' => esc_html__( 'Album name', 'idaa-i-divi-advanced-audio' ),
'type' => 'text',
'option_category' => 'basic_option',
'description' => esc_html__( 'Define an album name.', 'idaa-i-divi-advanced-audio' ),
'toggle_slug' => 'main_content',
),
'image_url' => array(
'label' => esc_html__( 'Cover Art Image URL', 'idaa-i-divi-advanced-audio' ),
'type' => 'upload',
'option_category' => 'basic_option',
'upload_button_text' => esc_attr__( 'Upload an image', 'idaa-i-divi-advanced-audio' ),
'choose_text' => esc_attr__( 'Choose an Image', 'idaa-i-divi-advanced-audio' ),
'update_text' => esc_attr__( 'Set As Image', 'idaa-i-divi-advanced-audio' ),
'description' => esc_html__( 'Upload your desired image, or type in the URL to the image you would like to display.', 'idaa-i-divi-advanced-audio' ),
'toggle_slug' => 'image',
'computed_affects' => array(
'__audio',
),
),
'__audio' => array(
'type' => 'computed',
'computed_callback' => array( 'ET_Builder_Module_Audio', 'get_audio' ),
'computed_depends_on' => array(
'audio',
),
'computed_minimum' => array(
'audio',
),
),
);
}
static function get_audio( $args = array(), $conditional_tags = array(), $current_page = array() ) {
$defaults = array(
'audio' => '',
);
$args = wp_parse_args( $args, $defaults );
// remove all filters from WP audio shortcode to make sure current theme doesn't add any elements into audio module
remove_all_filters( 'wp_audio_shortcode_library' );
remove_all_filters( 'wp_audio_shortcode' );
remove_all_filters( 'wp_audio_shortcode_class' );
return do_shortcode( sprintf( '[audio src="%s" /]', $args['audio'] ) );
}
function render( $attrs, $content = null, $render_slug ) {
global $wp_version;
$audio = $this->props['audio'];
$title = $this->props['title'];
$artist_name = $this->props['artist_name'];
$album_name = $this->props['album_name'];
$image_url = $this->props['image_url'];
$background_color = $this->props['background_color'];
$background_layout = $this->props['background_layout'];
$header_level = $this->props['title_level'];
$meta = $cover_art = '';
if ( '' !== $artist_name || '' !== $album_name ) {
if ( '' !== $artist_name && '' !== $album_name ) {
$album_name = ' | ' . $album_name;
}
if ( '' !== $artist_name ) {
$artist_name = sprintf(
et_get_safe_localization( _x( 'by <strong>%1$s</strong>', 'Audio Module meta information', 'et_builder' ) ),
esc_html( $artist_name )
);
}
$meta = sprintf( '%1$s%2$s',
$artist_name,
esc_html( $album_name )
);
$meta = sprintf( '<p class="et_audio_module_meta">%1$s</p>', $meta );
}
if ( '' !== $image_url ) {
$cover_art = sprintf(
'<div class="et_pb_audio_cover_art" style="background-image: url(%1$s);">
</div>',
esc_attr( $image_url )
);
}
$parallax_image_background = $this->get_parallax_image_background();
// some themes do not include these styles/scripts so we need to enqueue them in this module
wp_enqueue_style( 'wp-mediaelement' );
wp_enqueue_script( 'et-builder-mediaelement' );
// remove all filters from WP audio shortcode to make sure current theme doesn't add any elements into audio module
remove_all_filters( 'wp_audio_shortcode_library' );
remove_all_filters( 'wp_audio_shortcode' );
remove_all_filters( 'wp_audio_shortcode_class' );
$video_background = $this->video_background();
// Module classnames
$this->add_classname( array(
'et_pb_audio_module',
'clearfix',
"et_pb_bg_layout_{$background_layout}",
) );
if ( 'light' === $background_layout ) {
$this->add_classname( 'et_pb_text_color_dark' );
}
if ( '' === $image_url ) {
$this->add_classname( 'et_pb_audio_no_image' );
}
// Remove automatically added module (backward compat)
$this->remove_classname( $render_slug );
// Images: Add CSS Filters and Mix Blend Mode rules (if set)
if ( array_key_exists( 'image', $this->advanced_fields ) && array_key_exists( 'css', $this->advanced_fields['image'] ) ) {
$this->add_classname( $this->generate_css_filters(
$render_slug,
'child_',
self::$data_utils->array_get( $this->advanced_fields['image']['css'], 'main', '%%order_class%%' )
) );
}
// WP 4.8 or lower compatibility
if ( version_compare( $wp_version, '4.9' ) === -1 ) {
$this->add_classname( 'et_pb_audio_legacy' );
}
$output = sprintf(
'<div%7$s class="%4$s"%5$s>
%9$s
%8$s
%6$s
<div class="et_pb_audio_module_content et_audio_container">
%1$s
%2$s
%3$s
</div>
</div>',
( '' !== $title ? sprintf( '<%1$s class="et_pb_module_header">%2$s</%1$s>', et_pb_process_header_level( $header_level, 'h2' ), esc_html( $title ) ) : '' ),
$meta,
self::get_audio( array(
'audio' => $audio,
) ),
$this->module_classname( $render_slug ),
sprintf( ' style="background-color: %1$s;"', esc_attr( $background_color ) ),
$cover_art,
$this->module_id(),
$video_background,
$parallax_image_background
);
return $output;
}
}
new IDAA_AudioAdvanced;