
Welcome to our second Series post on creating shapes with Divi Module backgrounds. Today is a great day, it’s been just over a year that Howidivit.com was born and this post is our number 100! So we want to design something colorful to celebrate it. We will focus just on creating simple shapes that we can use as background, just as a texture for some other modules and sections.
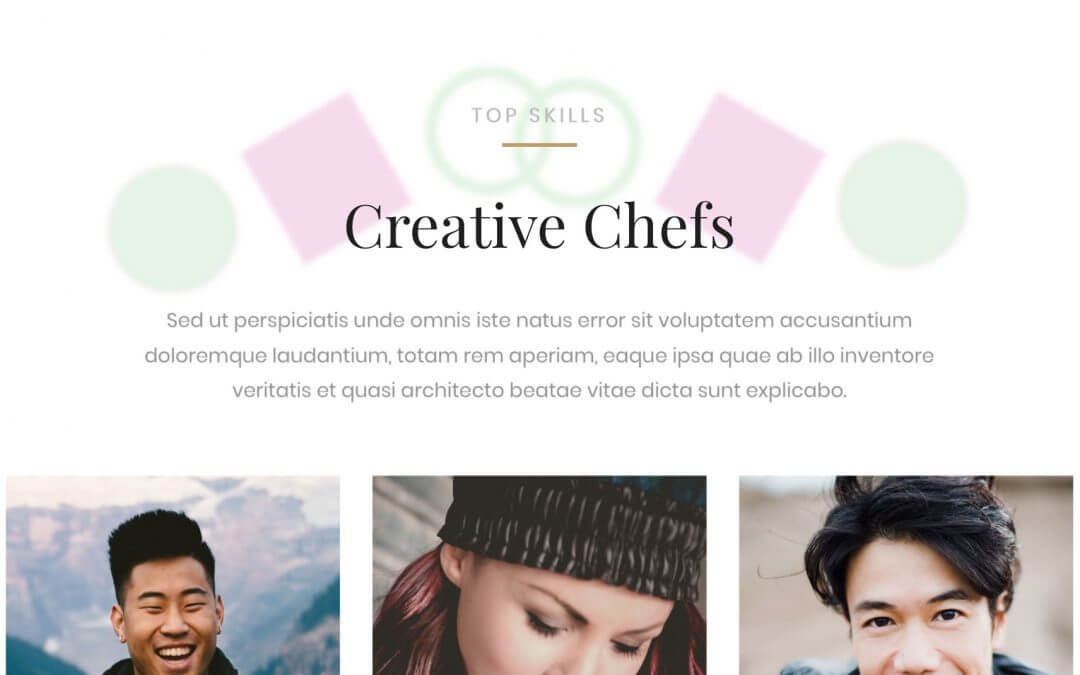
Let’s see before a sneak peek of our final result, we borrowed a section of the Restaurant Divi Layout:
Creative Chefs
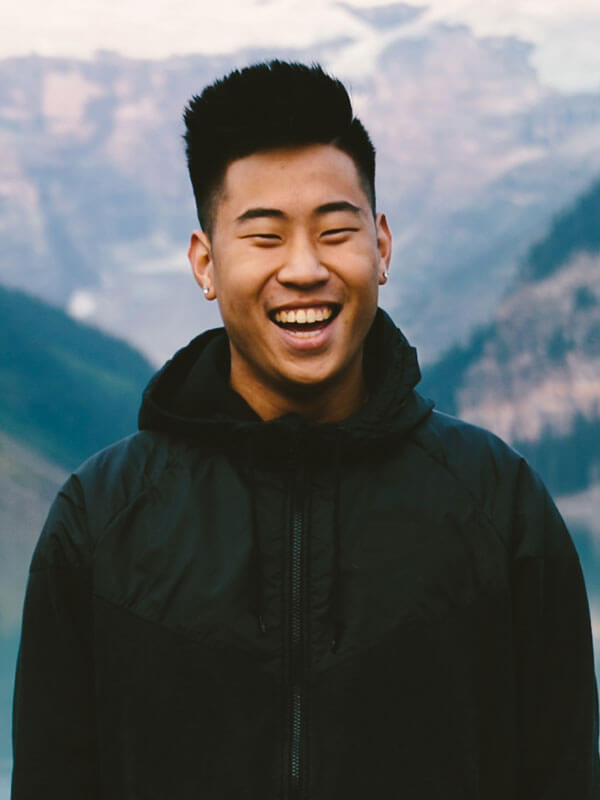
Philip Salazar
HEAD CHEF
Phasellus ac massa justo. Pellentesqu porttitor, ex nec dignis congue, ex enim fermentum nunc.
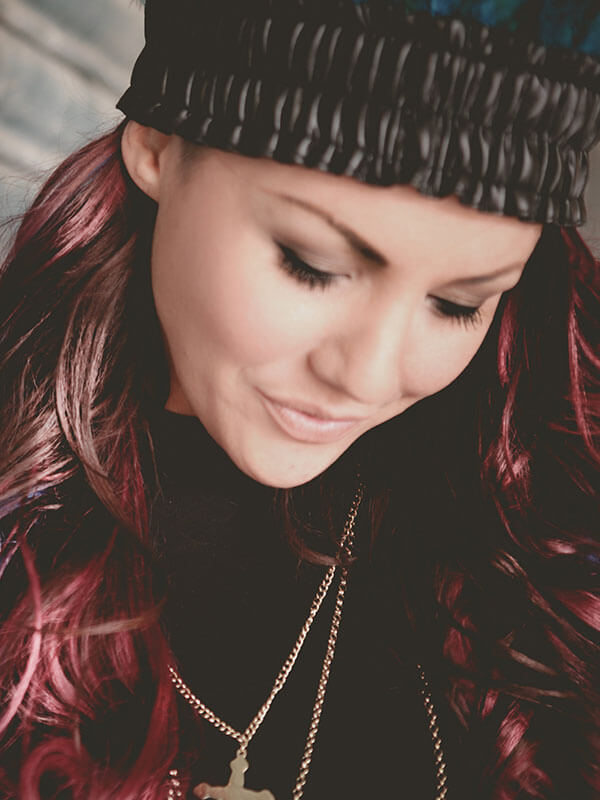
Andrea Westin
SOUS CHEF
Phasellus ac massa justo. Pellentesqu porttitor, ex nec dignis congue, ex enim fermentum nunc.

Jonathan Aspen
PASTRY CHEF
Phasellus ac massa justo. Pellentesqu porttitor, ex nec dignis congue, ex enim fermentum nunc.
First of all let’s create our column and module structure. It’s really simple, we use a six-columns row with six text modules and below the design we prefer; in our case we just imported the premade Divi Restaurant layout ( a Team section).
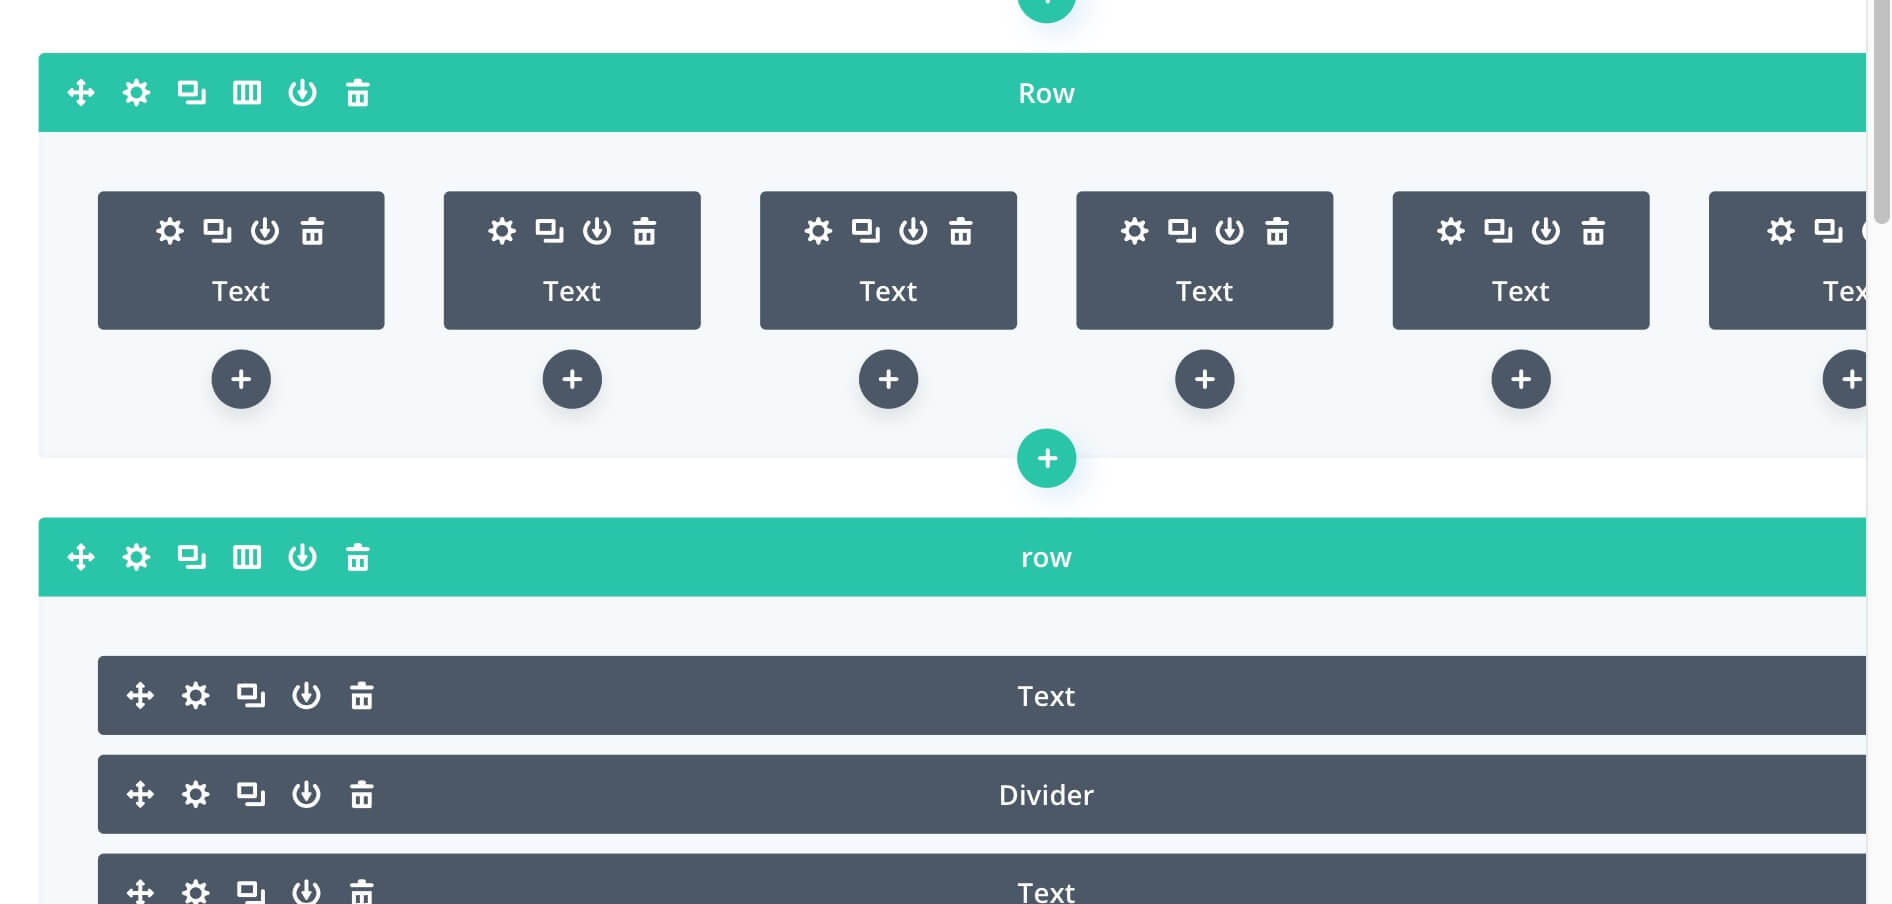
TEXT MODULE BACKGROUNDS
We want of course take advantage of all the Divi power, so we will use the recent features about extending and copying styled among modules. We will style three types of Text modules and copy/paste twice.
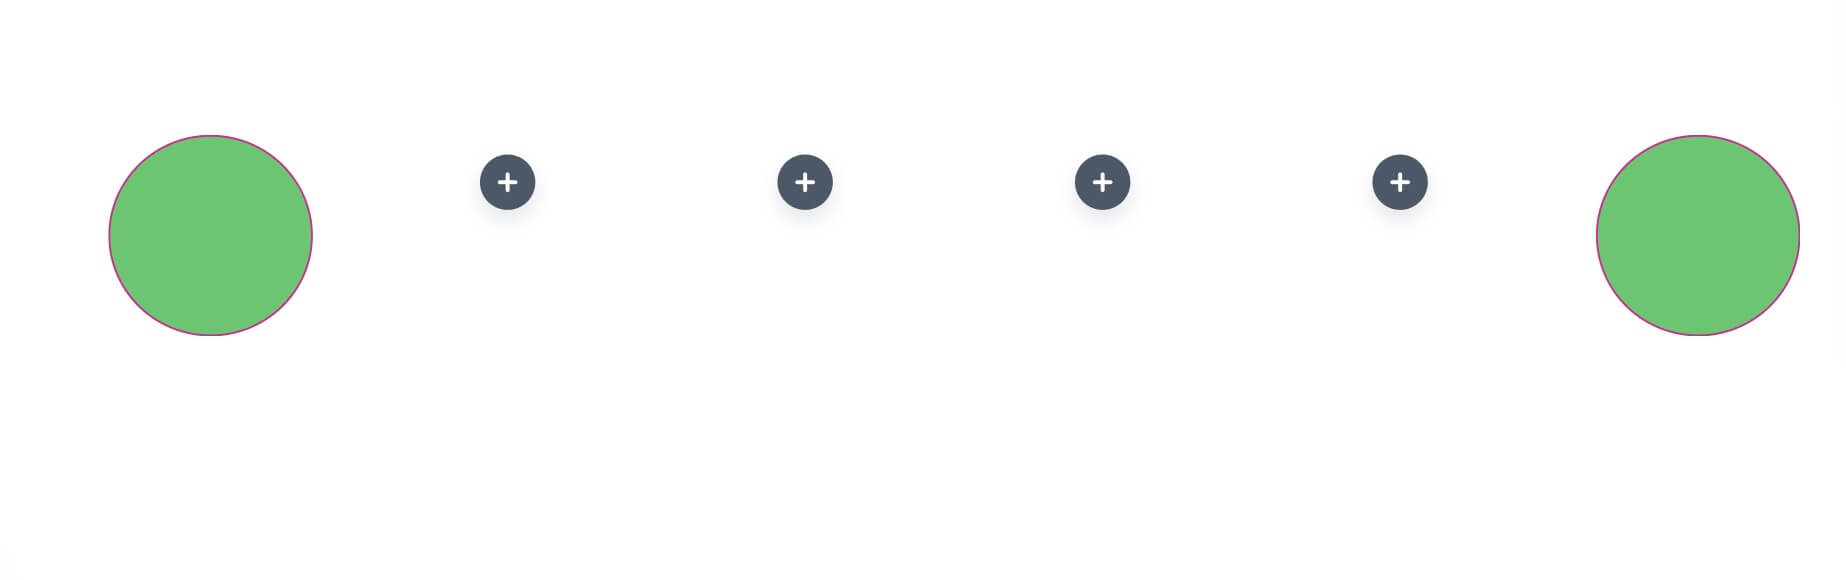
CIRCLE BACKGROUND
Let’s start from a simple circle background. We add a text module in our first column and give it the following settings:
- Background Color: rgba(100,196,106,0.95);
- Text: Delete all the text;
- Spacing (Padding): 50px Top and Bottom;
- Border: 50% Radius, 1px border of #c9268d color.
Now we can just right click on our Circle text module, select Copy Module Styles and then right click on the sixth module and select Paste Module Styles.
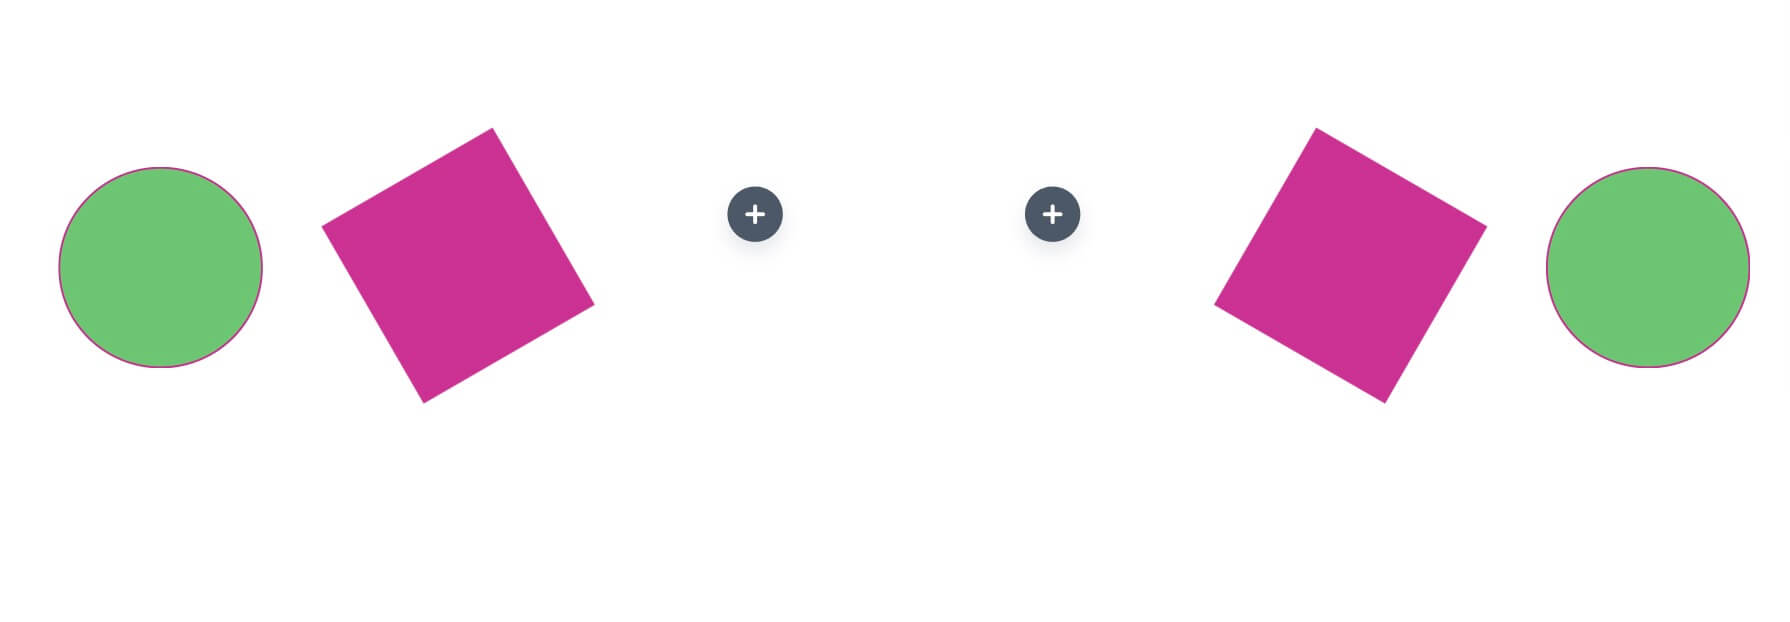
DIAMOND BACKGROUND
Now we can pass to our second text module that we want to design as a rhombus partially inclined toward the right side. We can just duplicate our circle text module and then modify the settings:
- Background Color: rgba(201,38,141,0.95);
- Border: No Radius, No Border.
- Custom Css -> Main Element: “transform: rotate(60deg);”
Also in this case we simply paste our styles to the fifth module.
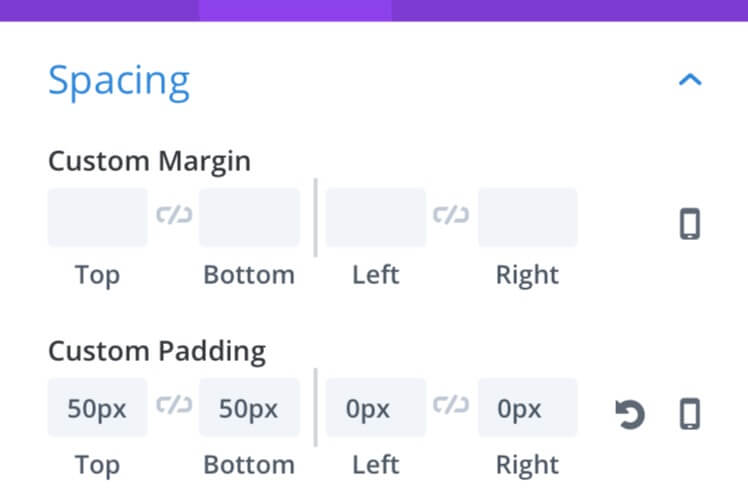
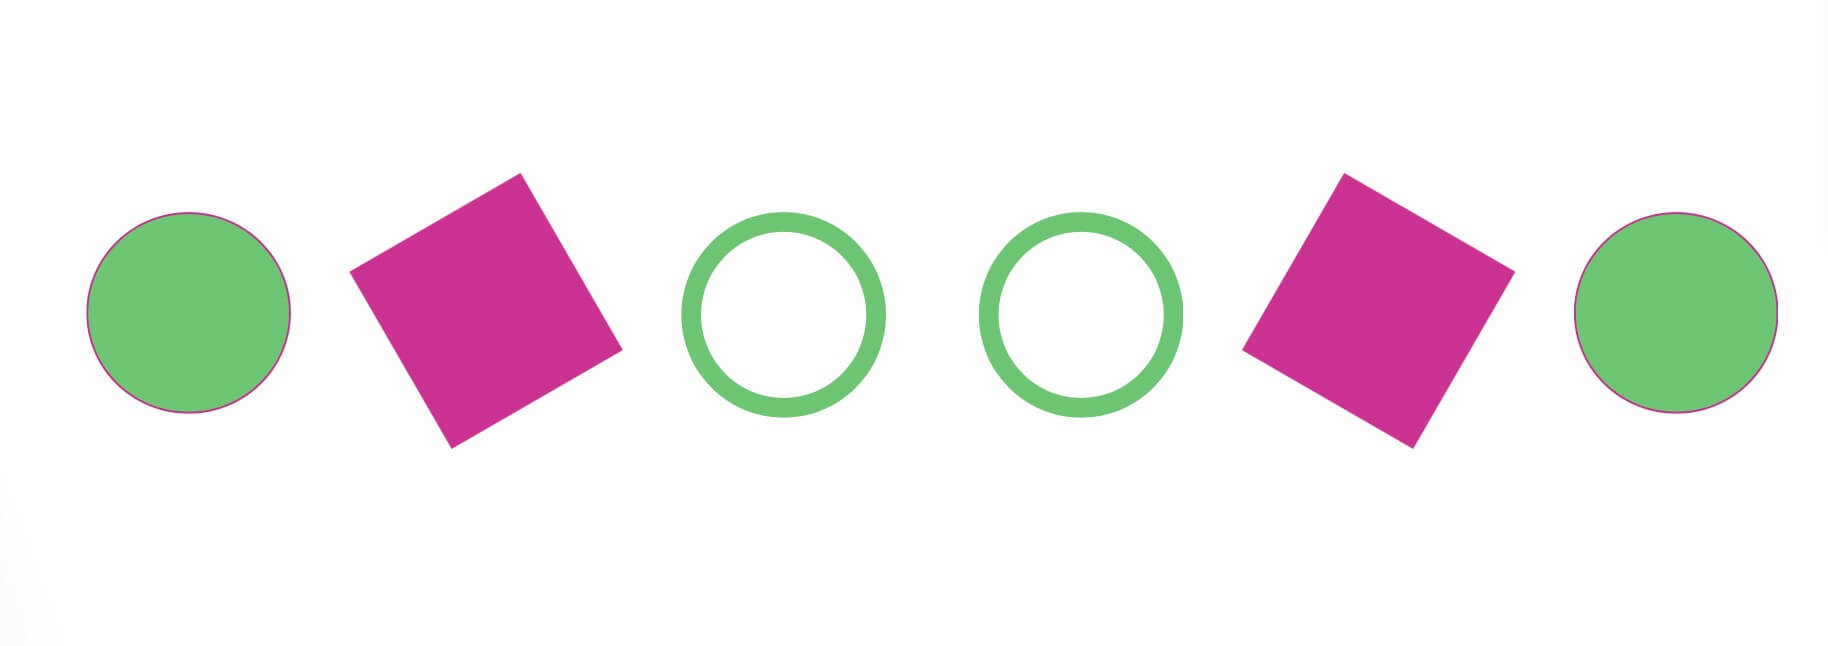
RING BACKGROUND
Finally we want to achieve a background that looks like a ring. We simply duplicate our Circle text, then remove the background itself and assign it a green border of 10px; we also have to adjust our Spacing settings changing the padding top and bottom to 42px. Once pasted the module style to our fourth text we should have a design like this:
MARGIN AND SPACING
Obviously we could use this design but in our case we want something more original, so we choose to use some margin in order to create a kind of chain.
We will work with column margins (not modules!), so we open our Row settings, we go to the Advanced -> Custom Css and add the following Css:
- Column 1 Main Element: margin-right: 20px !important; margin-top: 40px;
- Column 3 Main Element: margin-left: -20px !important; margin-top: -40px;
- Column 4 Main Element: margin-left: -80px !important; margin-top: -30px;
- Column 5 Main Element: margin-left: -20px !important;
- Column 6 Main Element: margin-left: -20px !important; margin-top: 20px;
Finally we translate down our design in order to make it overlaps the below section. So just open the Row Settings -> Advanced -> Custom Css -> Main Element and type: “transform: translateY(200px)”.
FILTERING
The last step we have to do is apply filters in order to make our shapes just a background, so not too invasive. We enter the Row Settings -> Design -> Filters and apply an Opacity of 18% and a 2px of Blur. All done!
Our design is already ok. However we can go further adding a bit of animation that will mix with the animation of the below section.
We will keep the things very simple, so we open our first text module settings, go to Design -> Animation, we select a Bounce effect with a really slow duration (like 5000ms) and a Center direction. Then we right click on the Animation toggle and select Extend Animation Styles, then we choose to extend it to “All Texts” through “This Row” and thanks to this marvelous Divi feature we will see our animation immediately applied to all our six text modules.
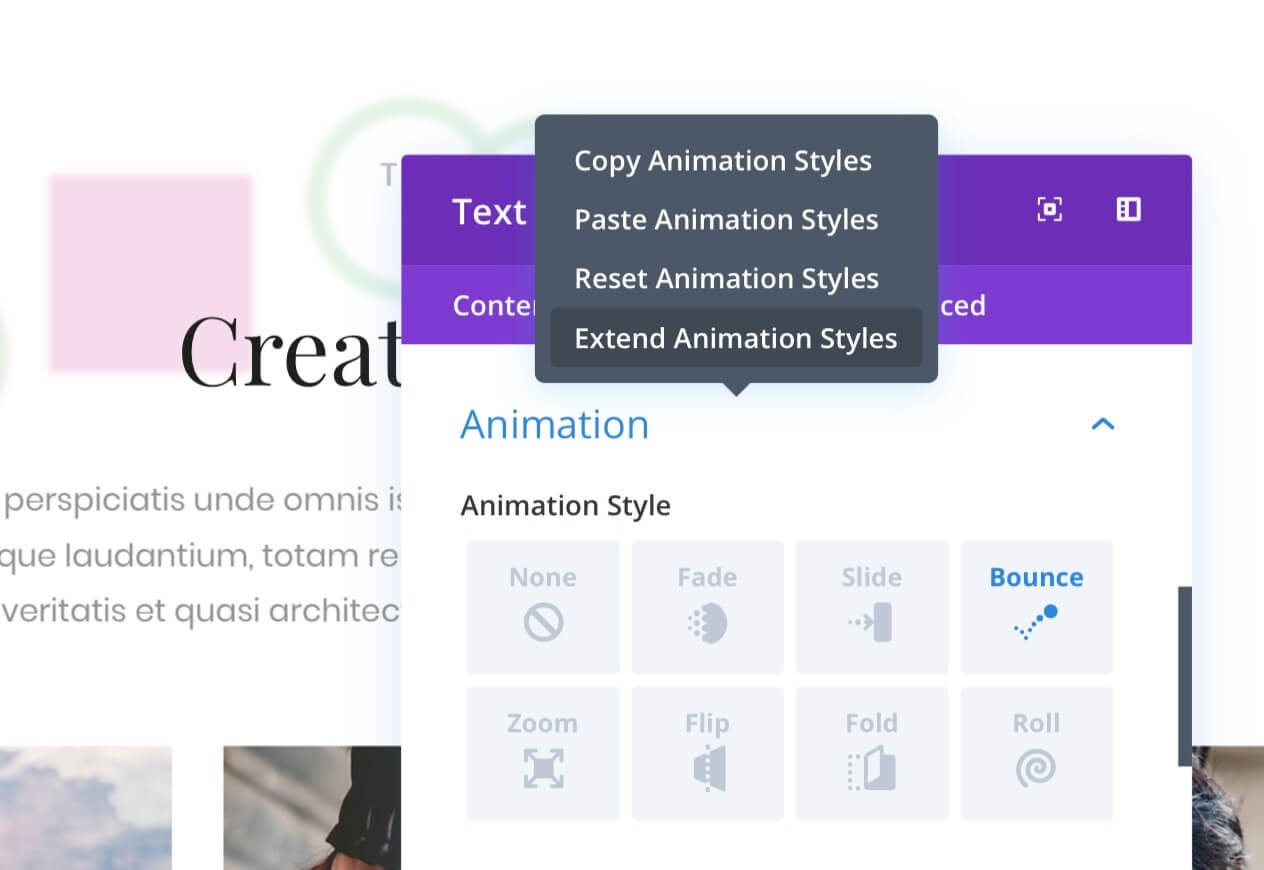
We can also setting some little delay to some of our text modules to have a nicer effect. Good! The possibilities, as always in Divi, are really endless.
NOTE: Concerning our Diamond texts you should notice that initially the rotating transform property has been removed when you assign it an animation. So you have to set None to Animation and then add a custom animation in the Page Settings -> Advanced -> Custom Css or, otherwise, we simply remove the animation to our two diamonds.
In the next post we will see how to create other awesome shapes, always just using Divi Text Modules, the Background and other Divi options.
See you next post!
Cheers


