
Ok, we know we are on late. Today we are going to talk about design when we are dealing with Divi Blog module and due to the extension of the argument this post will be just the first part of a 5-steps Series. Our first Series!
Let’s go. Our post today have the goal to explain step-by-step same design we have recently adopted for the blog section on the homepage (the entire website itself is completely in progress for our will so that we will explain along the way every customization we will do).
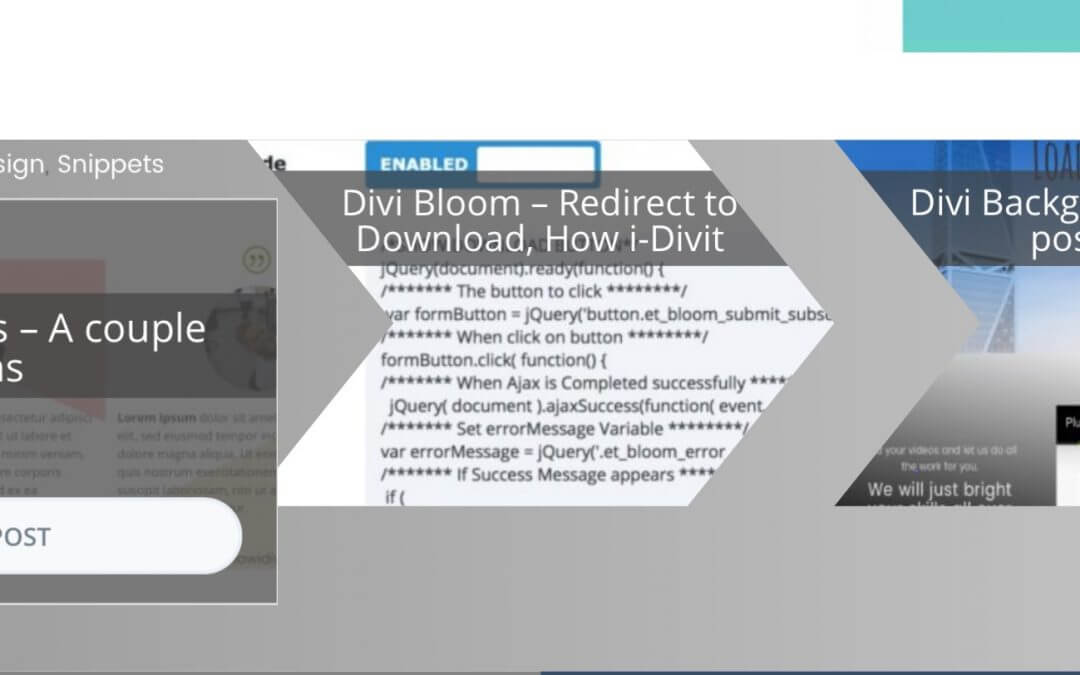
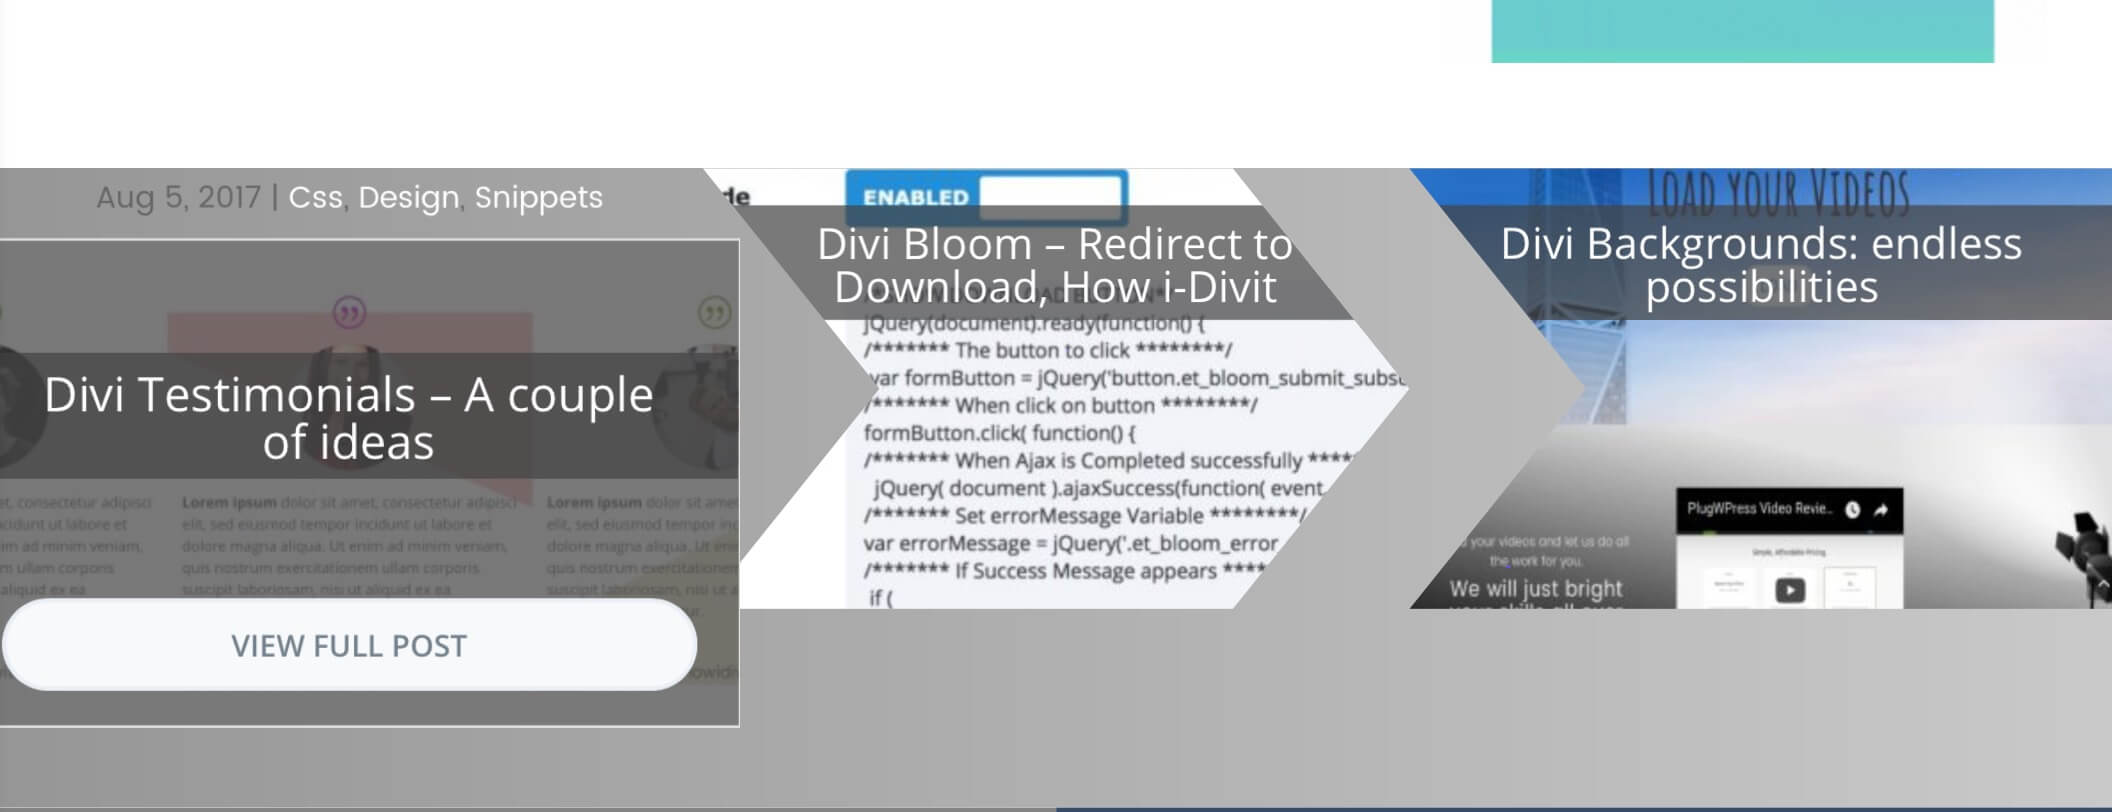
The final result should be something like the image below (with the first column showing the design when hovered).
THE LAYOUT
So quickly, let’s start with the basic layout structure we have to set up in order to get the result above.
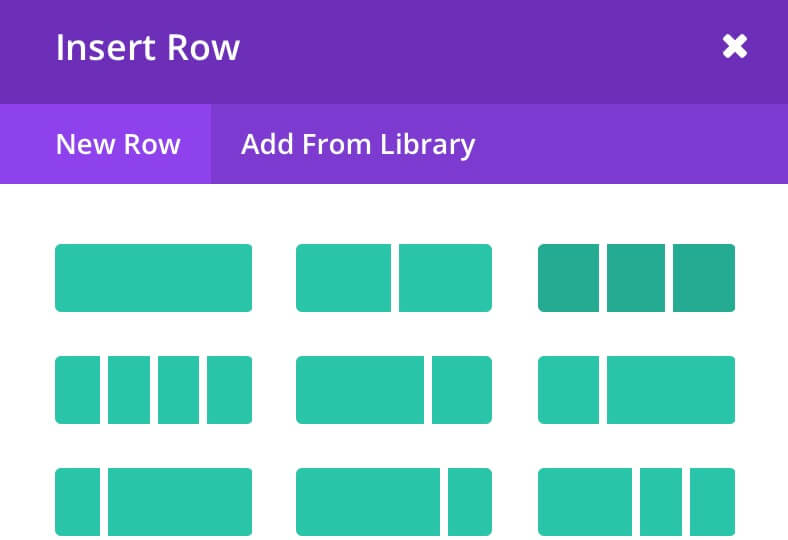
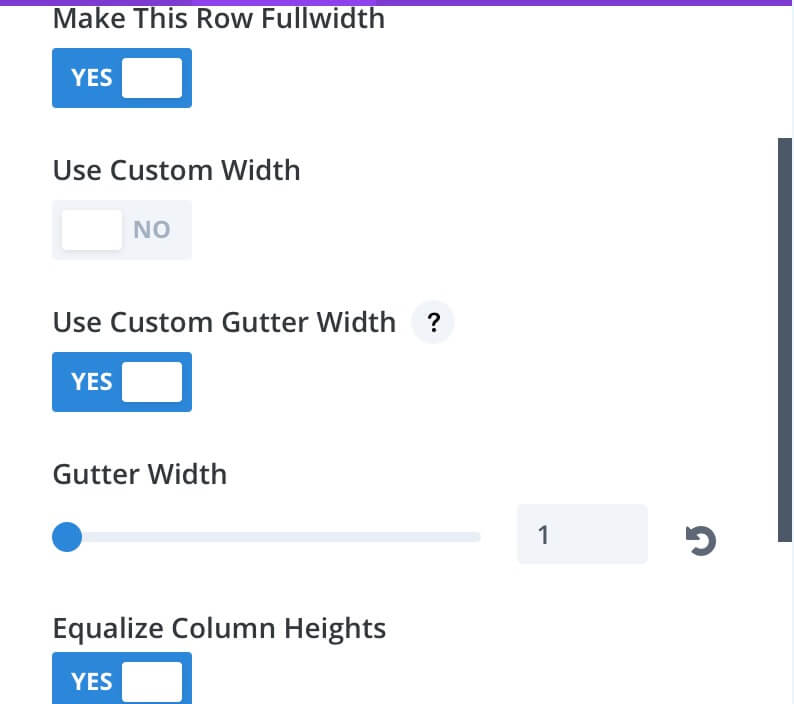
First of all, we have to create a new Standard Section and a one-column Row inside the section. Then go into Row Settings->Design->Sizing and Make this Row Fullwidth. Finally set Custom Gutter to 1.
Well, now let’s set in Design->Spacing custom Padding and Margin all to 0 (these values may obviously change according to your needs ).
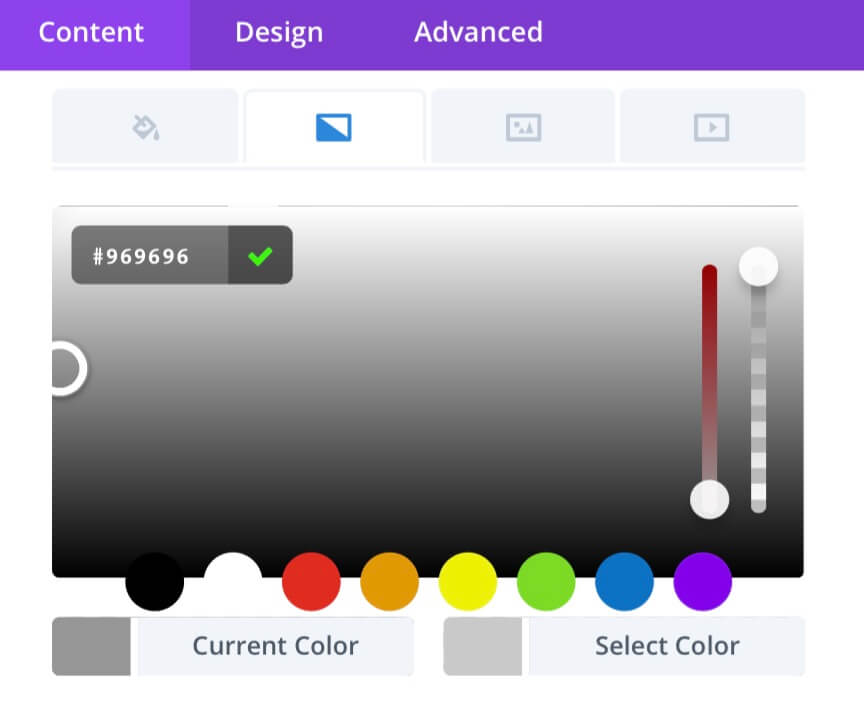
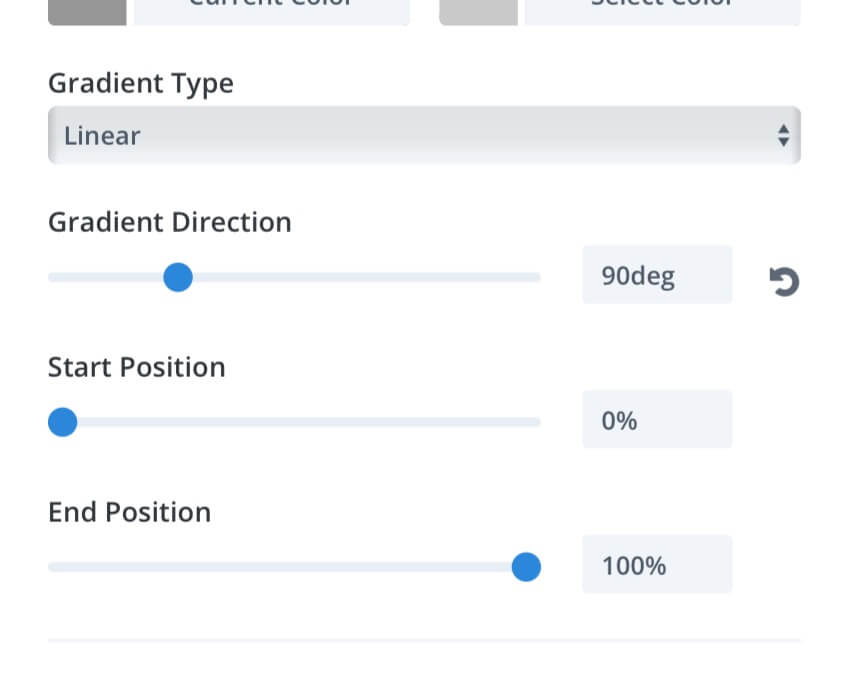
Before we can leave out the Row Settings, we have also to create a background that will appear between one grid and the other. Simply go to Content->Background, select the second Gradient Tab (or a single background color if you prefer) and choose two shades of the same color (in our case shades of grey). Set the Gradient Type (Linear) and Direction to 90deg, leaving the other values as default.
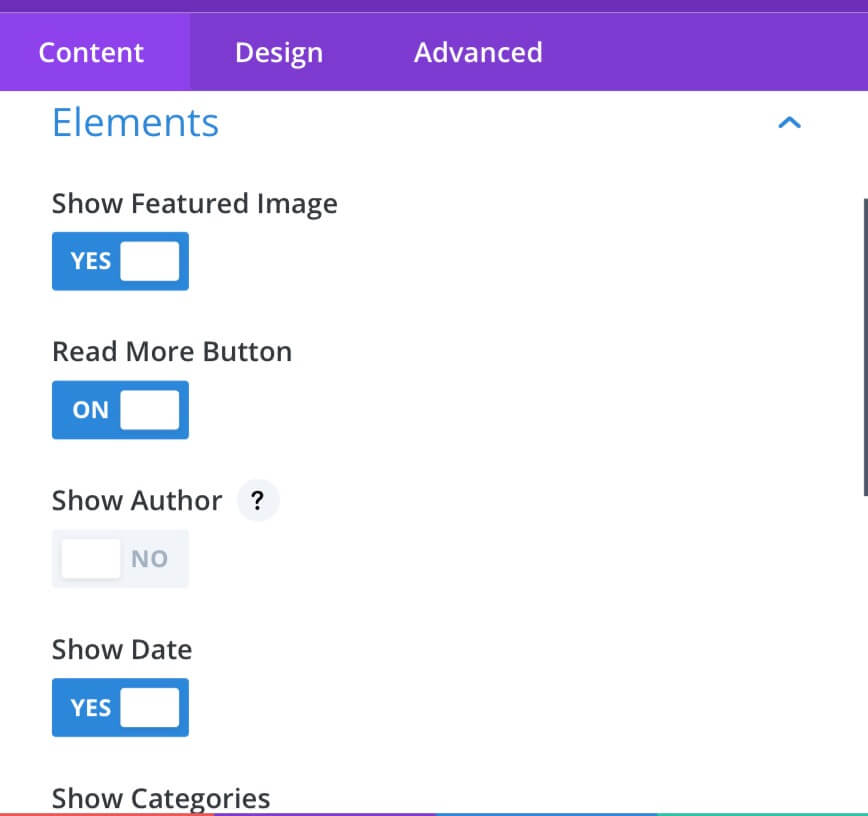
We are at beginning but we are near to the end. Few steps. We have to create our Blog Module and setting it to display 3 posts (the latest ones), choose the post categories and then the folloging options:
Show Featured Image -> Yes
Read More Button -> Yes
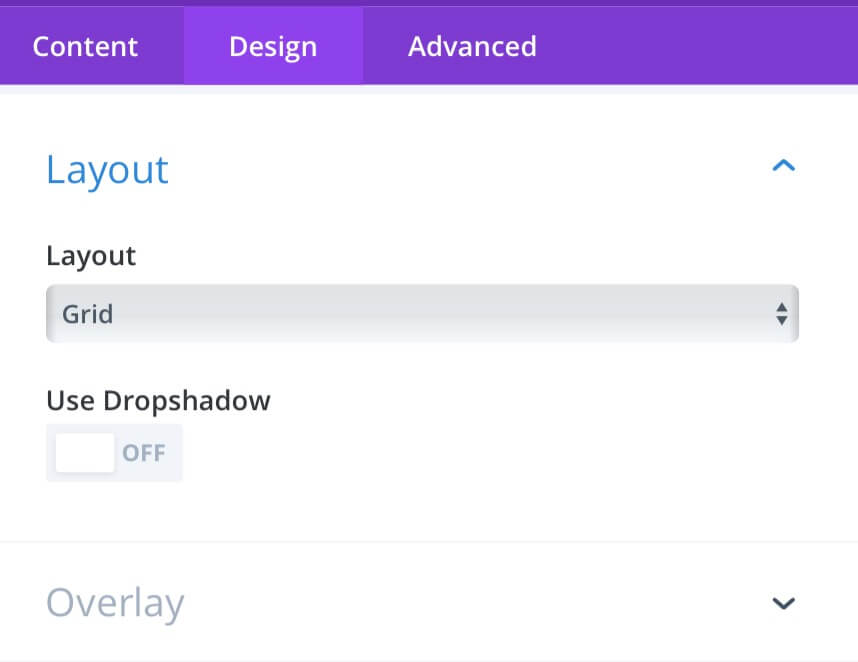
Layout -> Grid
Use Dropshadow -> Off
Then we have to set the Overlay on hover, the Border and, overall, our css class that we will customize in a minute.
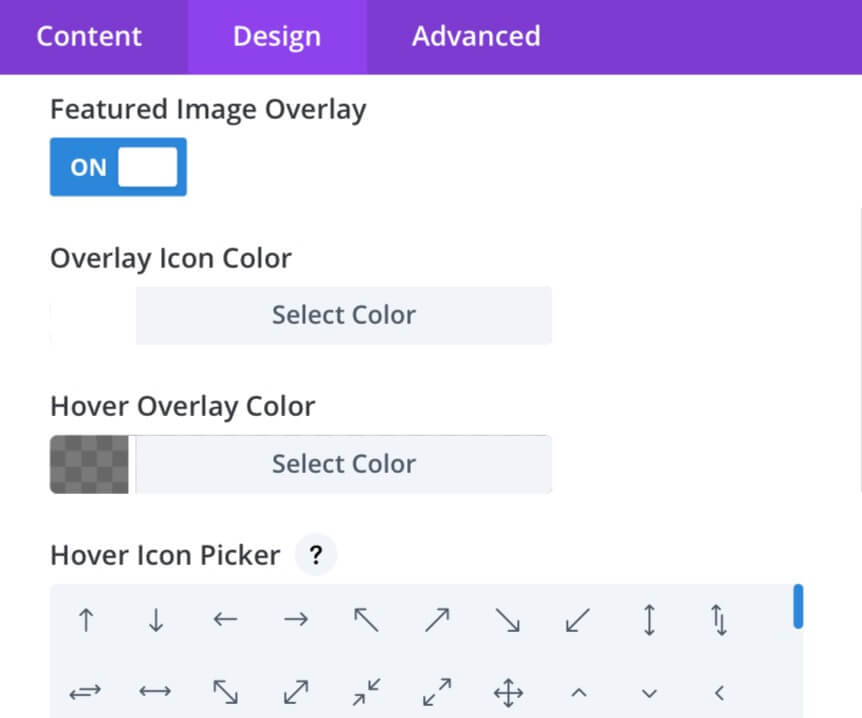
Featured Image Overlay -> On
Overlay Icon Color -> not important (we will hide the icon!)
Hover Overlay Color -> rgba(66,66,66,0.71)
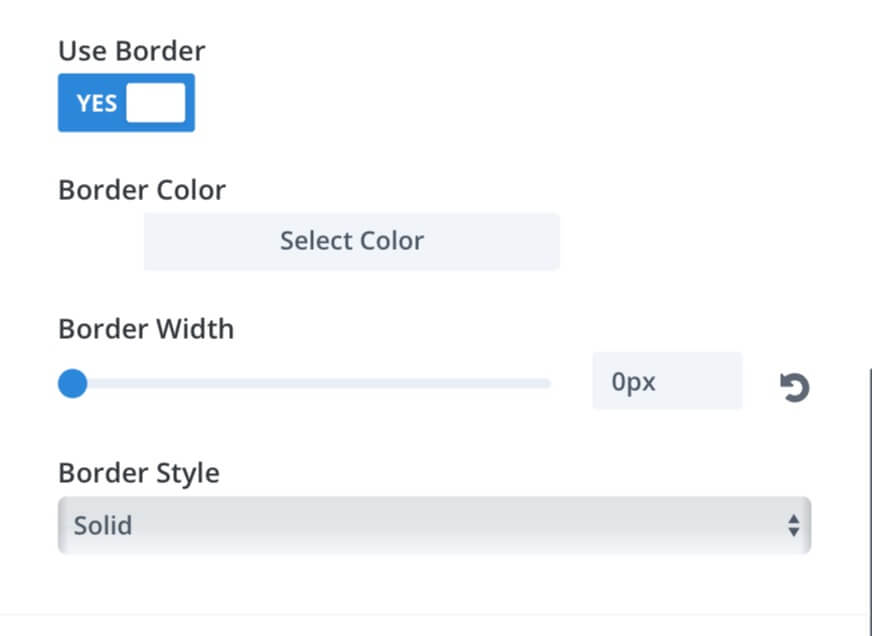
Use Border -> Yes
Border Color -> White (not important)
Border Width -> 0px
Border Style -> Solid
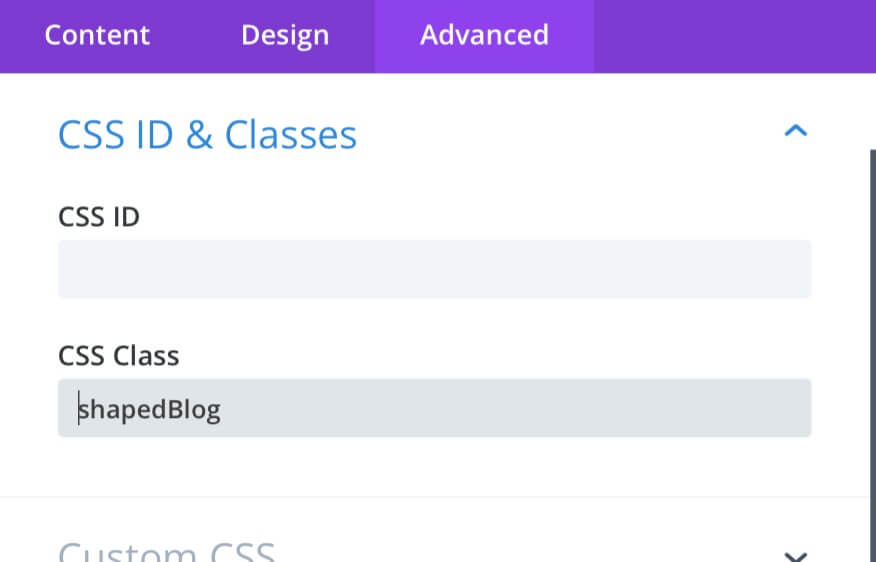
Advanced -> Css Class -> shapedBlog
A LITTLE BIT OF JS
Only one step is left – the magic of css – to reach our goal, but before we want to add also a little bit of Javascript in our Divi Theme Options -> Integration -> Add Code to the
. We are talking about a couple of little snippets that we have found on Elegant Themes Blog, the first have the goal to change our More Link Button text.The second one will change the default order of our blog module so that it will be shown the title and post meta right above the featured image. You can find all these customization and others in this Elegant post.
NOTE: Obviously if you want this behavior not to affect your entire blog you have to add a further class or id selector to jQuery code.
THE MAGIC OF CSS
Ok, now the only thing left to do is to dive into the magic of css. Simply go into Divi Theme Options and add in General -> Custom Css and add the following css lines.
NOTE: Concerning the clip-path properties we got started from Clippy.com with its fantastic intuitive way to construct custom path.
All done. Of course it’s just scraping the surface on endless possibilities that Divi and Css together offer to realize a design layout that can stand out from the crowd.
One last Note: the design we have just seen is certain a good ‘desktop’ design, not a mobile-friendly one; so beside the shaped Blog section we have to create another one only visible on Mobile and Tablet (let the former one to be visible only on desktop). We talk about the mobile-friendly design in a later post.
See you next post!
Cheers


