
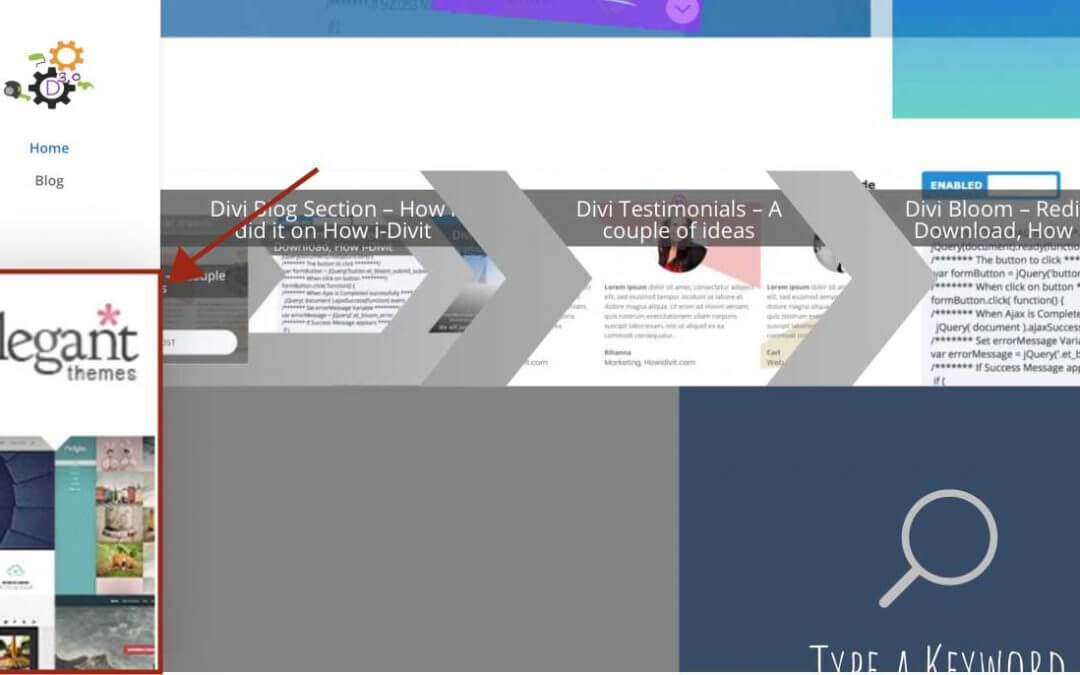
Welcome to another How i-Divit post. Today we want quickly show you how we have added a fixed Advertising Banner (of course we chose Elegant Themes banner ) into our Divi vertical menus.
To get the result we have in mind, we are going to use one of the most popular Elegant Themes Plugin – after Divi Builder of course -, Bloom.
We could achieve the same result simply with the aim of the code, adding an Html snippet in the Homepage template ( exclusively via code ) or also using an image module in the construction of the homepage and then fixing this one to the left bottom corner of the page itself. But Bloom offers us a simpler and cleaner way to do it, without a massive use of code and with two benefits: the first one, we could know the number of impressions on it (not the conversions obviuosly, no forms will appear in our optin!); and the second one, we could easily start an A/B testing changing image and parameters (obviosly the test is partial not having the conversion rate but it can be useful in order to give a touch of changement to your homepage).
So, let’s get started!
BLOOM SETTINGS
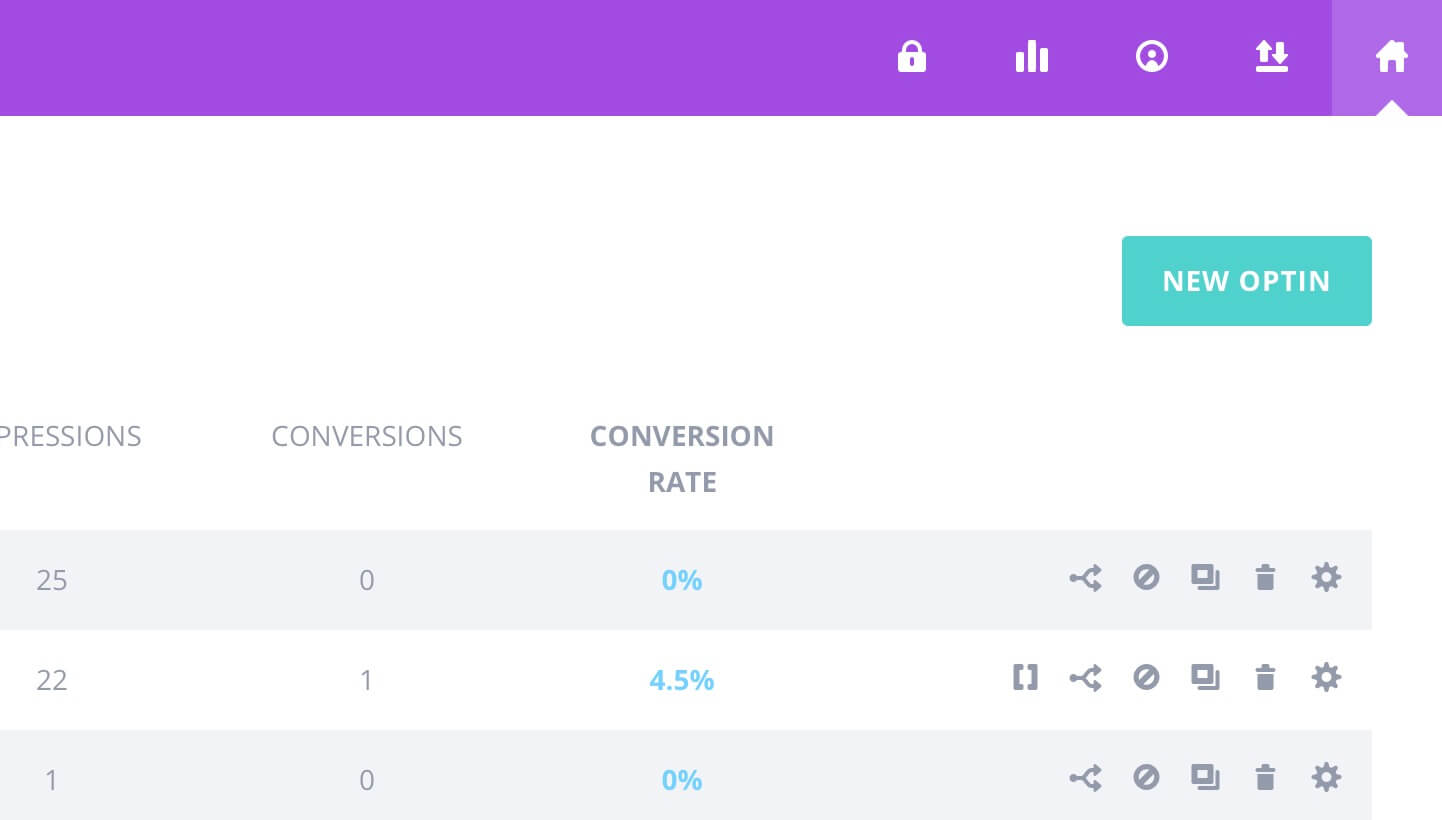
First of all, we have to install ET Bloom Plugin (if we have not done so yet), go to Bloom -> Optin Forms and click on right-floating New Optin button.
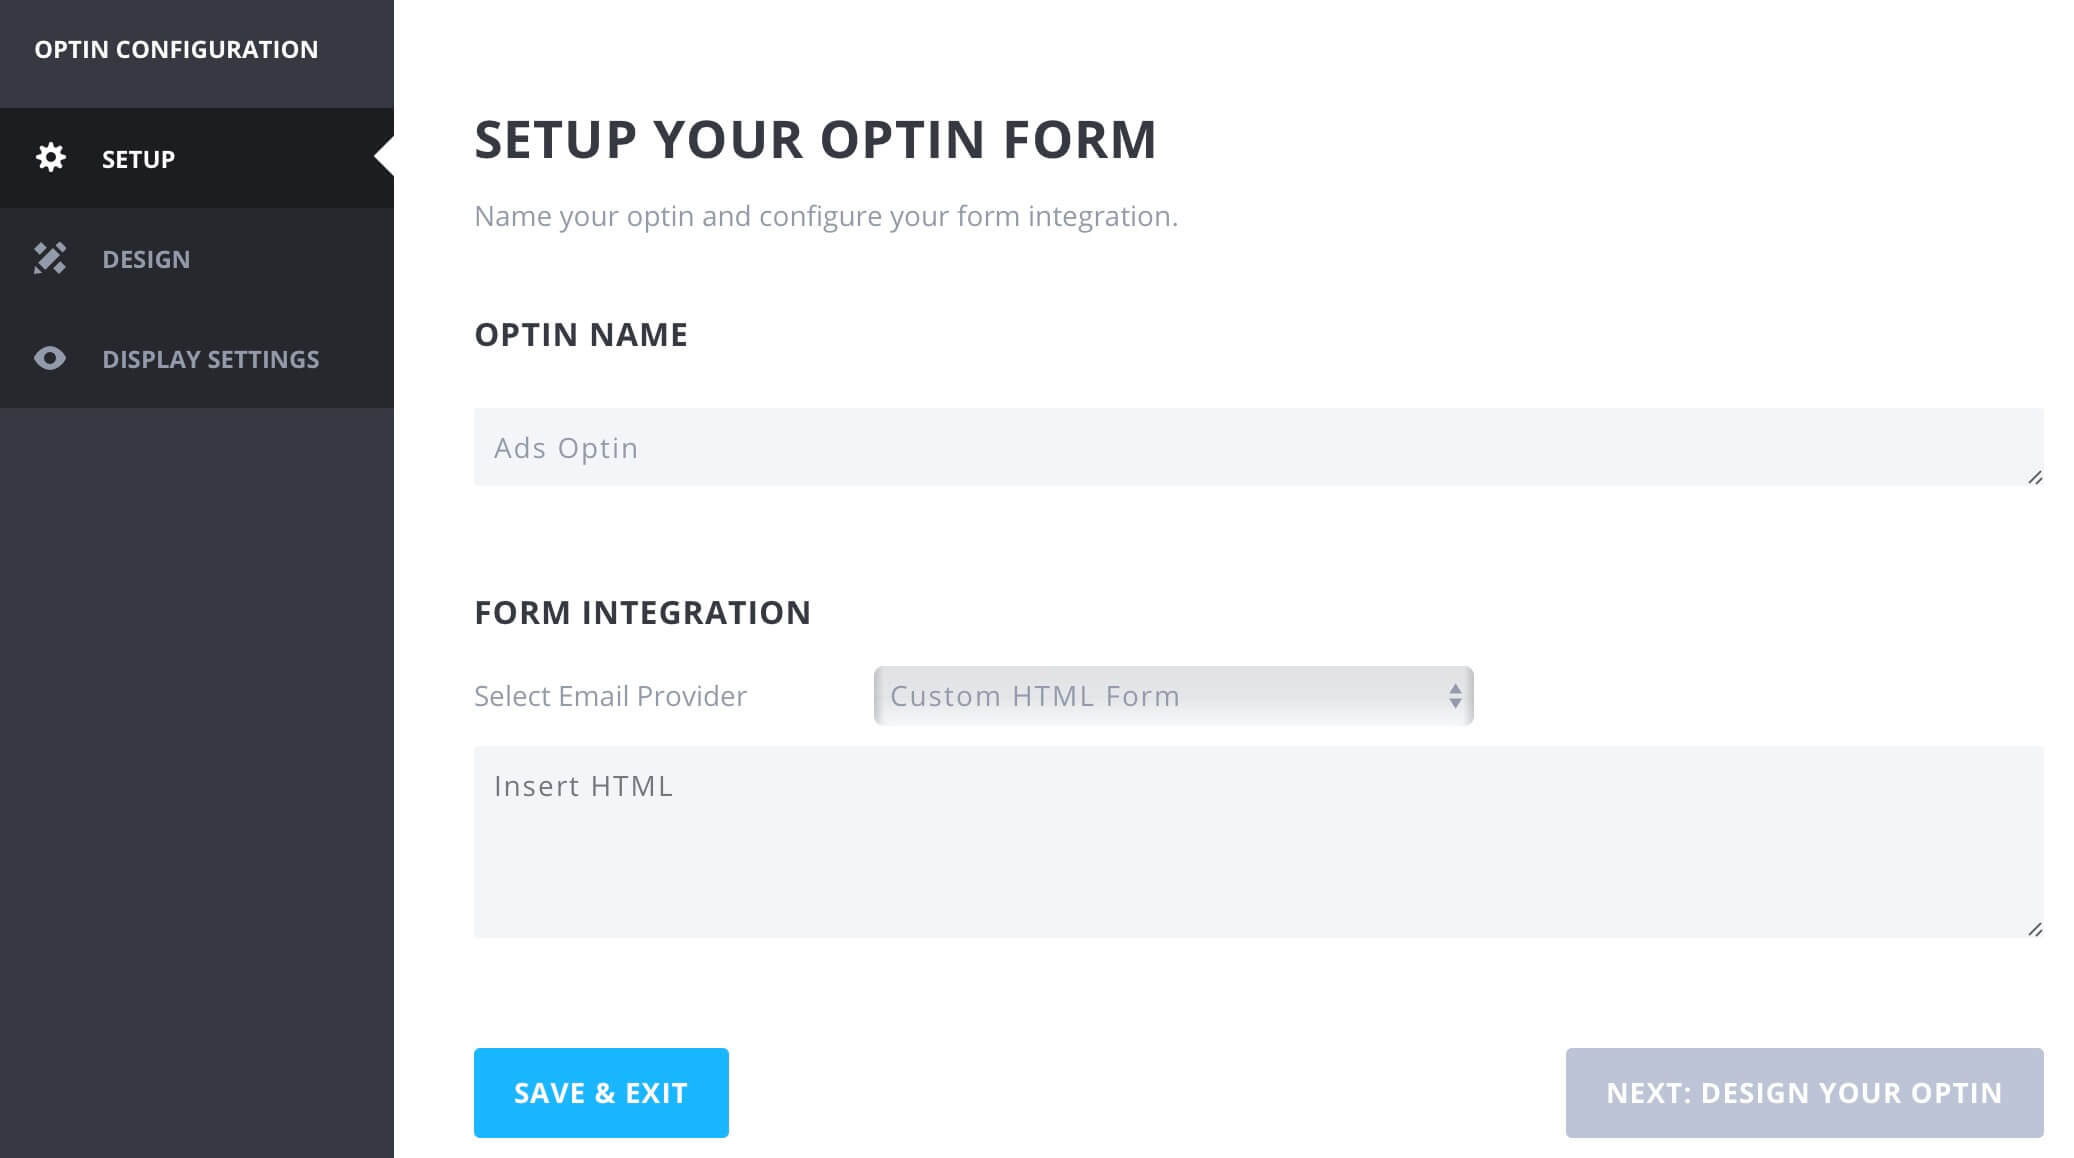
Then we will name our Optin and scrolling to the Form Integration section we will select as Email Provider simply Custom HTML Form leaving empty the relative textarea below and passing to the Design options.
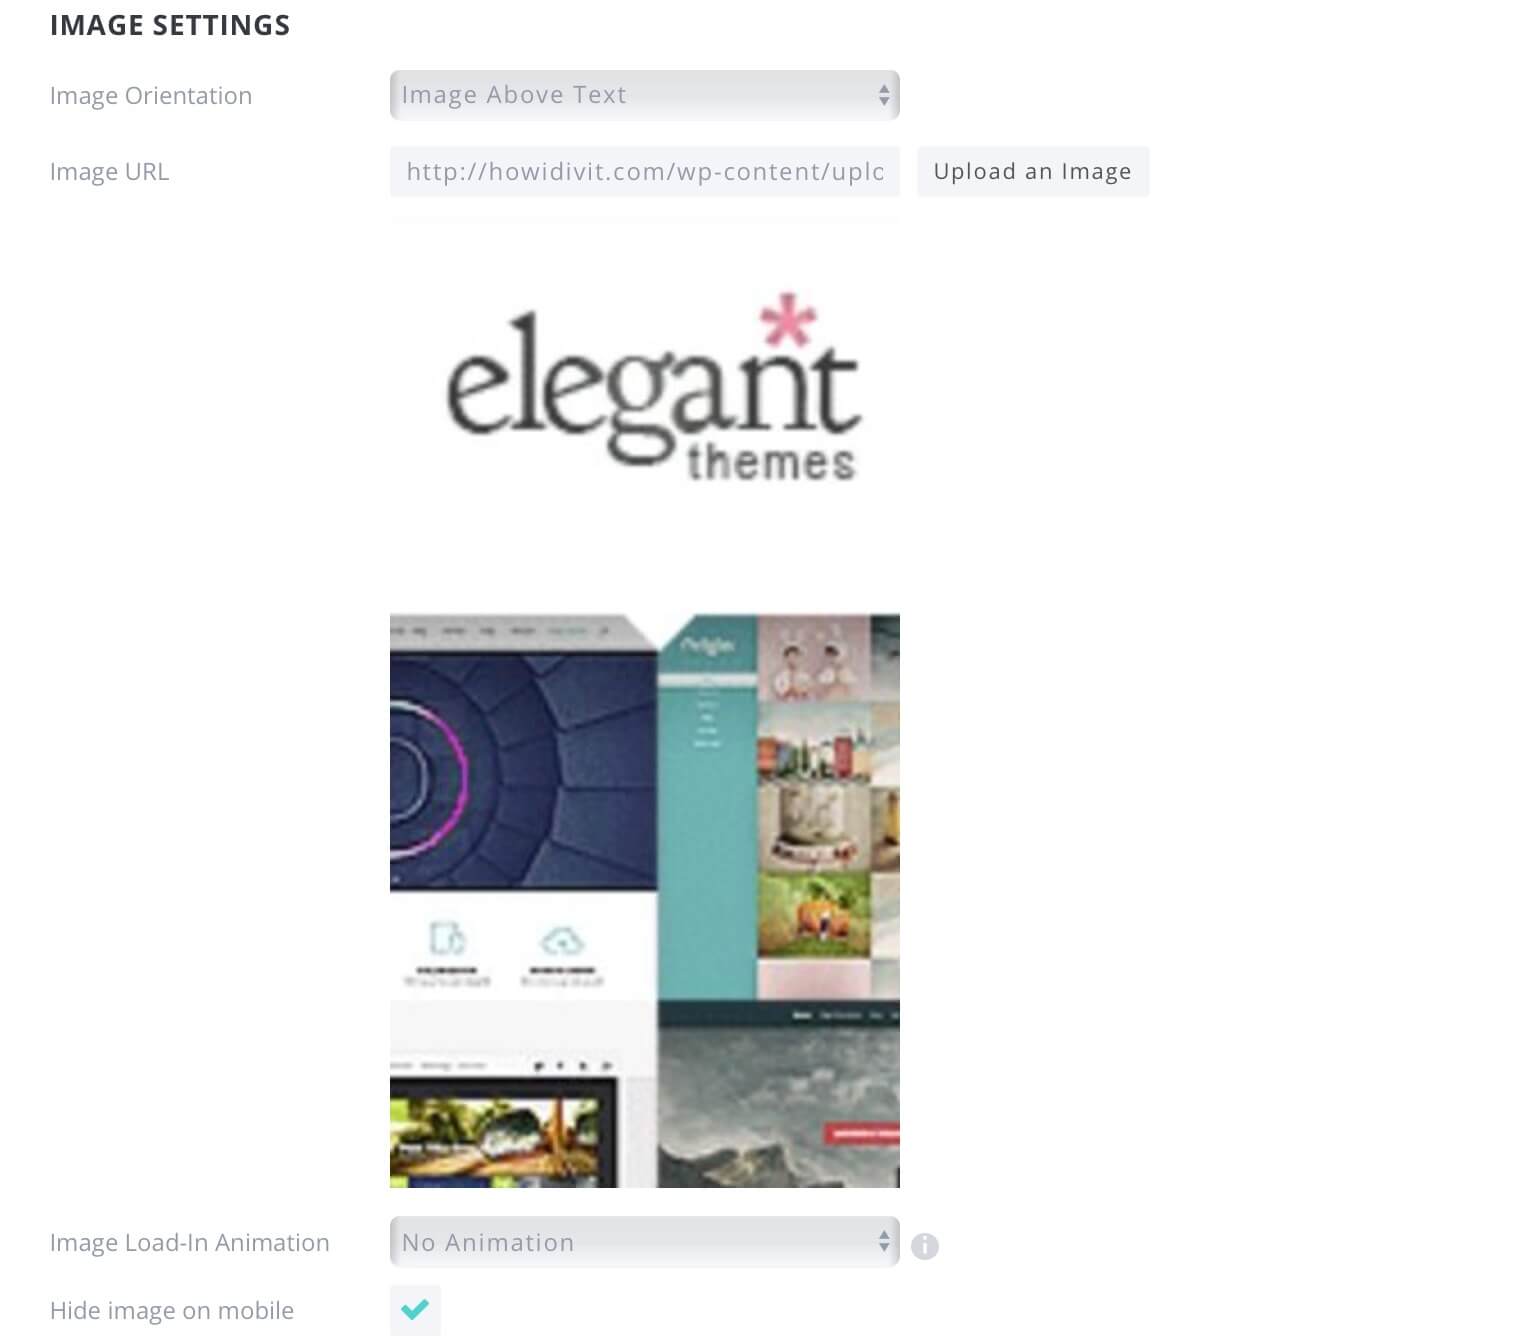
Now make sure the Optin Title and Optin Message section are empty and move on the next Image Settings section where we sill upload our image ( make sure the image width and height fits well with your needs ), select No Animation in the dropdown field below and finally flag the last option in order to make hidden the banner on mobile.

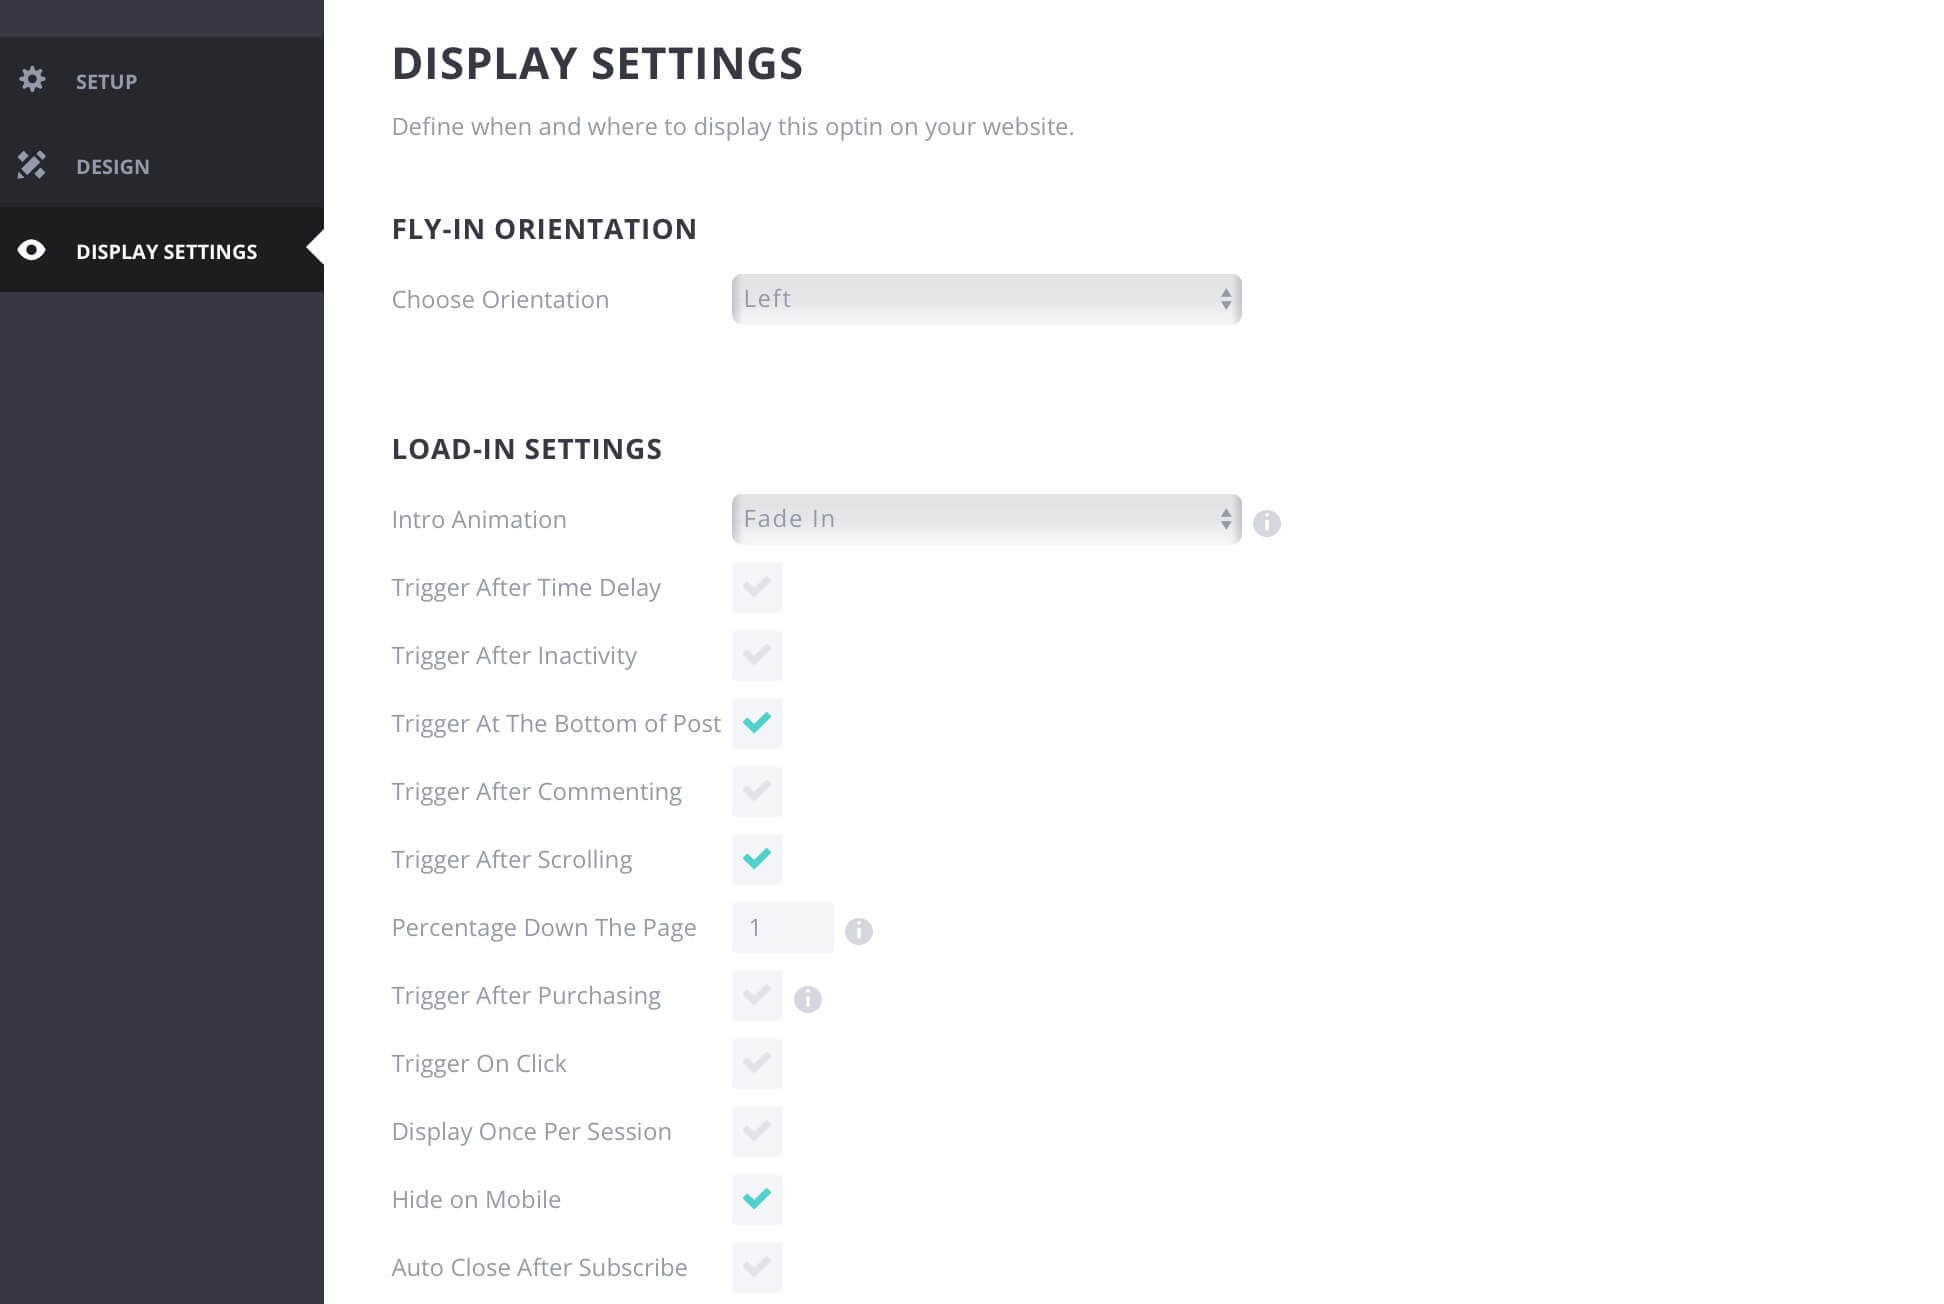
For now leave also the Design settings page and move on the last one ( we will not see the fourth Success Action tab cause we have selected Custom Html as Email Provider ). From here we can decide how and when and where to show our banner. So we will select Left as Fly-In Orientation and a Fade In effect that make the Ads appearing when the user scrolls a 1% of the page ( that is immediately ).
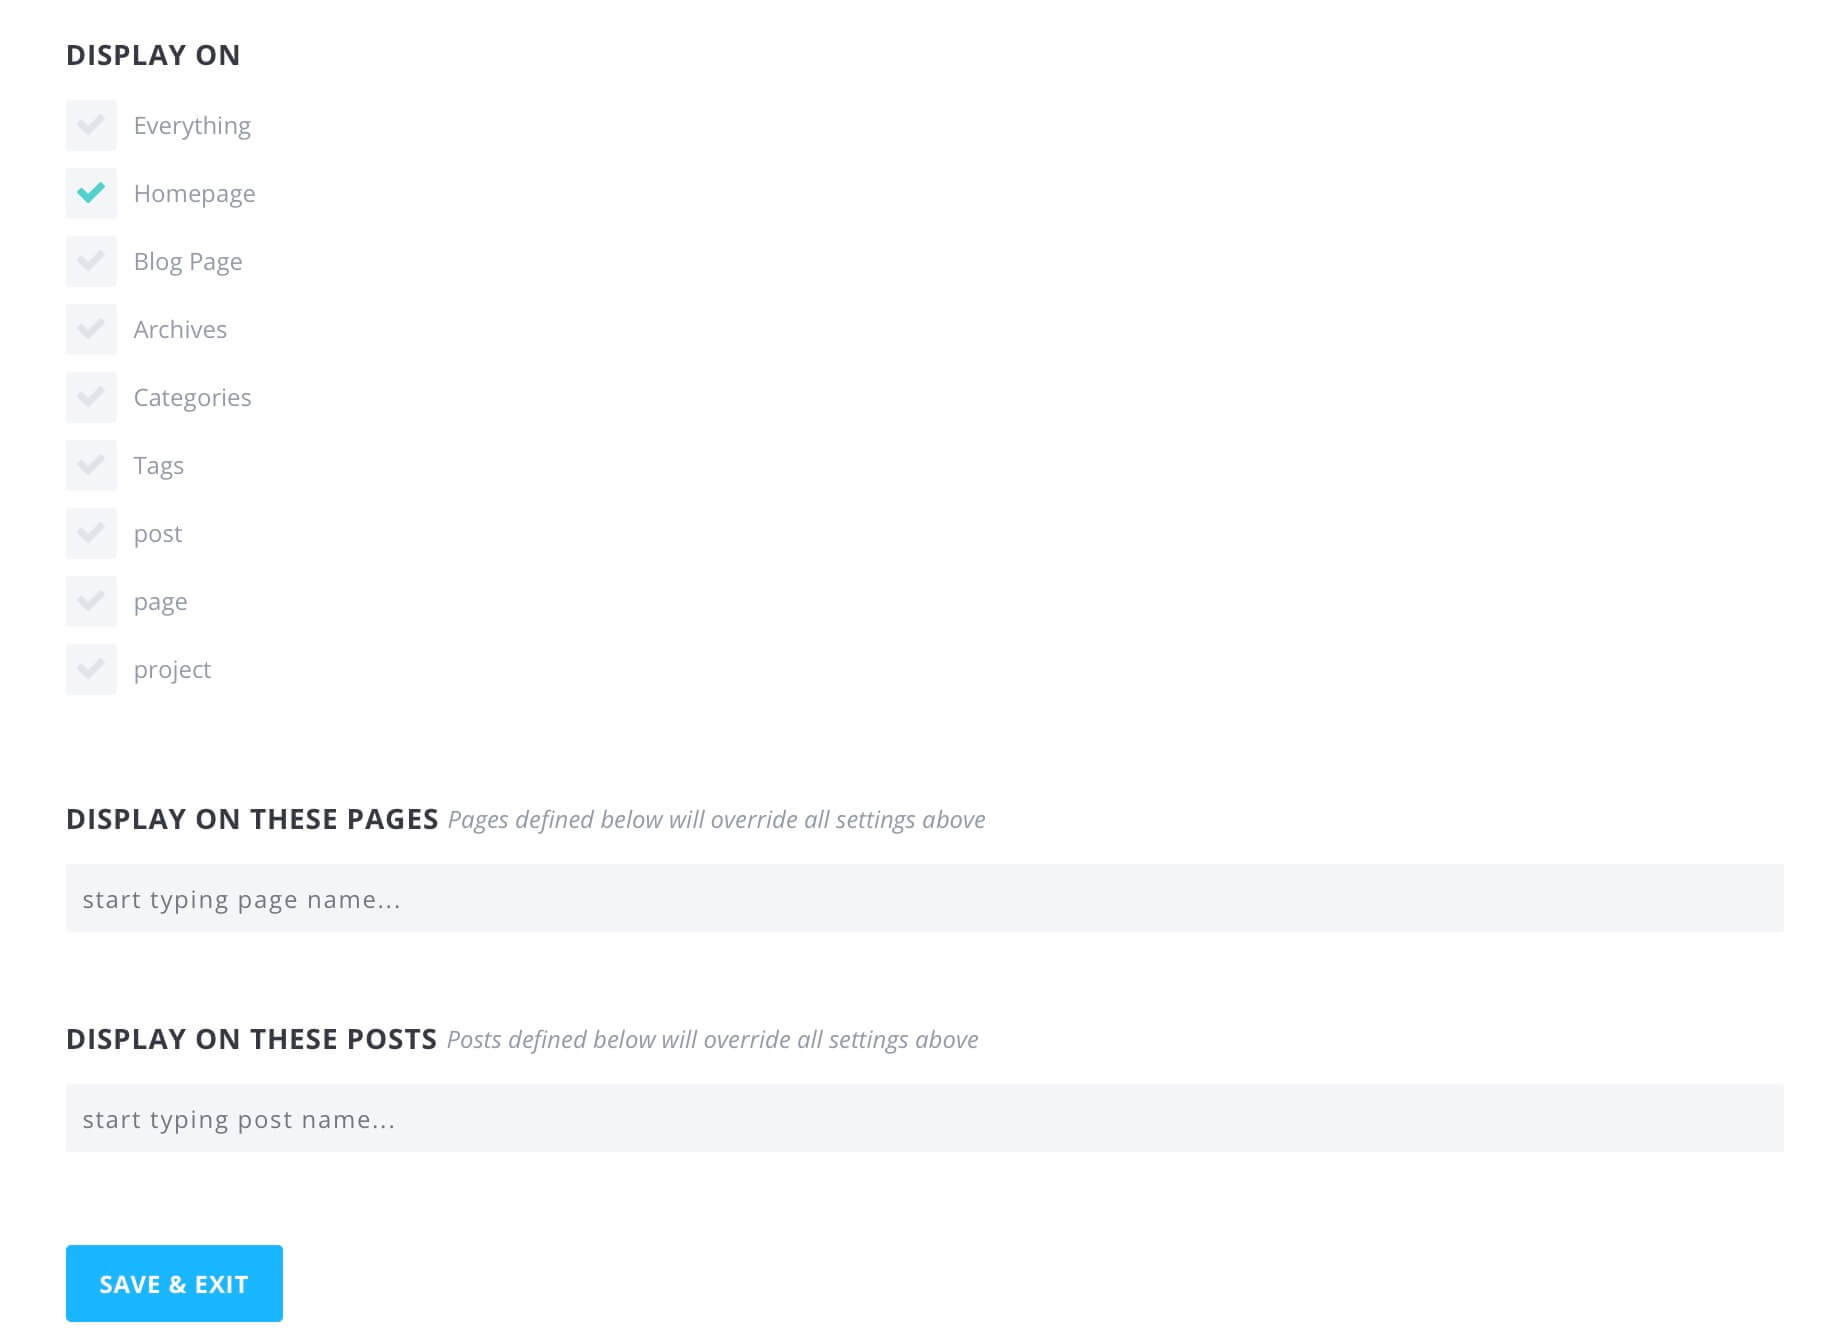
Finally, we’ll choose to show the banner only on Homepage and click on Save&Exit. Sure we are walking distance from the finish; we have just to add a little CSS snippet and also a JS one. Let’s give a look.
THE MAGIC OF CSS
We saved our Bloom Optin and we should see it in Optin Forms Bloom submenu. Now we have to go to the Edit symbol and enter again in our Optin Design settings, scroll down to the end and add the following Css code to the Custom Css section.
THE jQUERY YOU CAN NOT GIVE UP
The final step is going to Divi Theme Options -> Integration and add to the
of your blog few jQuery lines that will add a link to our image, otherwise not useful at all for our purpose ( the banner must redirect the user to an external url! ).Perfect. All done. Now we have our image that works exactly like an Ad Banner and fits our Divi vertical Menus.
See you next post, on How i-Divit!


