
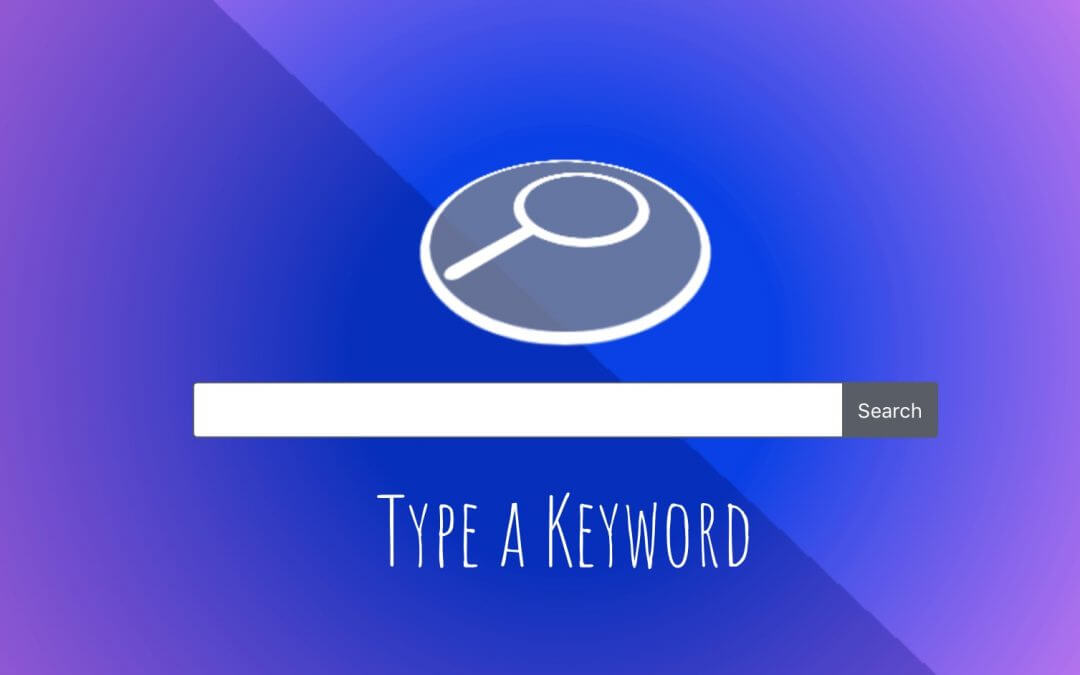
Hi everyone, today we are going to walk trough the creation of our homepage Search section. So right below our blog arrow section we thought without too much frills could be a good idea to place a search bar in evidence. You can obviously see it in action on the homepage.
So let’s get started!
THE LAYOUT
First of all let’s give a look at the structure of our Divi ‘Blurb Searching’ section…
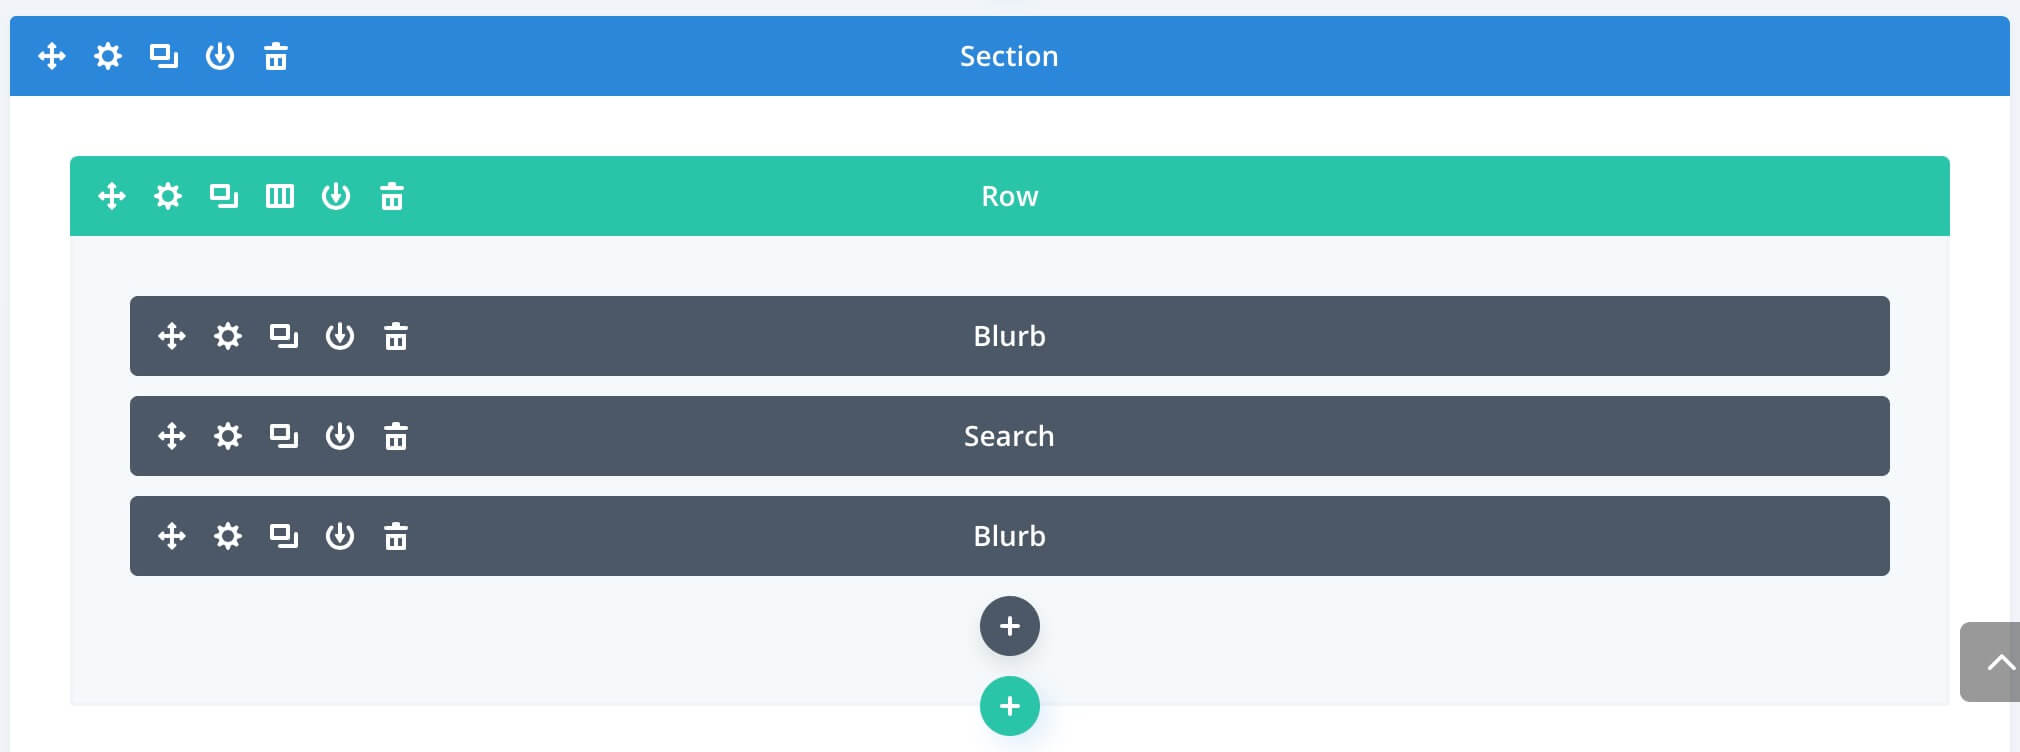
As you can see it is a very basic layout structure. Is all one column-layout with three modules (Blurb, Search, Blurb again) inside a Row nested in a Section.
The section indeed is not strictly necessary and it works just as container, so you can opt to use just a row to place where you need.
THE ROW
Open up the Row settings and go to Background. We mixed a texture in Overlay blending mode with a radial gradient background in order to get our result. You can use the texture you prefer and we recommend if possible to create a valid texture with Photoshop or similar as suggested by Augustine Mak of Elegant Themes here; however there’s a nice shortcut (that’s good only for very simple background textures!) we took advantage of in order to create our final background just in one minute.
So go to Background -> Gradients and create the gradient you want (in our case a linear one; you can adjust direction, starting and ending point to fit your needs) with shades of darker and lighter grey.
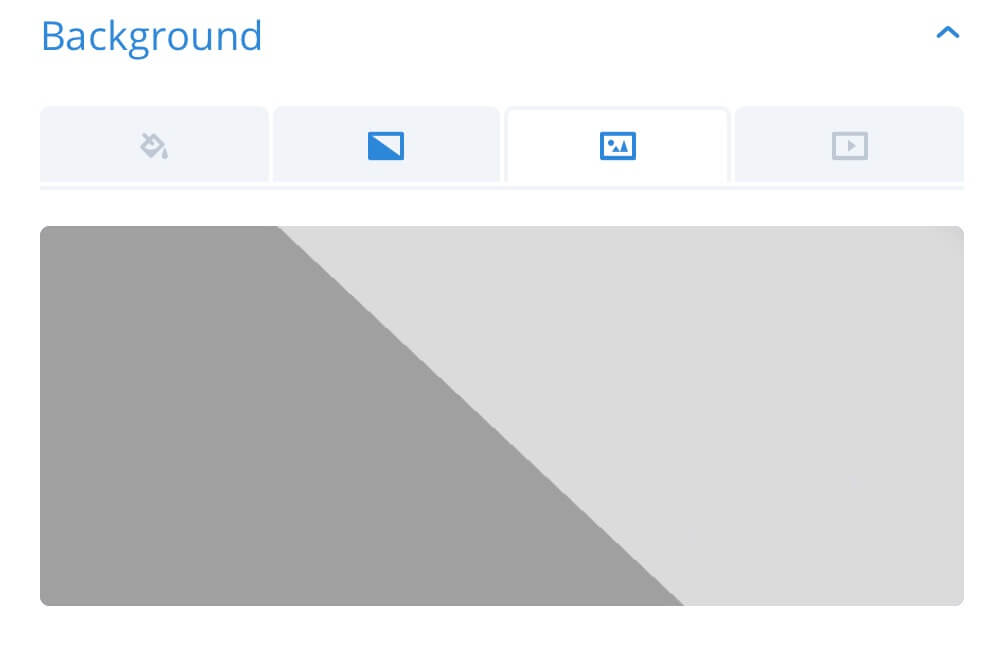
Then simply take a screenshot of the gradient and finally upload it as background image, select Cover, No Repeat and Overlay as blend and save. The last step will be add the overlay color. Go to Background -> Gradients and create a Radial one with the colors you prefer.

THE BLURB
We are now to the first blurb module. This blurb will have only the icon while the text will be added below in the second blurb module. So simply leave blank the Blurb Title and the content. Then pass to the Blurb Icon.
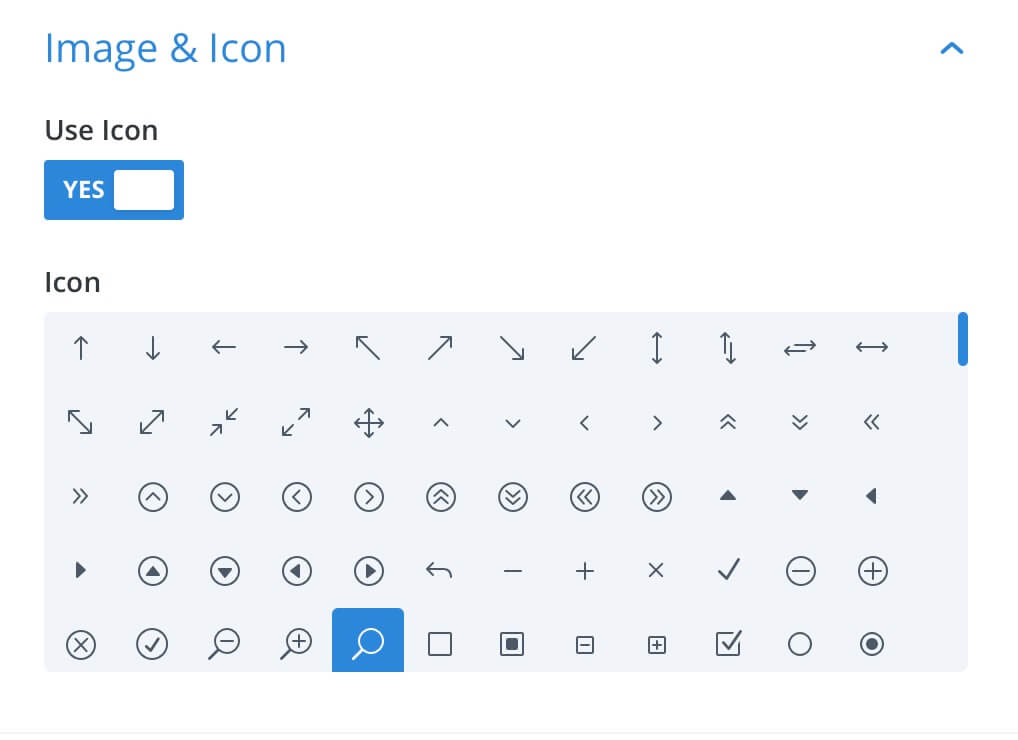
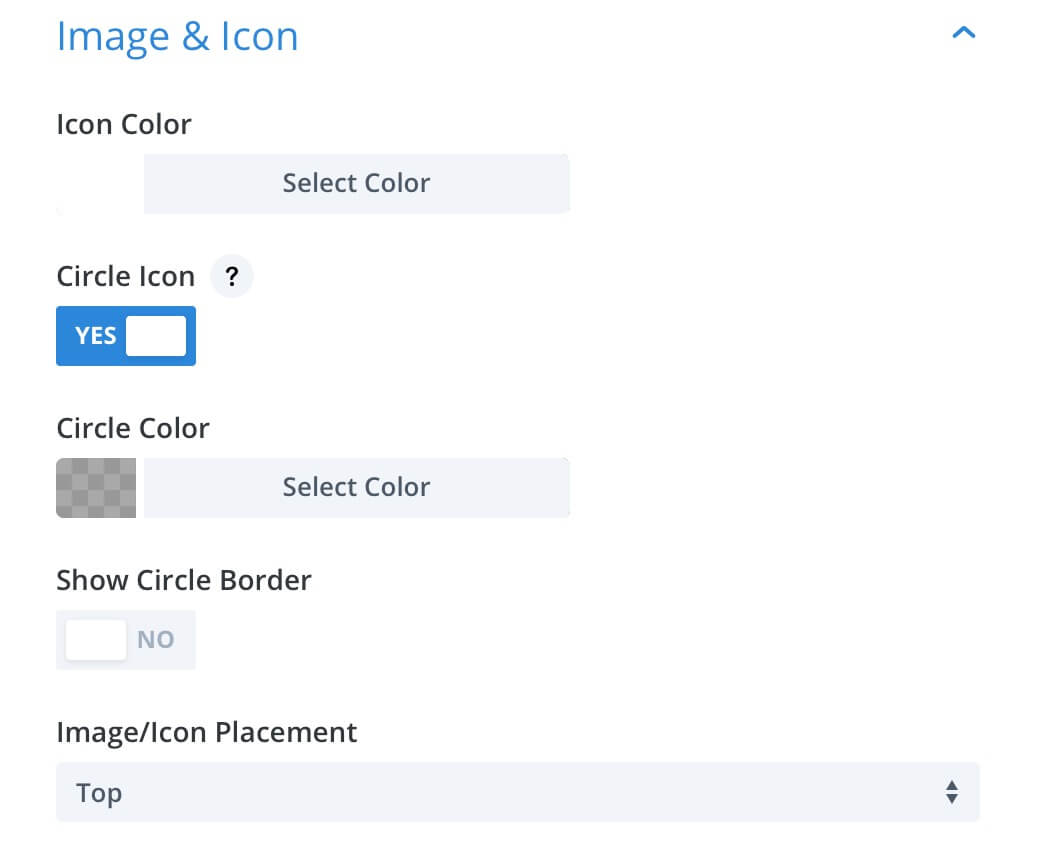
Once selected the icon we move on the Design tab, under Image & Icon and choose our Icon color and a background with a .7 or lower alpha value (so that the diagonal line of our texture will be visible in transparency under the icon itself).
Finally we go to Advanced -> Custom Css and add the following css lines:
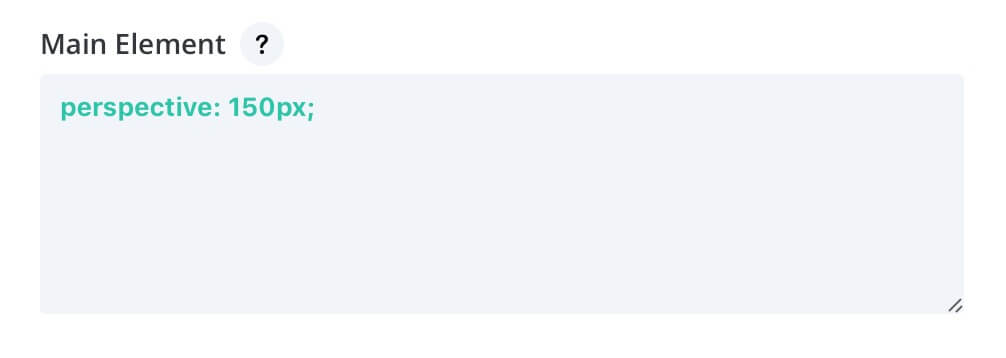
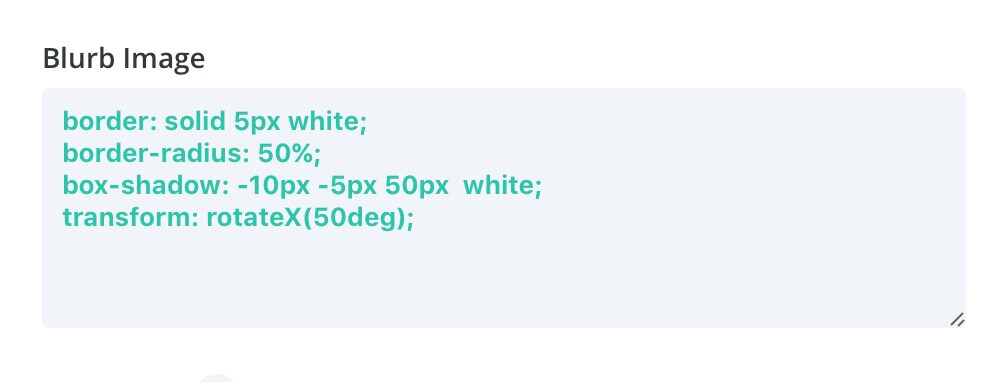
The css above will add a white 5px border to the icon, a little shadow and overall – thanks to the perspective property in the main element and the transforming RotateX in the Blurb Image we will get a nice perspective 3d result.
Very final touch we will add a starting animation simply going to Design tab -> Animation and choosing Zoom effect without touching any other parameter.
THE SEARCH BAR
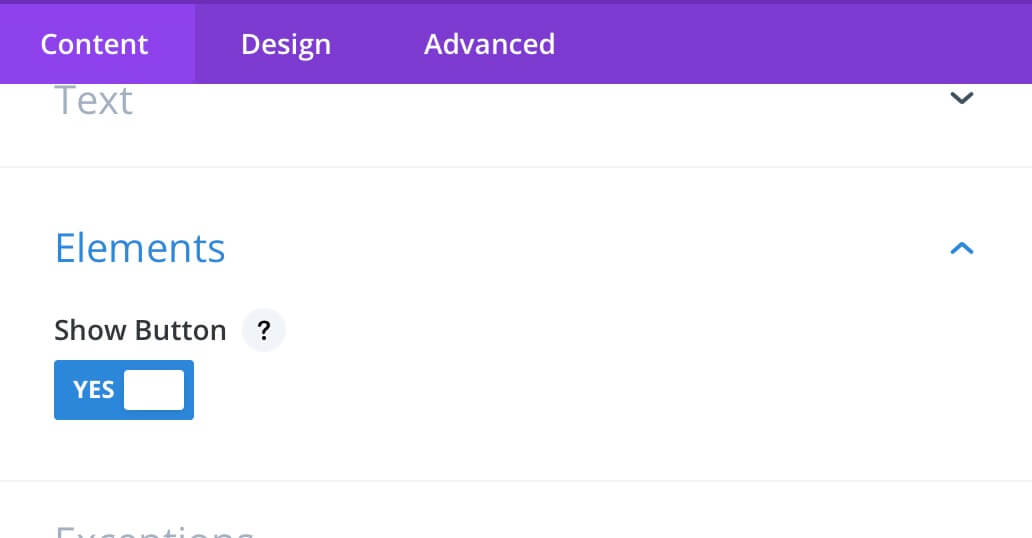
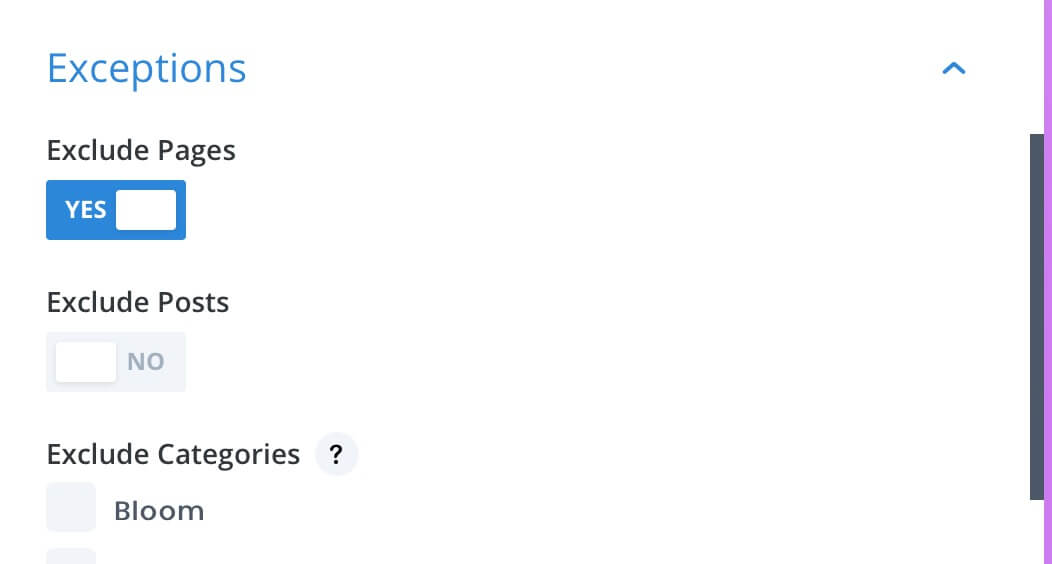
We are at the central module, the Search one. We’ll leave blank the Placeholder, switch on the Show Button and Exclude the pages from searching.
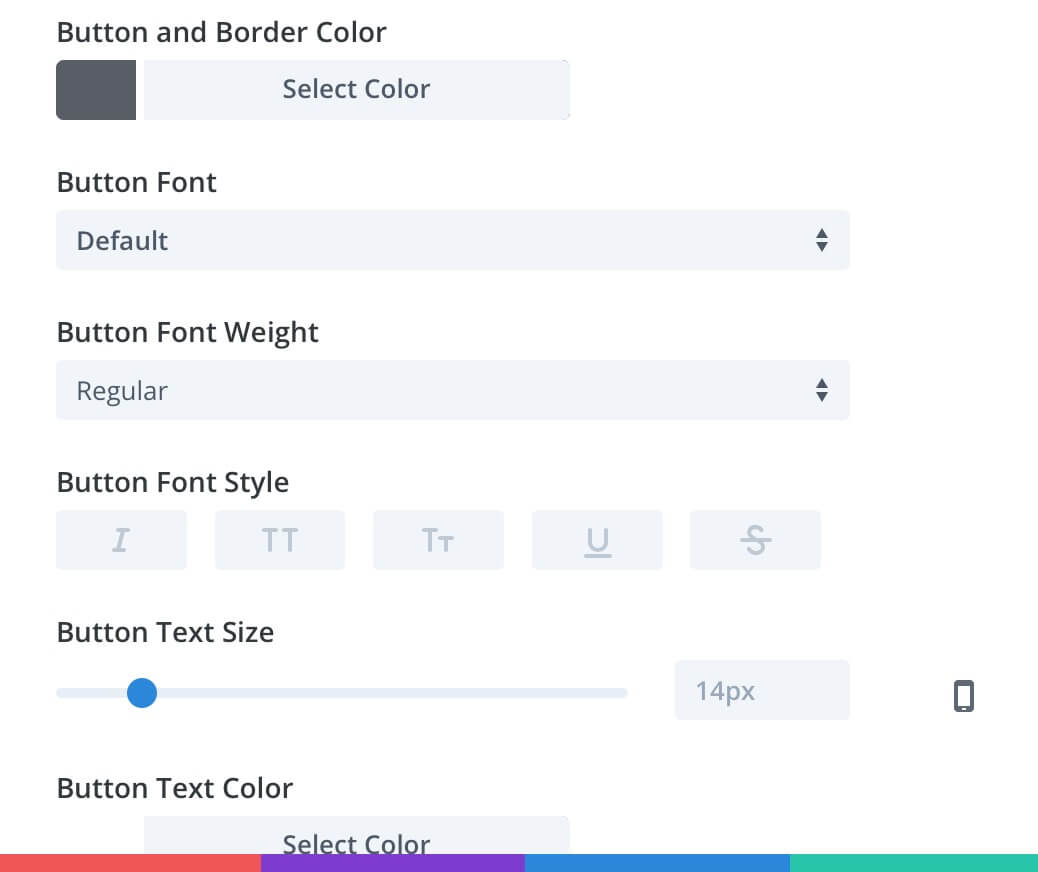
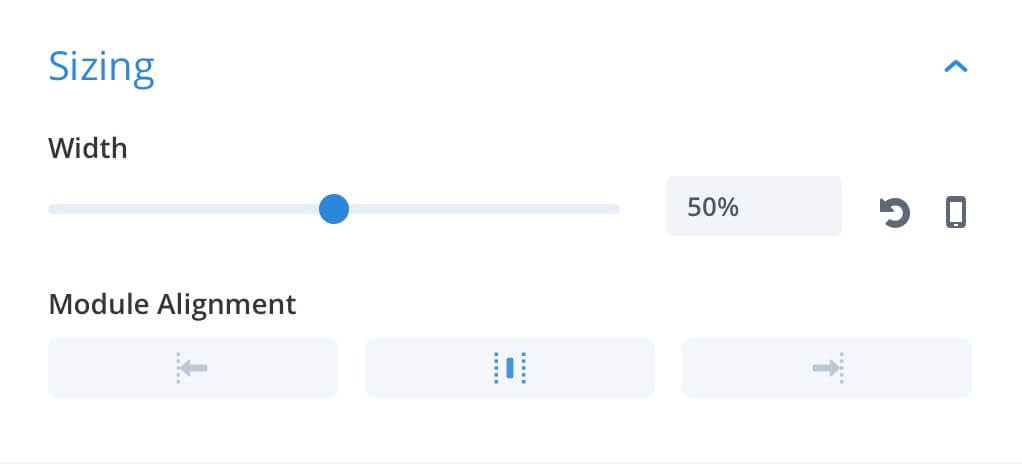
Then we pass to the Design tab and style our Searching bar.

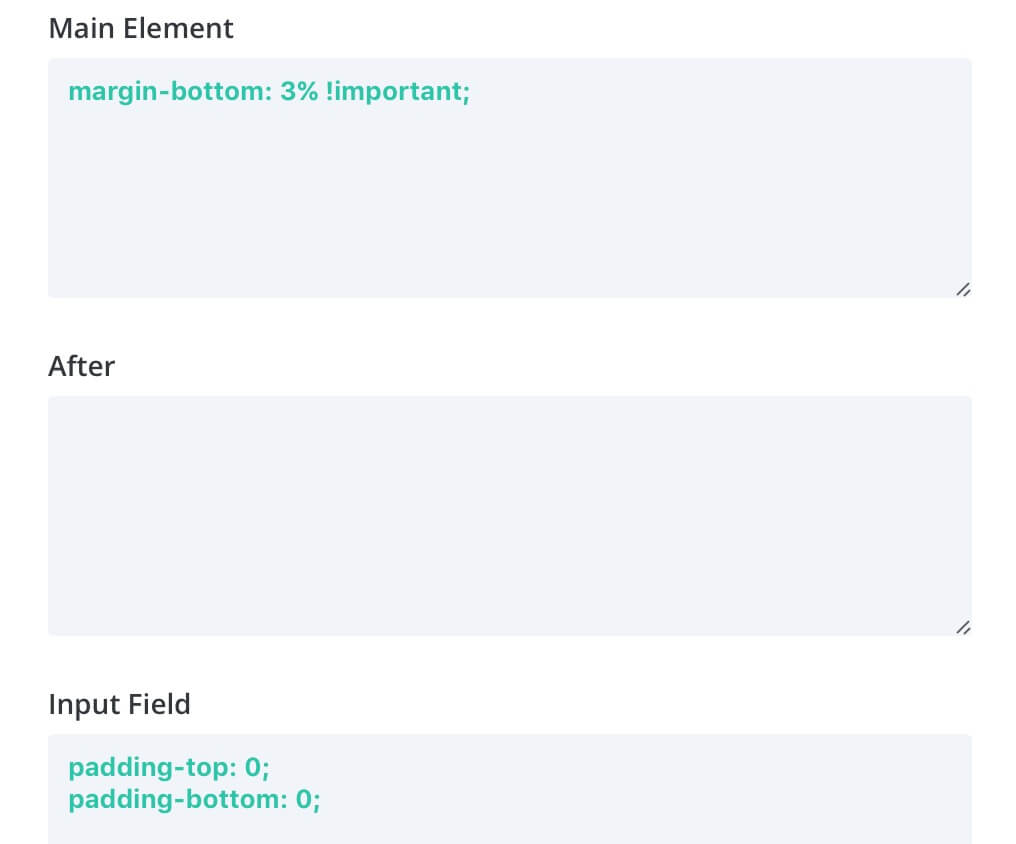
As final step we have to go to the Advanced tab and add the following Custom Css.
All done. Now we have just to add another Blurb below ( or simply a text module ) and write our Title with the same font we used for the Search input.
FINAL THOUGHTS
The final result is a grabbing attention background, an evident 3d-perspective icon and a simple searchbar with a good font size and a copy right below. As usual the design tries to respect the rules for a good balance between attracting the visitor’s attention and the usefullness of the section.
Hope it can be useful. See you next post.
Cheers!


