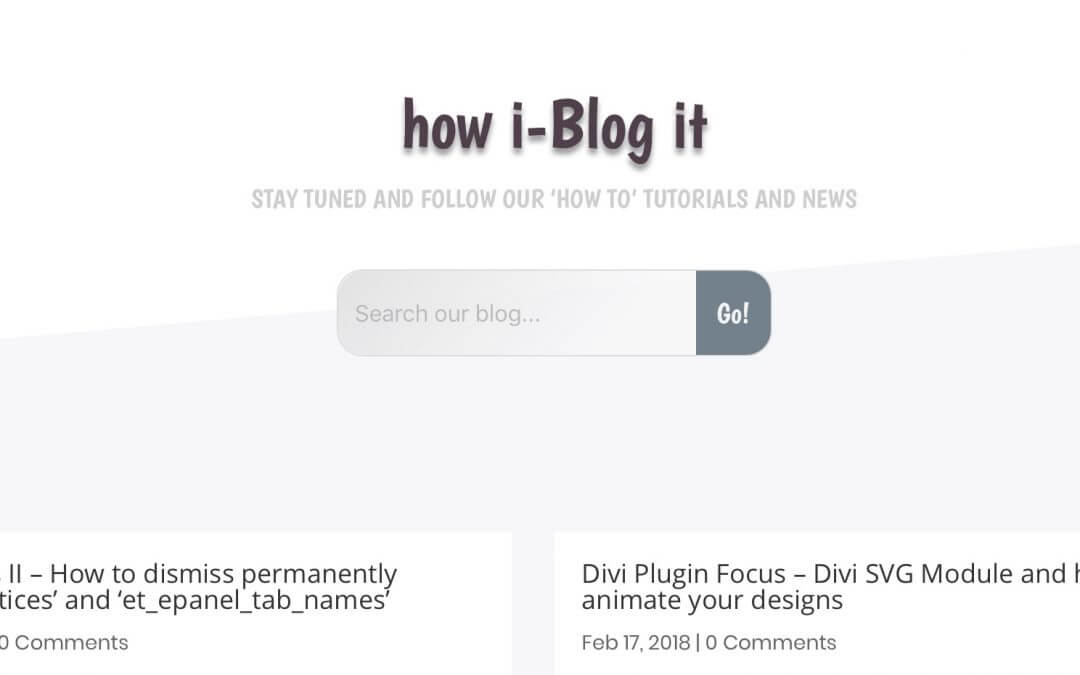
Hi everyone, today we want to bring up two topics we already talked about, the howidivit blog page design and the Svg animation.
Last friday we focused on a Divi plugin called Divi Svg Module that let you to animate your svg images. However, sometimes you need a most robust customization in your svg animation. You can of course use jQuery or Javascript to get your final result but today we want to show you how to do it with only css and a svg code well formatted. This will be our final result.
So, let's get started!
THE BLOG TITLE
First of all we want to edit a little our Blog page title. So we will call it "how i-Blog it", we change the font family to bogaloo, the color and the font size as follows
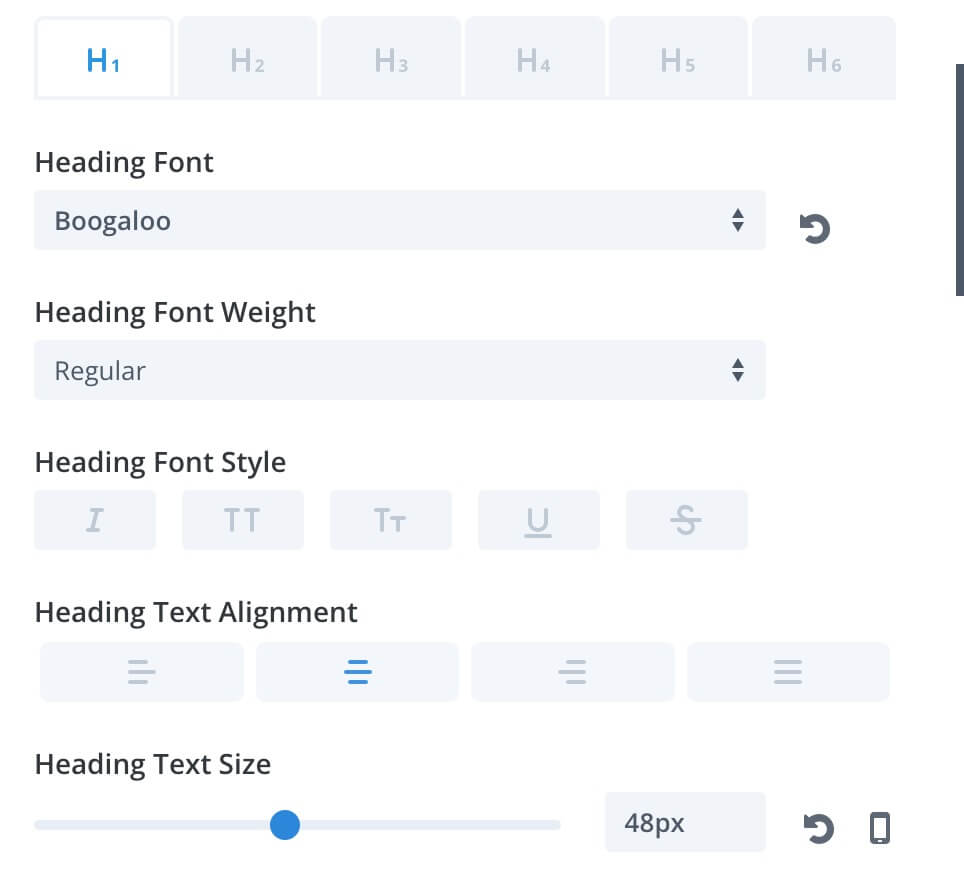
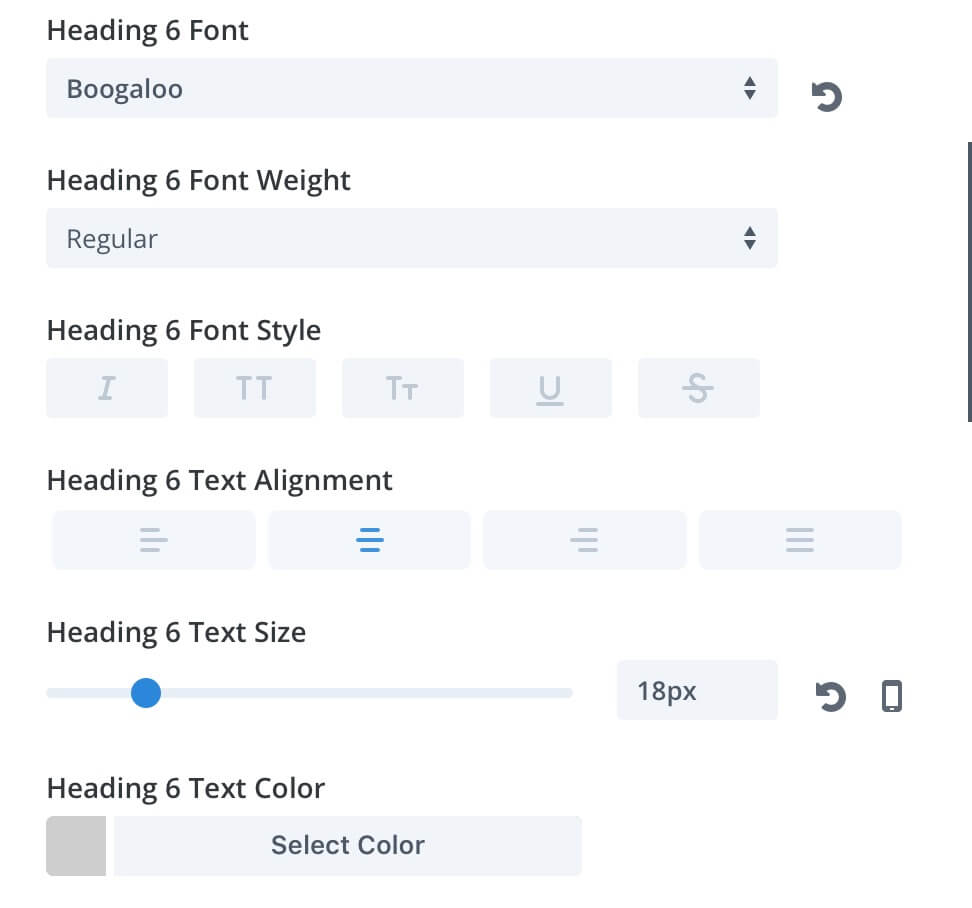
We add a slight text shadow, then we move to the "Spacing" tab and we set a Margin Bottom of "1%". Finally we create another Text module just below the title for our subheading
THE SVG SEARCH BAR
PREPARING THE SVG
We open Illustrator (or similar) and we draw our search bar just using a rounded rectangle, a circle for the magnifying glass and a simple line for the handle of the glass itself. We select a blue for the border (the strokes) and a light grey for the fill color
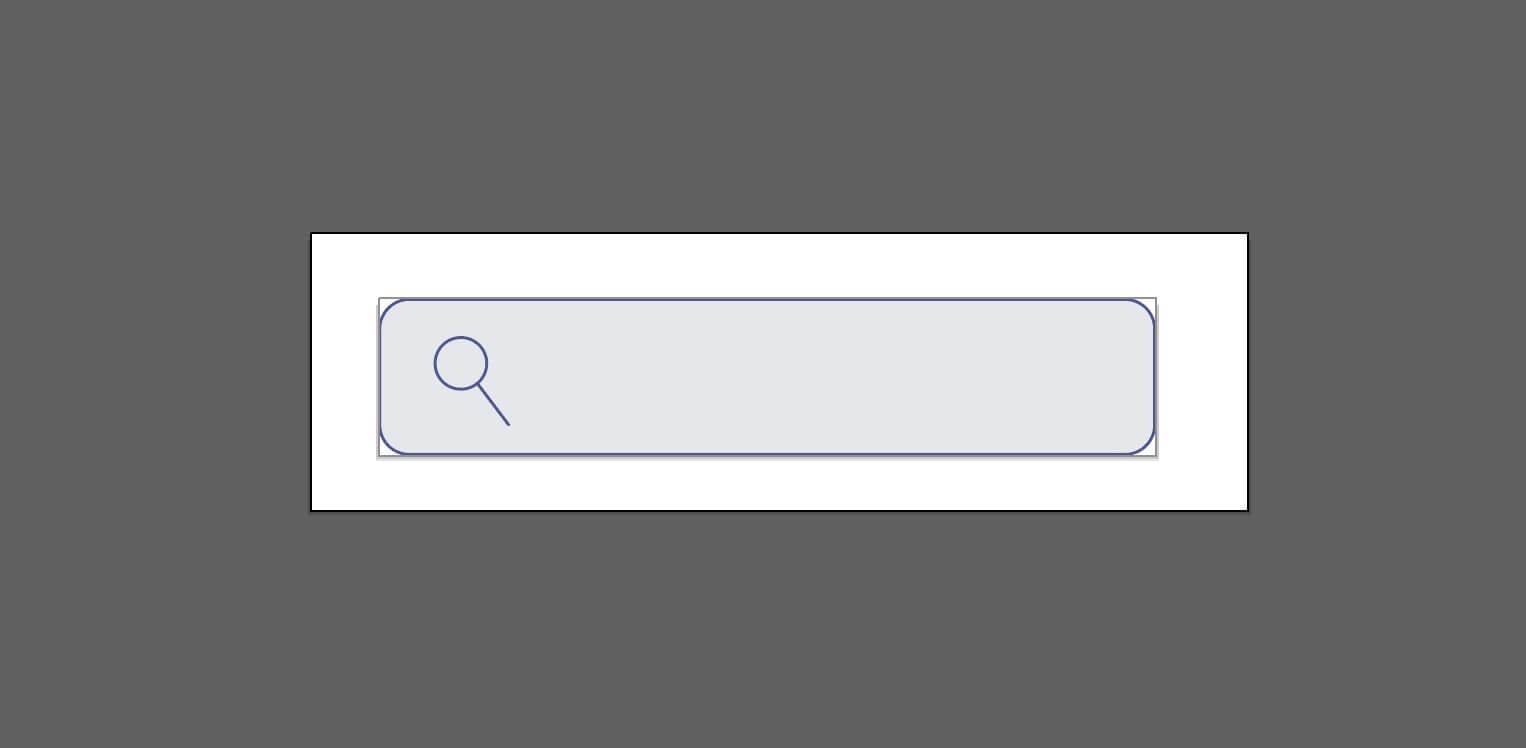
Before we can export it as svg we have to do an essential step, we have to convert our shapes (that we would find in the svg code as and ) in paths. In order to do it, in Illustrator we simply select the rectangle, then we go in Object -> Compound Path (and we do the same with the circle).
Now we are ready for exporting our search bar, yes exporting and not saving it! It's better, in fact, go to Export -> Export as
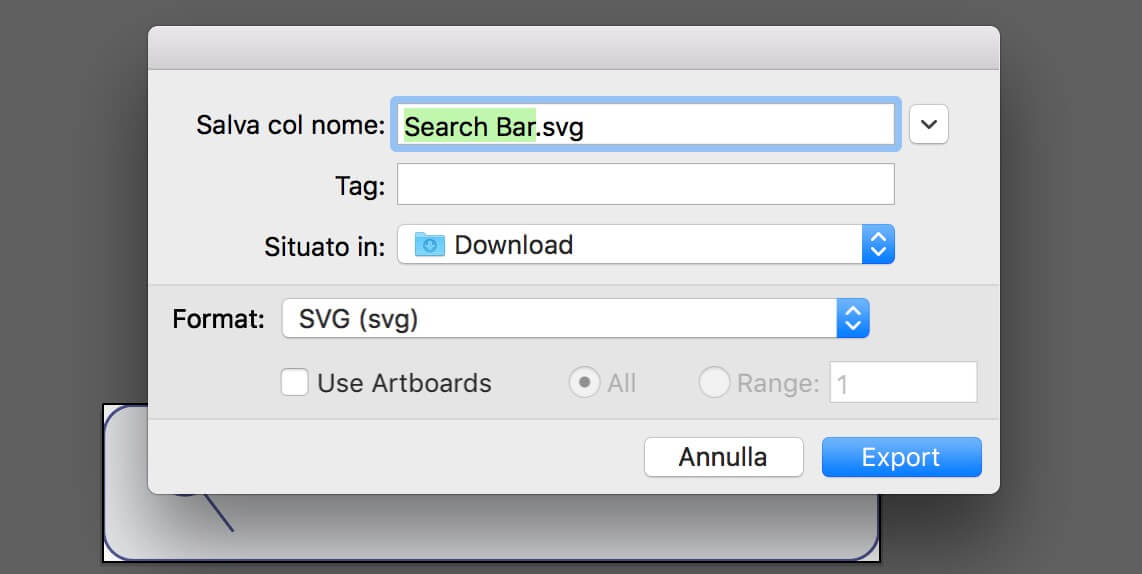
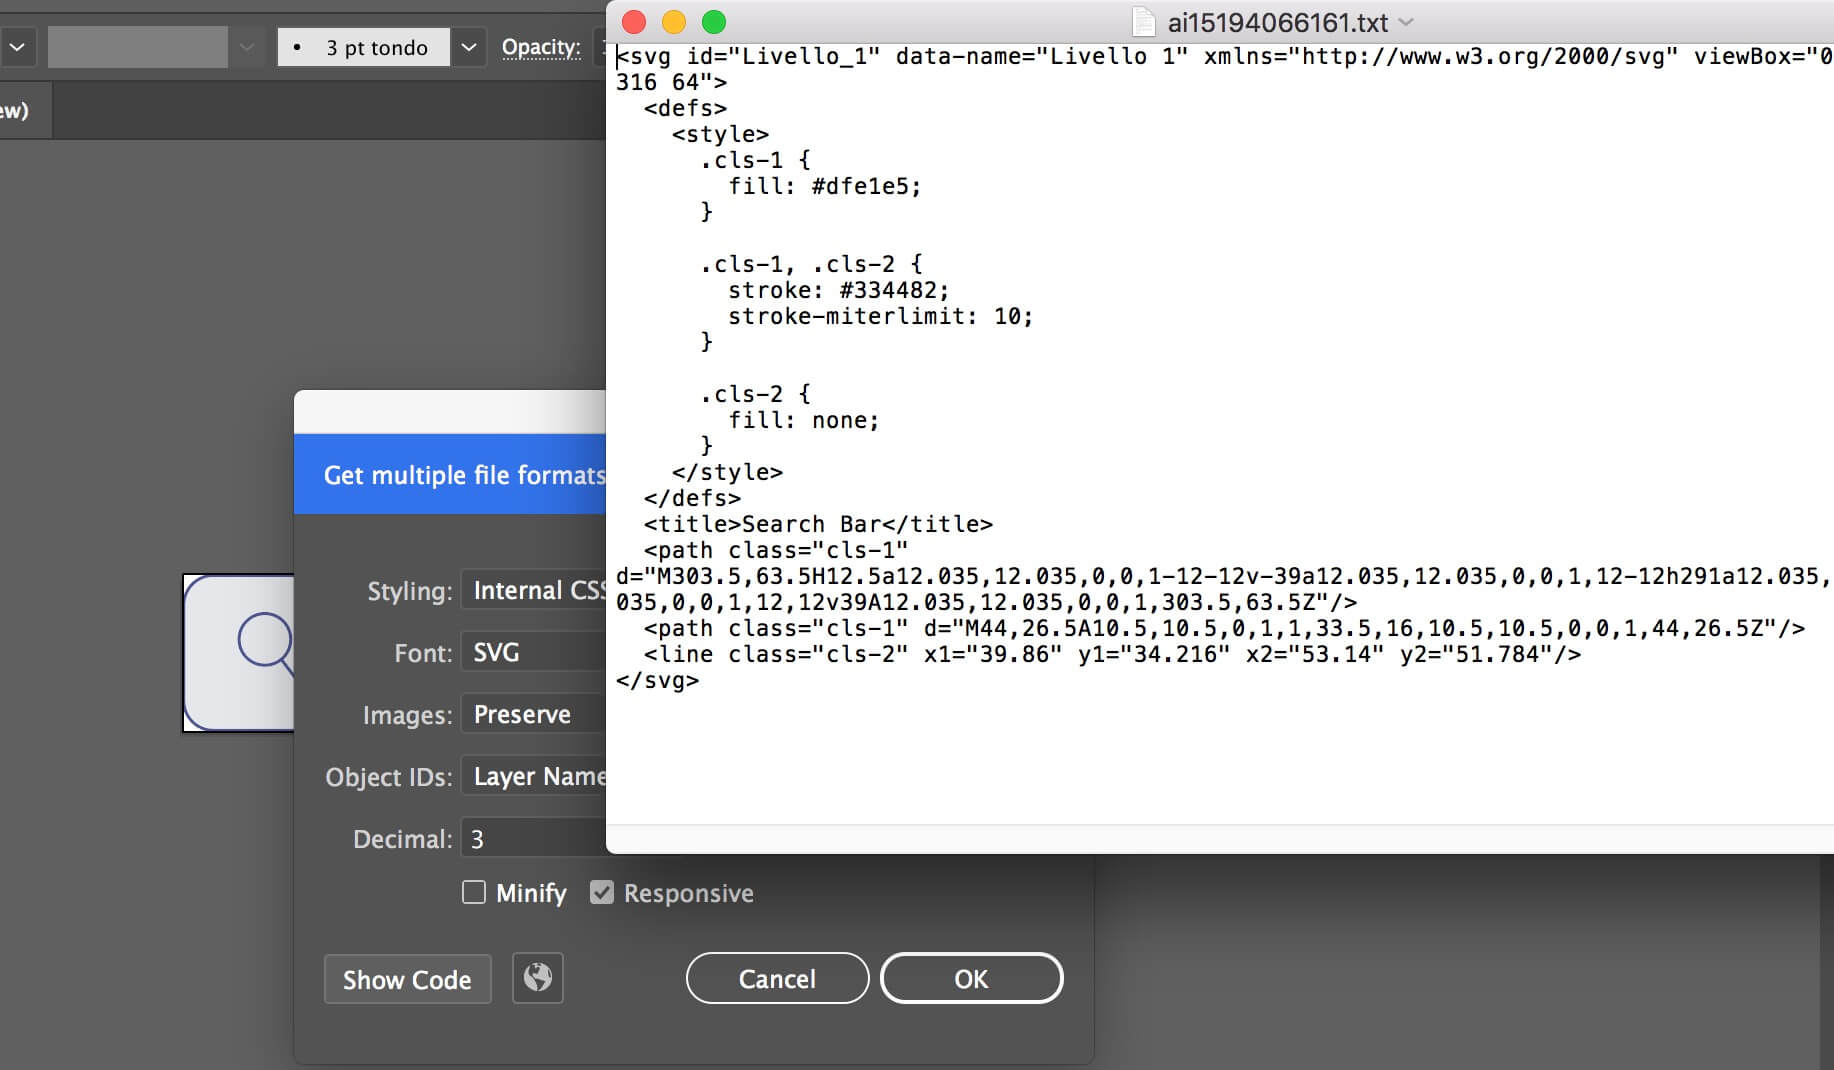
Select the Svg format, give it a name and click Export. Then in the next modal screen we can choose some option in saving our svg file; we will leave the default values except to deselect the Minify checkbox option. Finally click on Show Code and we can copy our svg code
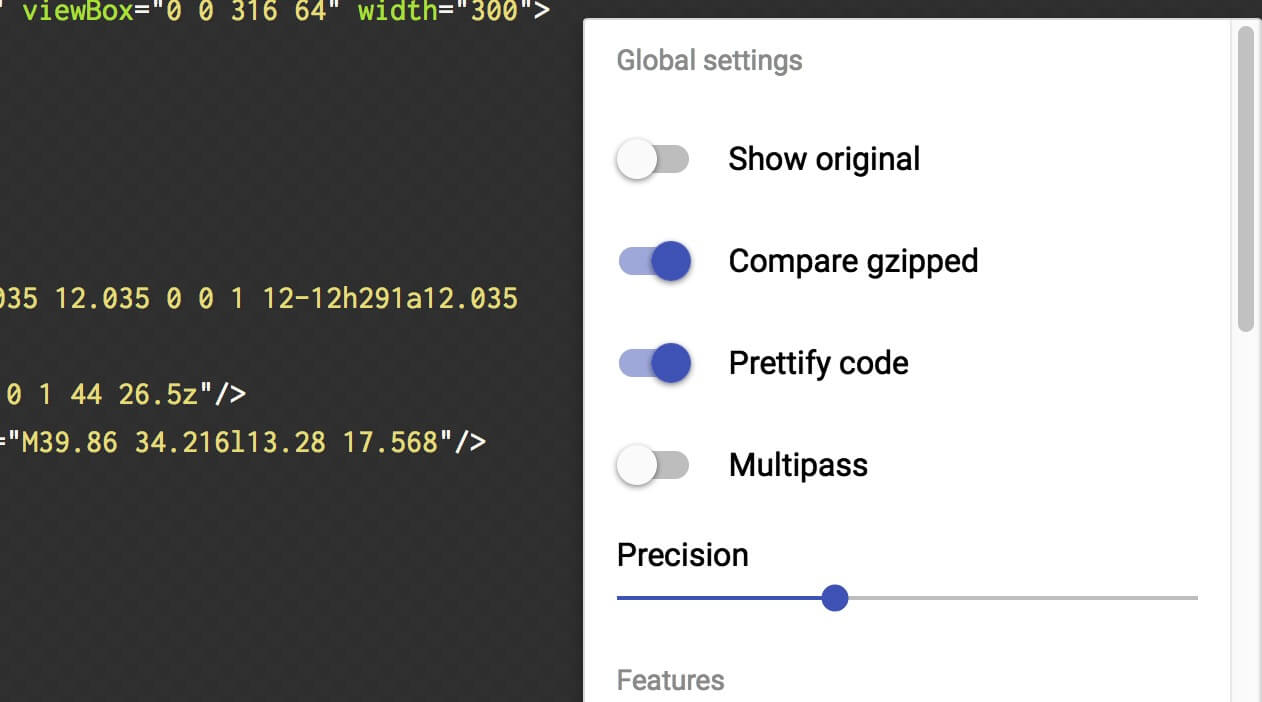
As very final step we want to prettify a little our code so we go to SvgOmg, we go to Paste Markup and paste our svg code. Then select the Markup tab and toggle on the Prettify Code option.
Grab the code now, we will need it in a moment!
ADDING THE SVG CODE
Ok. Now we are going to copy and paste our code in a Divi Code module. We set the Size of the Code module to 300px width and a centered Text and Module alignment. However for our needs we have to edit manually some code of our svg. In a nutschell we add a 'width' of 300px in the code, we change the fill color to transparent and the stroke color to different blue shade; finally we will add another css class ('cls-2') so that we can target later just the magnifying glass. Our final code will look like this:
THE MAGIC OF CSS
The most complicated part is done. Now we have to rely on the magic of css. So we will write our animations and then we will apply these ones to our Svg Code module. Open the Page Settings -> Advanced -> Custom Css and write our animations:
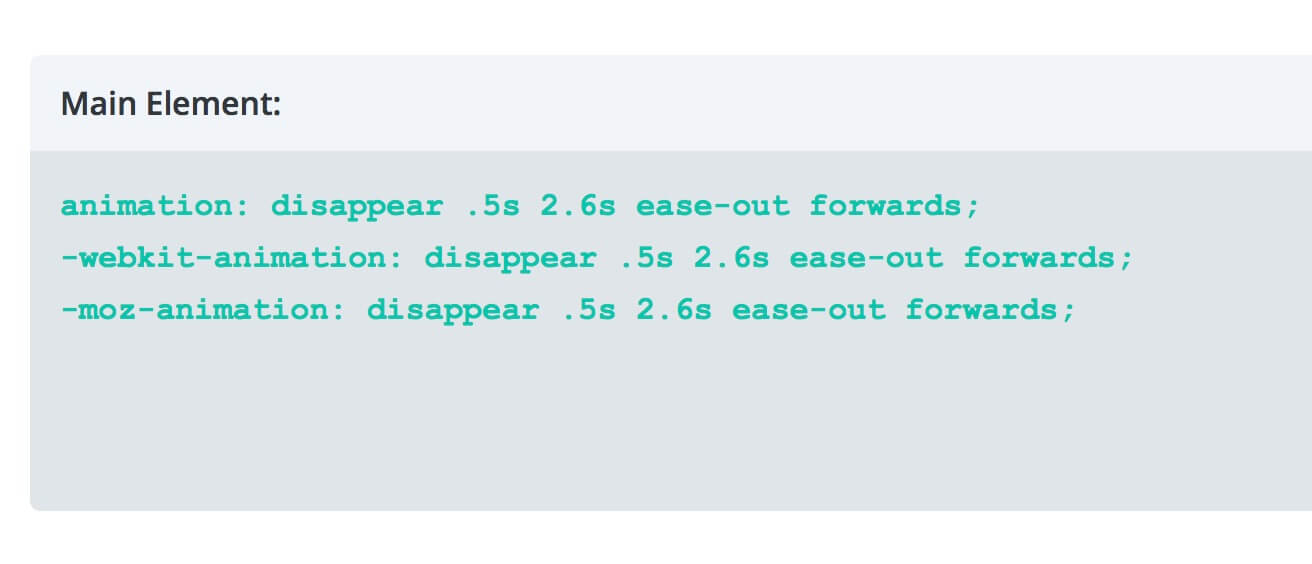
The 'dash' animation and the 'iconMoving' one will work as soon as the page is loaded, then we open the Code module Settings -> Advanced -> Custom Css and we write just a line (three lines cause we prefix them for working better on chrome and firefox) to apply our 'disappear' animation that will fires with a little delay to allow the dashing one to be completed.
Tips: How the Svg Dashing Animation works
The Svg animation could seem a bit complicated at first glance; it is, indeed, really simple.
We set the 'dasharray' property to 1000. Doing so we create a dashed svg line with a space between of 1000px. Now, thus, we will not see any line cause we are seing the white space in between.
All we have to do now is to animate our line with another property, the 'dashoffset', this will move our dashed line giving us the effect of a drawing animation!
THE DIVI SEARCH MODULE
We are close to finishing our animated Search bar but till now we have just the svg image animated and then disappeared, what is of the real Search Bar? We have to create it and in order to do it obviously we will use the Divi Search module.
We leave apart all the design options (the input and button text, color, border and so on); however we want to focus on two important things: 1) how to change the deafult 'Search' button into 'Go!'; 2) how to set the Search Bar animation so that it will bounce up just when our svg one will disappear scaling.
1 - CHANGE THE 'SEARCH' BUTTON TEXT
Just go to the Divi Theme Options -> Integration -> Add to theand add this simple line of jQuery in order to change the value of our input button:
2 - SEARCH MODULE ANIMATION
Once we designed our search bar we go to the Search module Settings -> Design -> Animation and we select a Zoom one with the following parameters
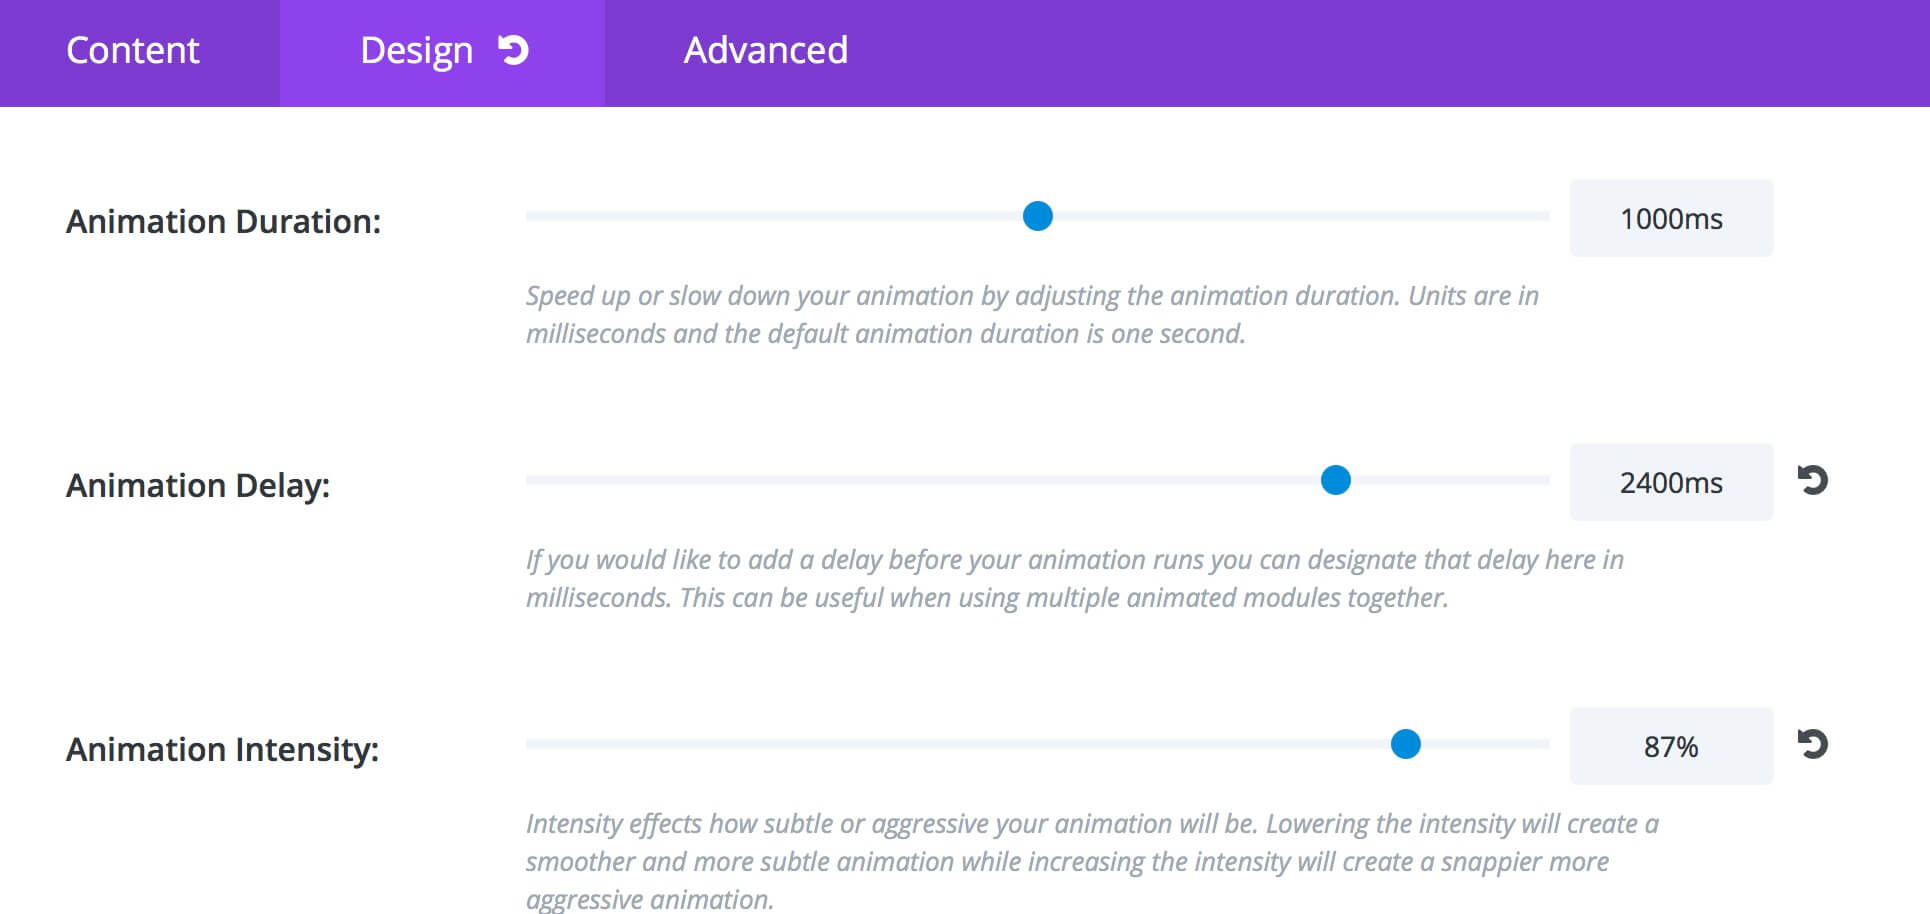
Note: Be careful about the Animation Delay and test it out on different browsers cause it might have a different behaviour, so in our case we need to customize it a little for working well in Firefox.
Furthermore we need a little css customization about the margin-top (we want the Divi Search bar will appear just in place of the svg animation!) and the Animation Timing Function (in order to have a little Bounce effect with a custom cubic-bezier value). So we are going to add the following lines of code in Settings -> Advanced -> Custom Css (Main Element):
FINAL THOUGHTS
All done. Now when we load the Blog page we will see a drawing animation that will design a search bar with a magnifying glass moving from left to right; the animation will be completed in about 2.5s with a final scaling and disappearing effect and in the meantime will appear our real Divi Search bar. It's just a glance on how Svg and Css Animations can be really magic animating your web pages. Hope it can be useful. See you next post!

