Hi, today we will deep into Github on our second part of this mini series. We have already seen in the previous post how Git works and we have introduced Github. Now is time to see it in action for hosting our WordPress plugin!
CREATE OUR GITHUB REPO
CREATE THE REPO
First of all we have to create a new Repo, so Register/Login to Github and click on the green button ‘New Repository’. Then you just have to name your new Repo, add a short description, choose if you want your Repo will be Public or Private (this last option is available only with Premium accounts) and then flag the option for initialising the repository with a Readme file.
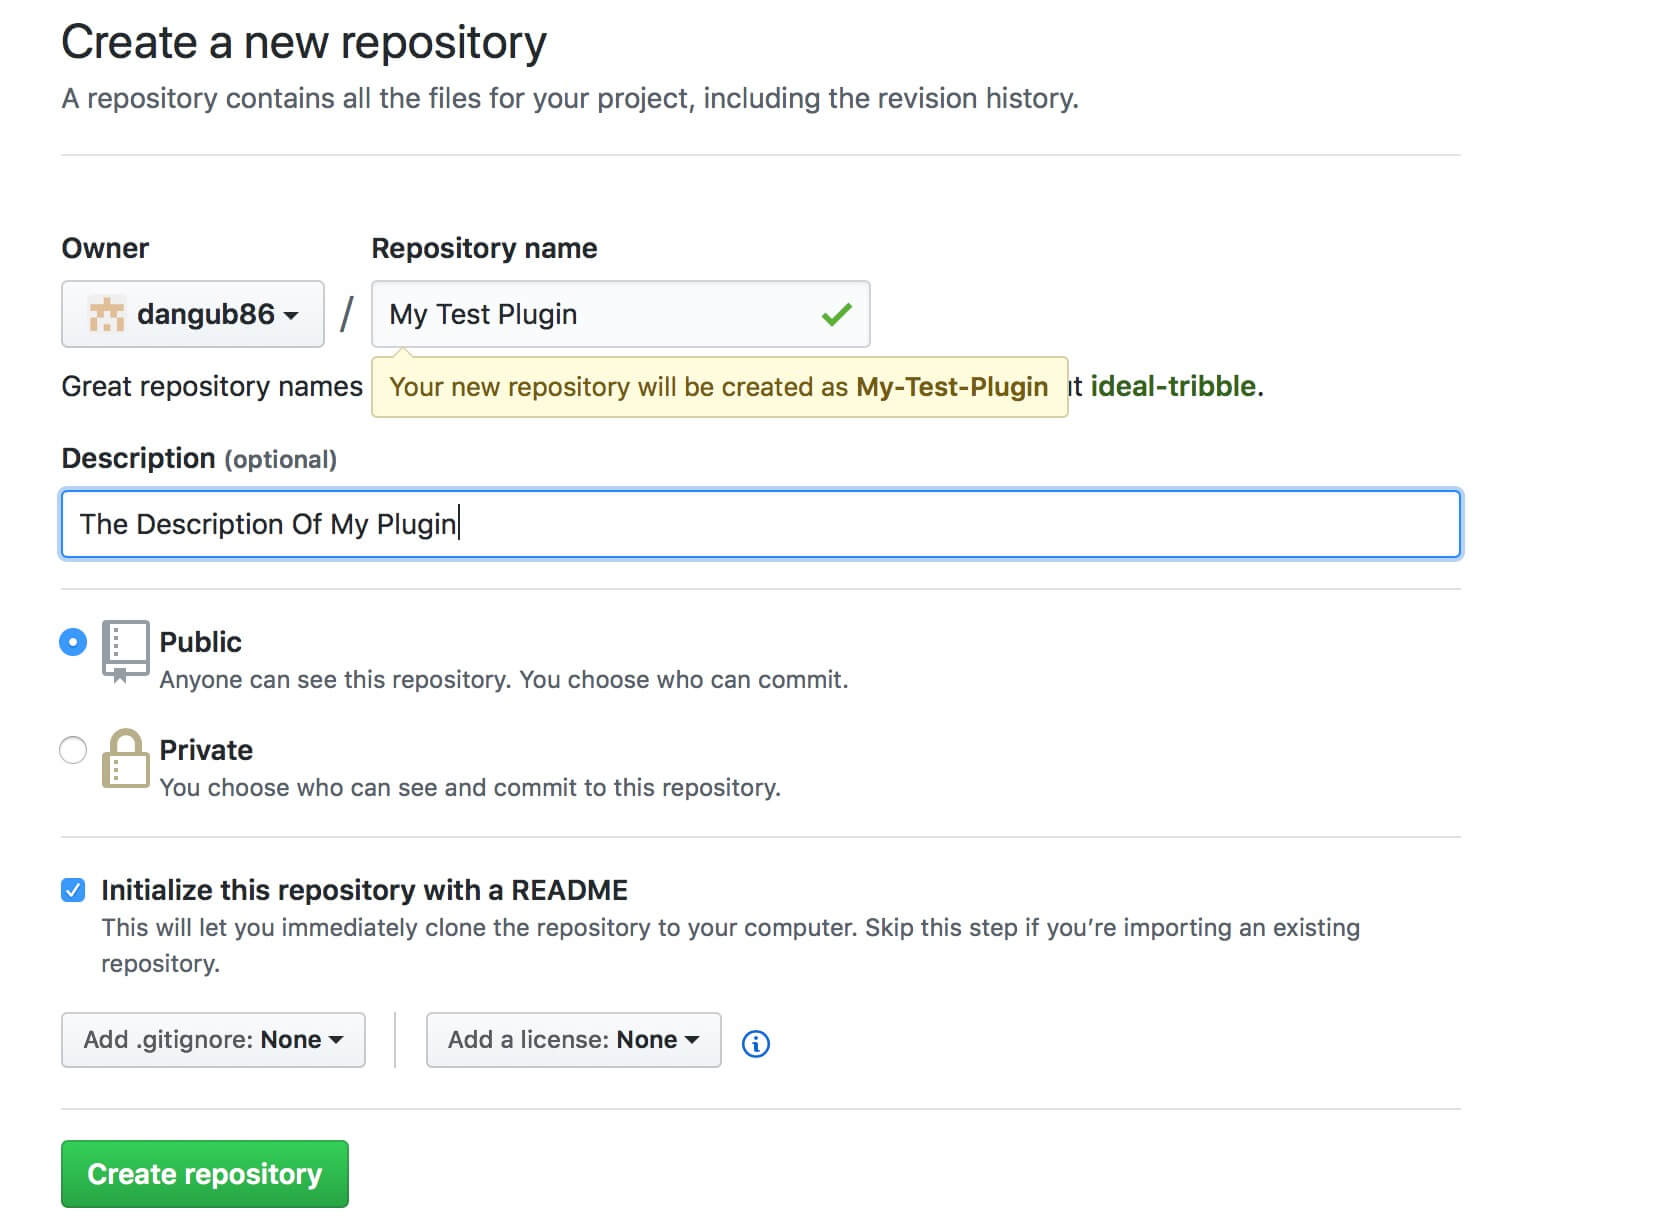
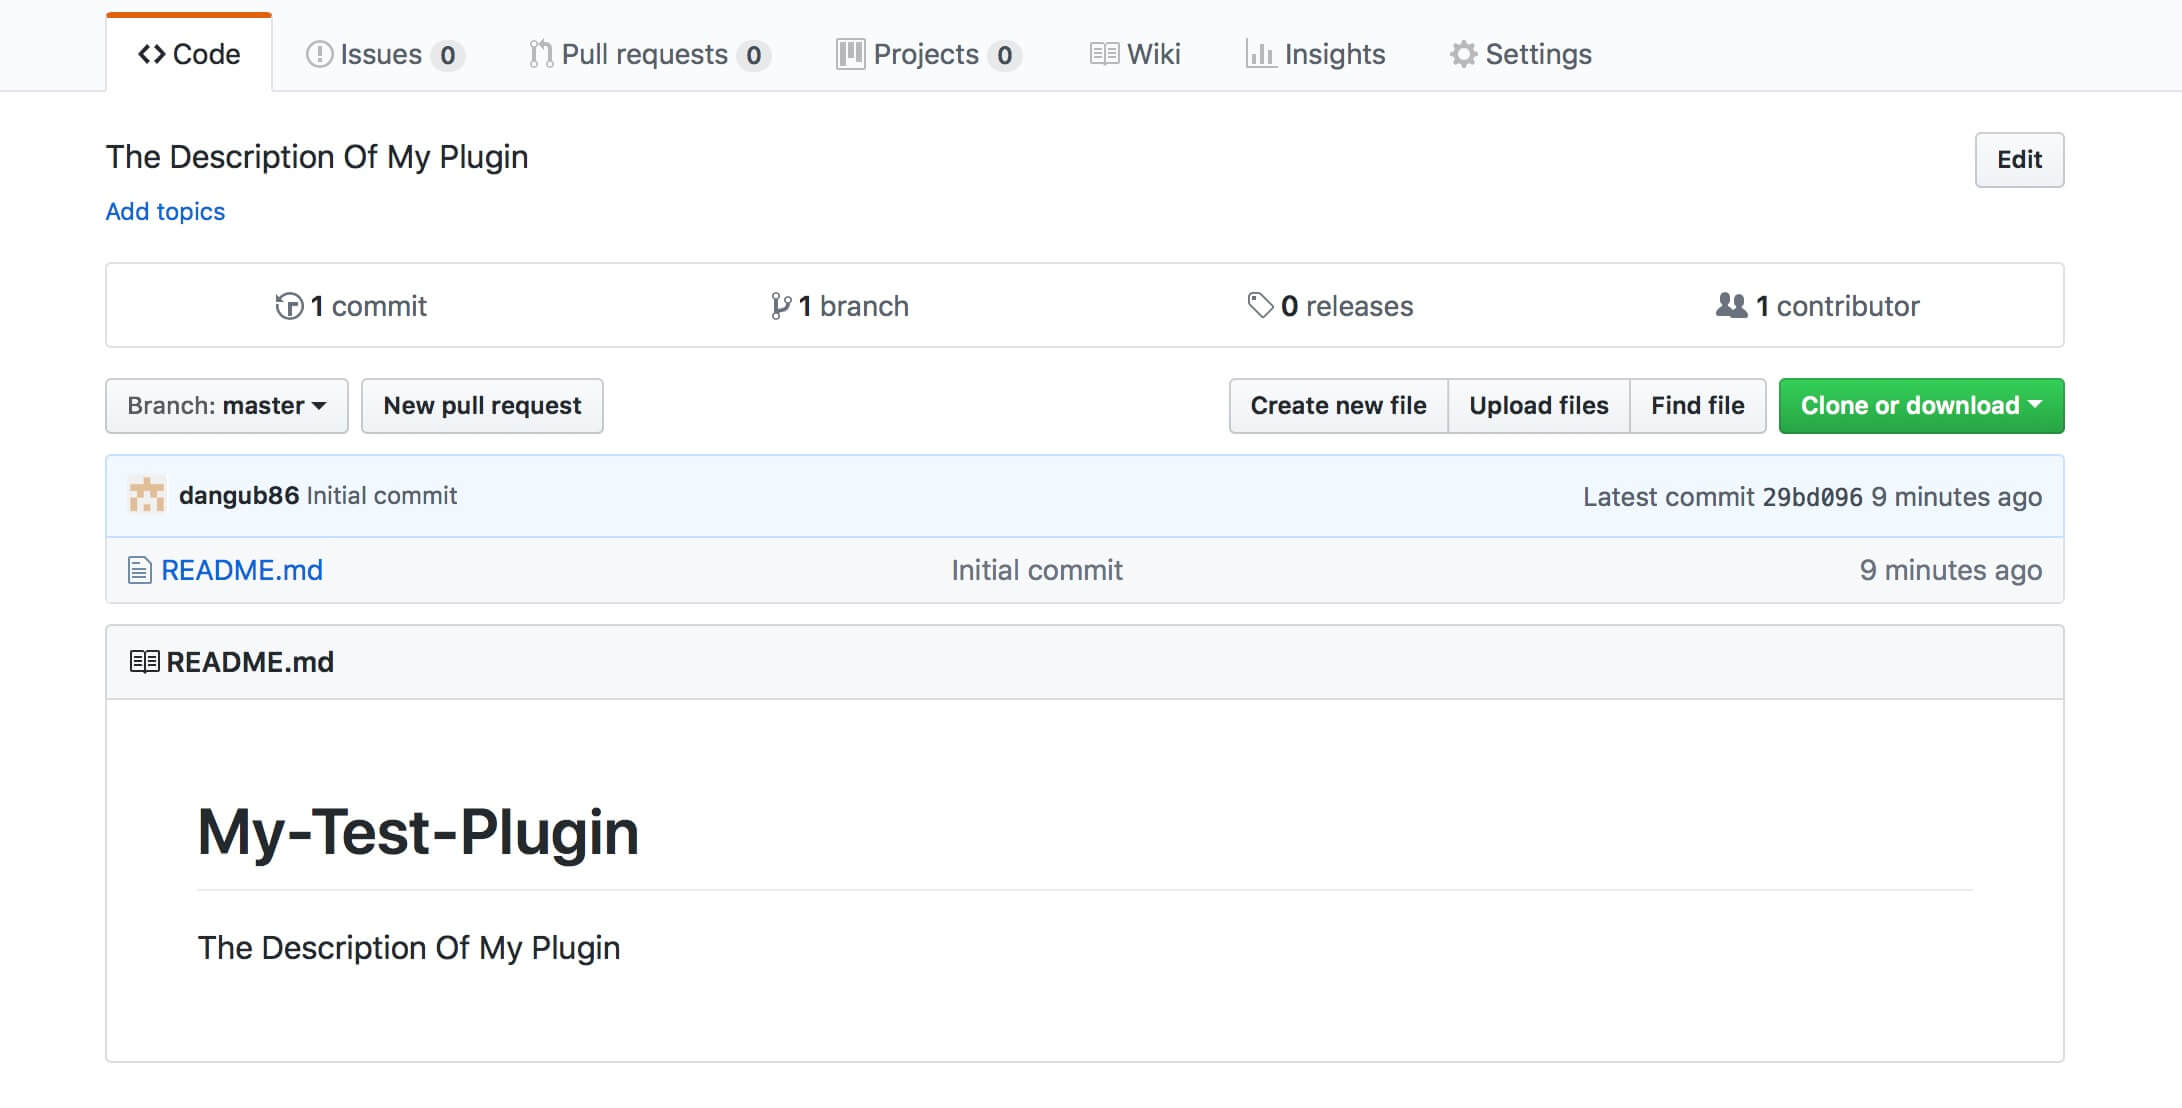
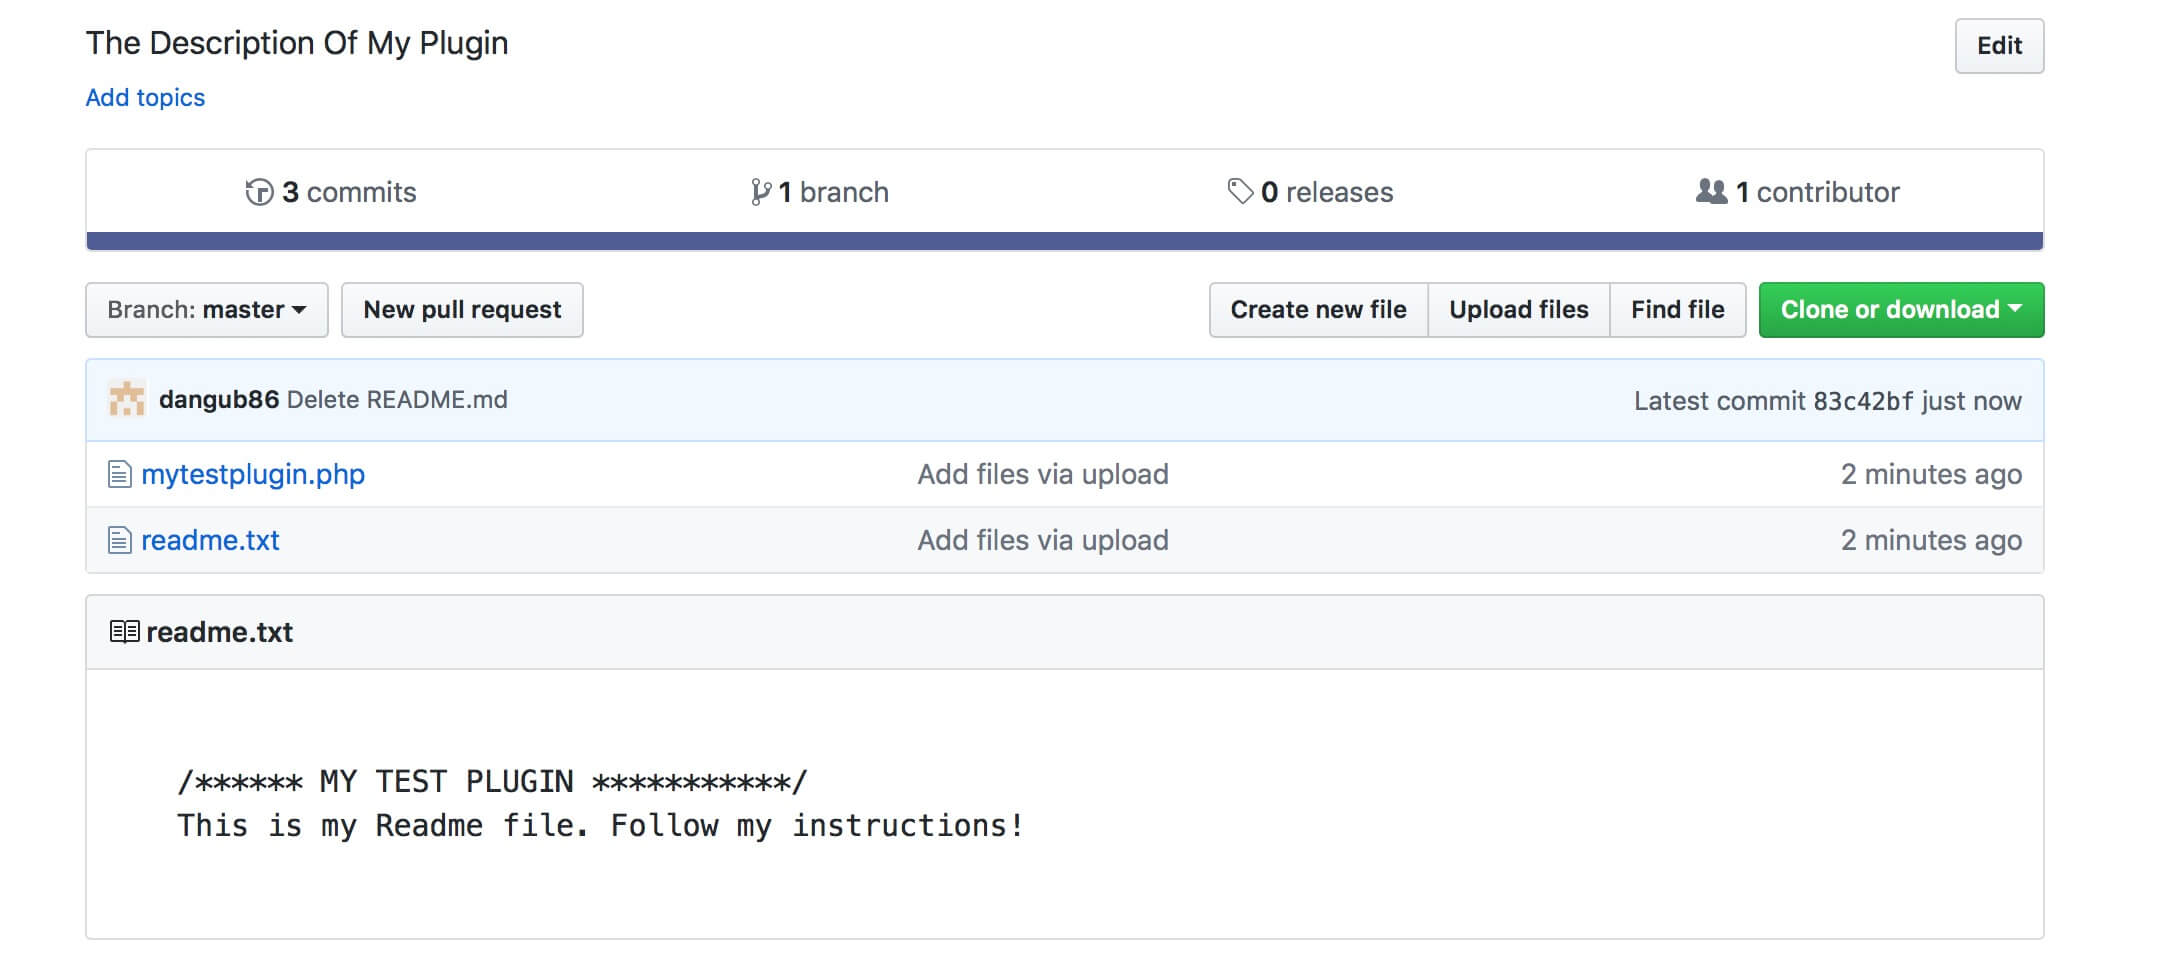
Ok, click now on ‘Create Repository’ and you should see a screen like the following:
ADD PLUGIN FILES TO THE REPO
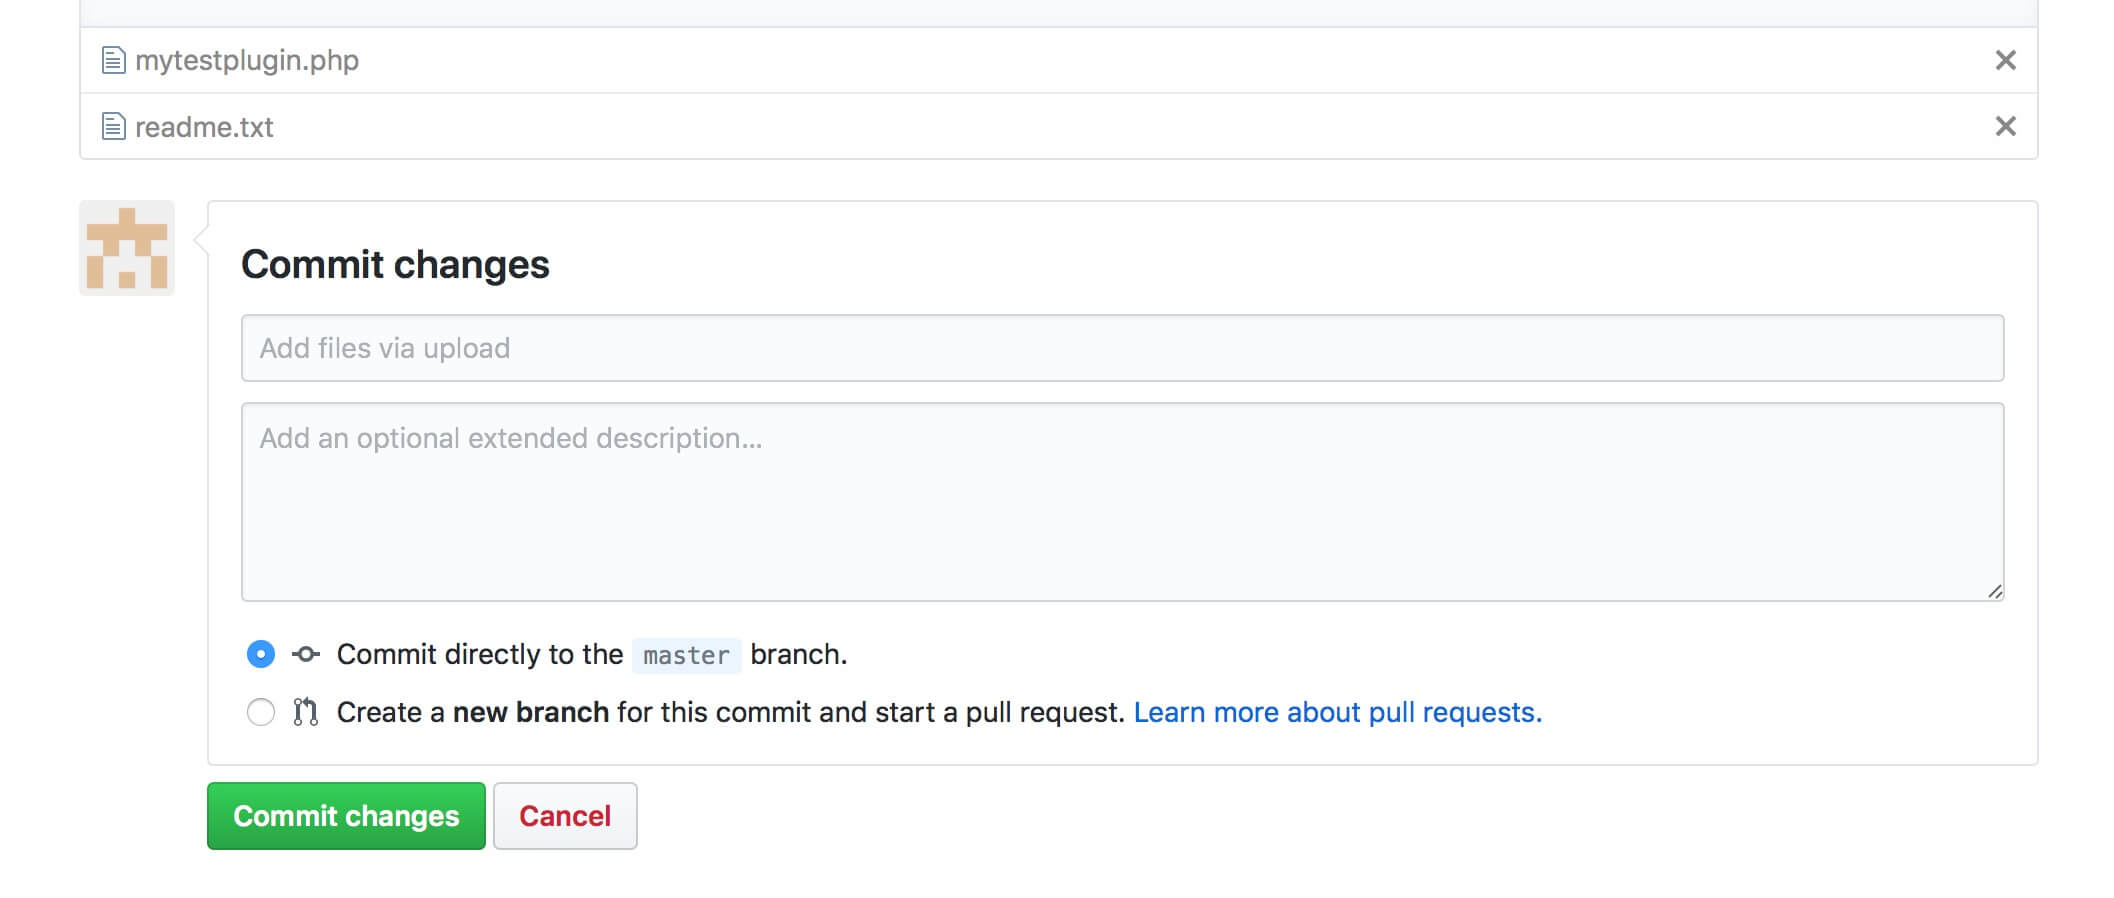
Here you have your Github Repository and from here you can upload files, start branching, pull requests and so on. Now let’s say we want to upload our test plugin; we click on ‘Upload files’ button and choose our files. Then you have to commit the changes, you can write a Commit title and a short description before click the green button.
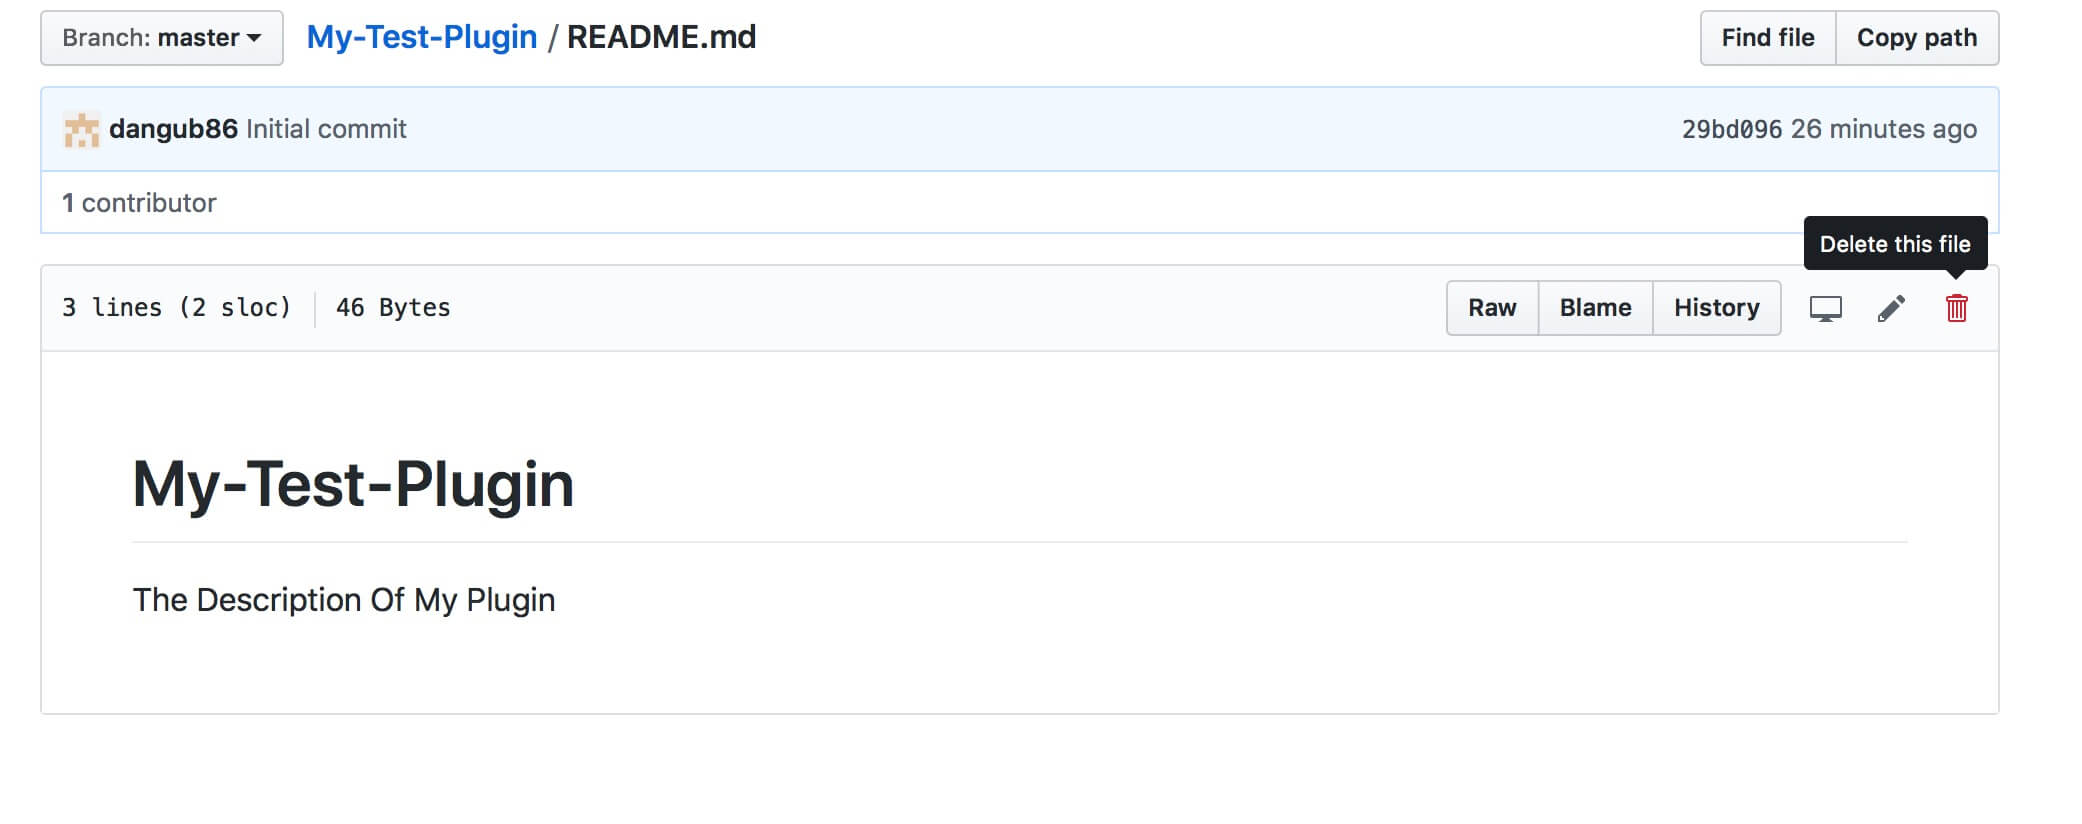
In the same way we can now delete our initial Readme.md file. Just click on the file you want to remove and click the ‘Delete’ icon on top right corner of the editor.
Ok, now we have our plugin hosted on our Github Repo and everyone can clone or download it. You can now start branching but for our purpose (and in general if you work alone and safely in local before uploading your files) this step will not be necessary.
UPDATE OUR PLUGIN
VIA GITHUB.COM
Let’s say we want now to make some changes to our plugin code and update the plugin on Github. We have two ways to do it: we can just select the file we want to edit and click on the ‘Edit’ icon, then change the code and click on Commit changes button (remember always to add a desc to your commits, this way you can easily keep track on how and why you change your code!).
Obviously, if the changes are more than one and/or in different files or also in different code portions inside the same file you can speed your updating process by simply uploading your new updated files and Github will automatically override the old ones.
VIA GITHUB DESKTOP
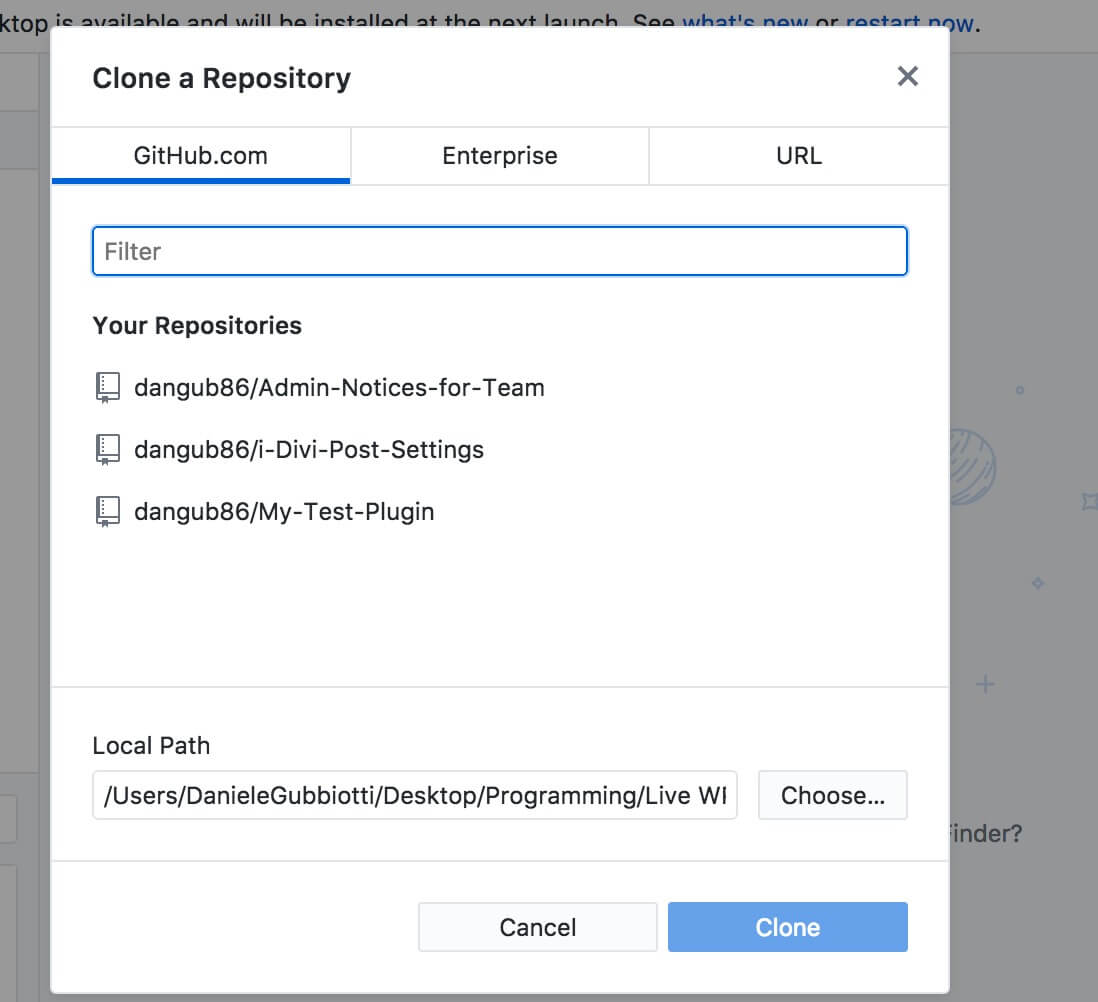
However, a faster and easier way to update your Github Repo is doing it by GitHub Desktop app. Once you downloaded and installed it, you just have to go to File tab -> Clone Repository, just select the Repo you want and a Local path in which the Repo will be cloned.
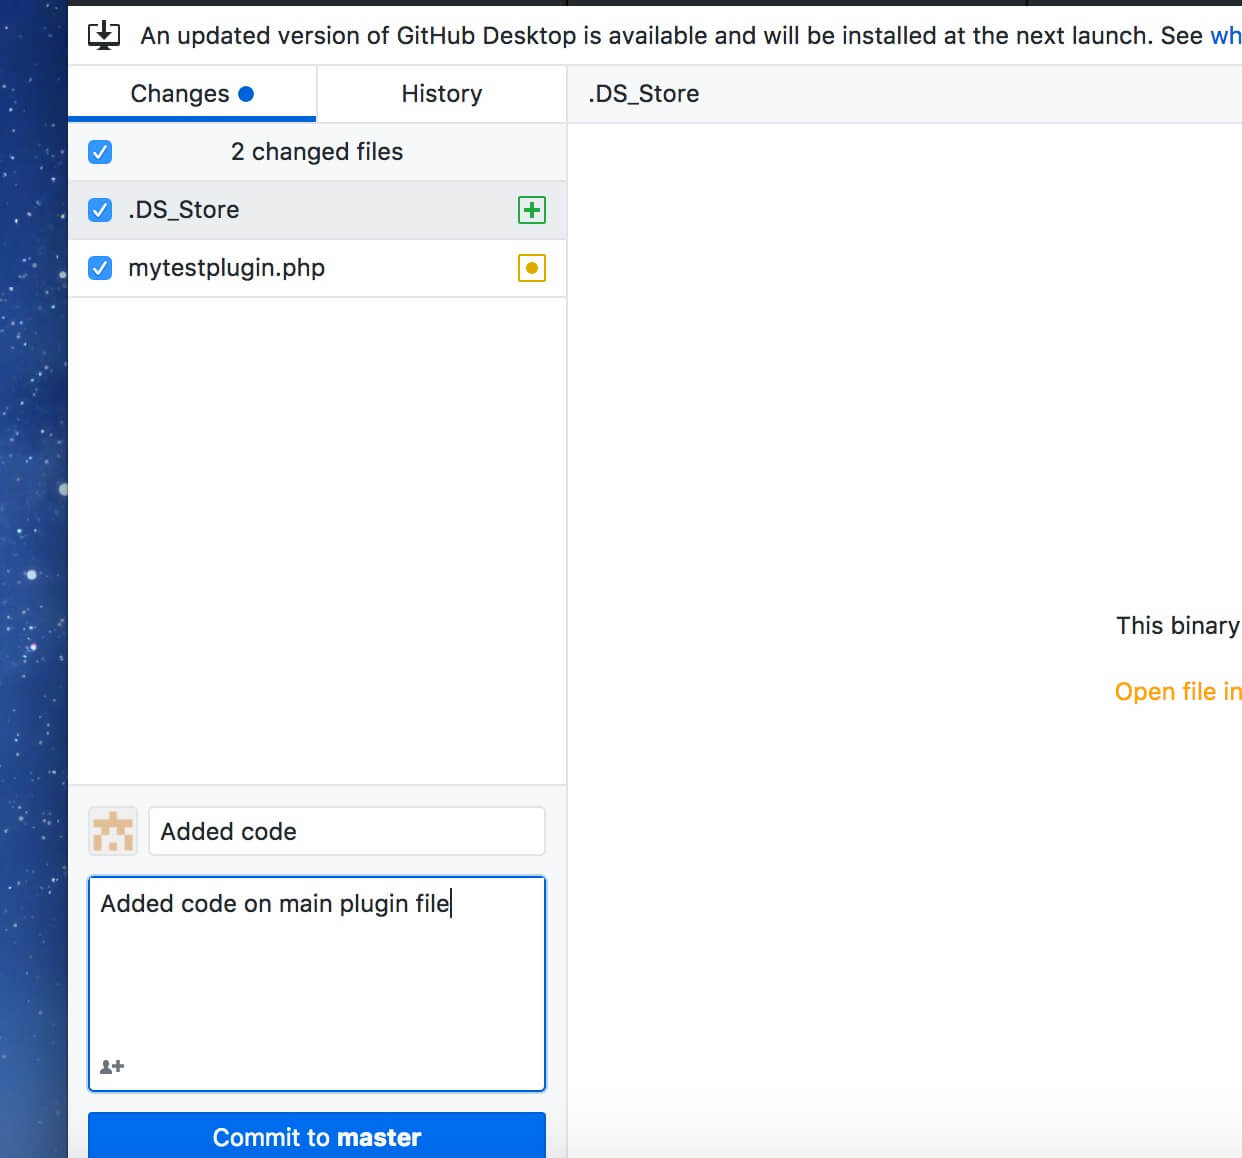
Now we can do all the changes we want and then we simply have to override the files in the Cloned Repository (our local path above) with updated ones. If you open now GitHub Desktop you will see notified that some files has been changed; we add a Summary and a short Description and click on Commit.
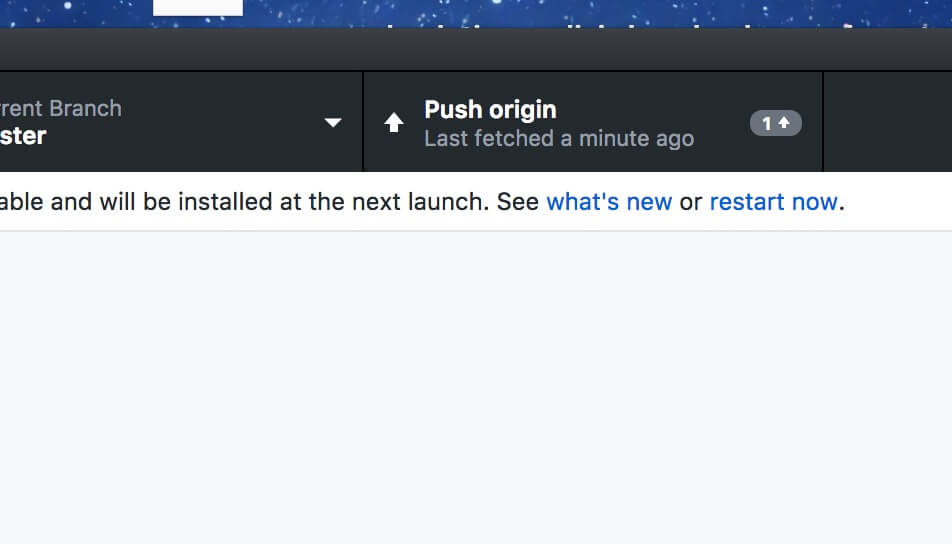
Finally we just have to click on Push Origin and your Github Repo will be perfectly updated. Awesome!
WHAT ABOUT THE WORDPRESS DIRECTORY?
This way we can share our code, and in our case we talk about a WordPress plugin, via Github, but what if we have our plugin already hosted on the WordPress.org directory and we want to update the WordPress and the Github code at the same time?
We will see in the next tuesday post there are several ways to do it and we will give an example using a powerful shell script we found on Github itself.
Cheers!

