So let’s get started!
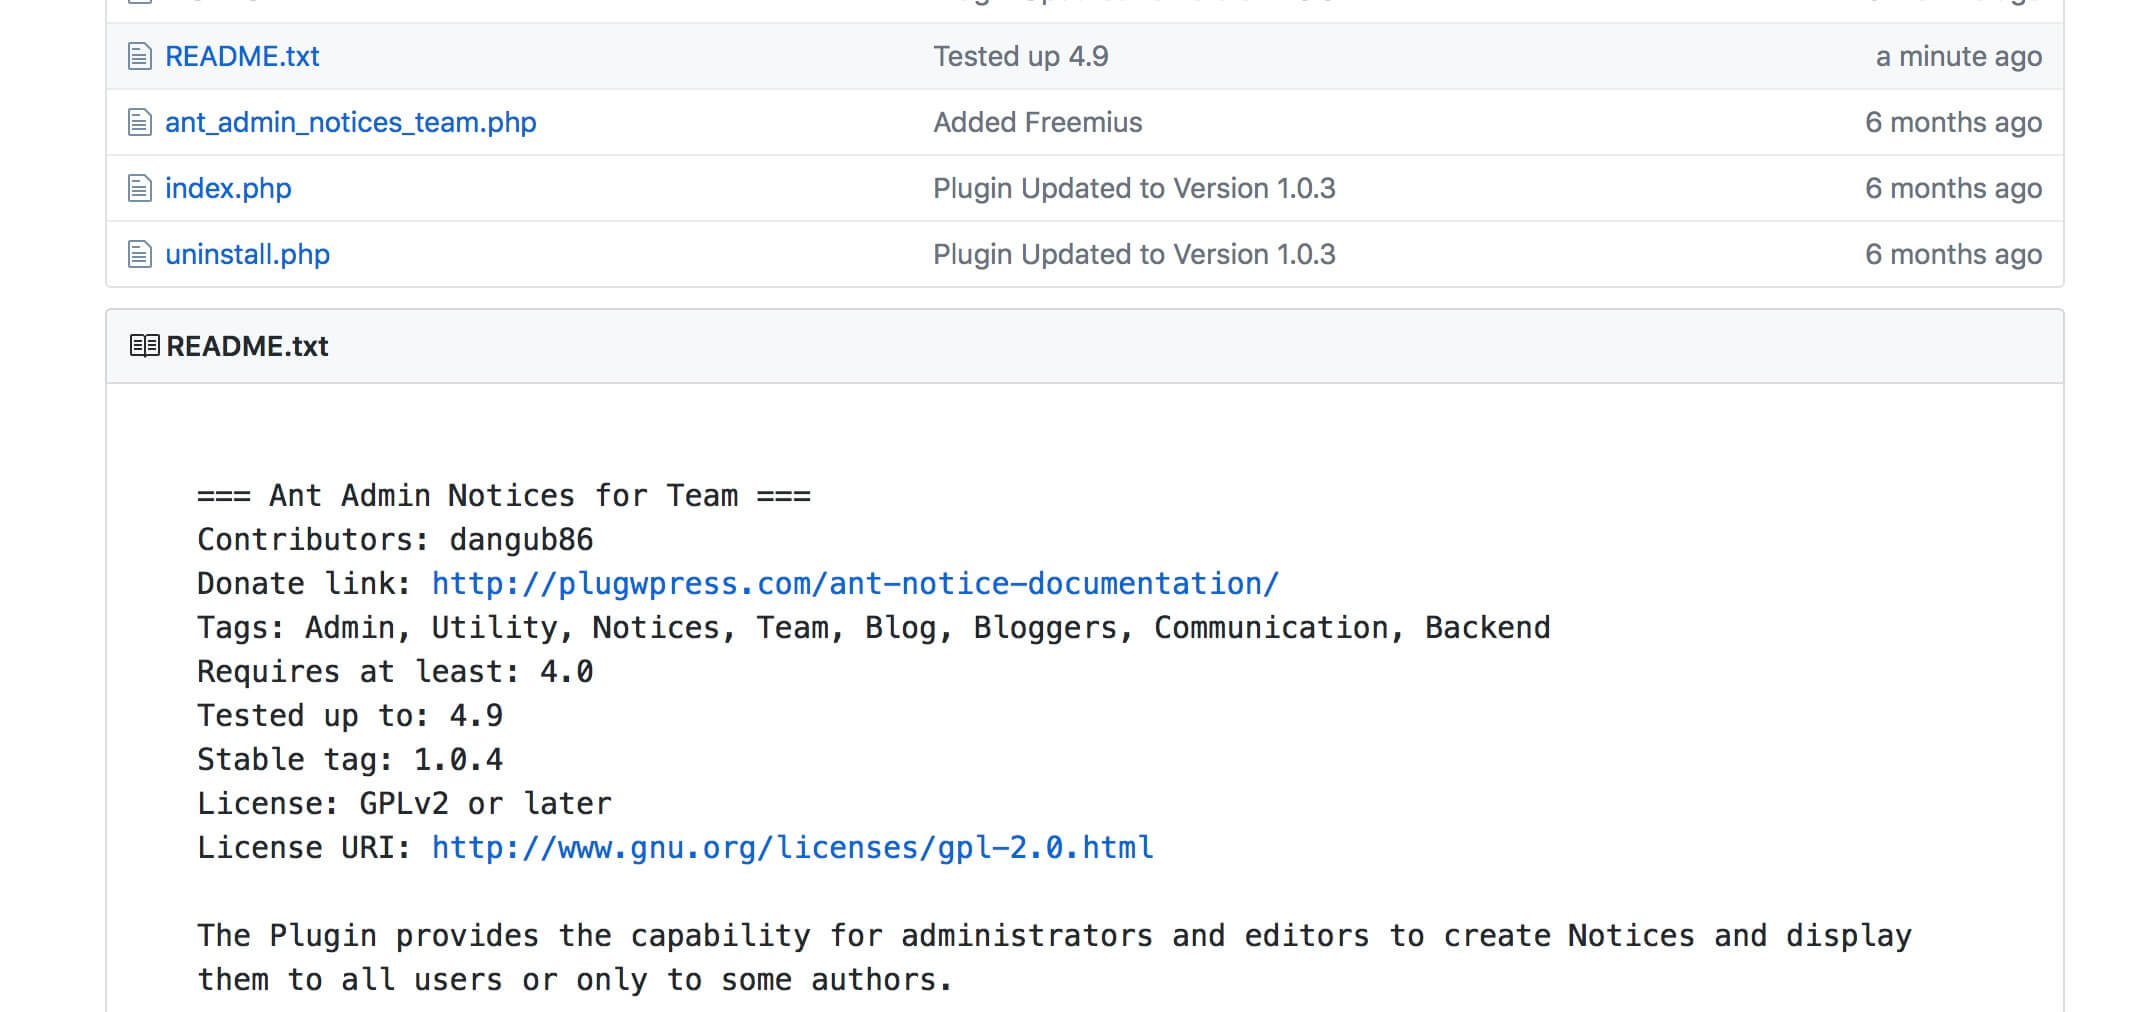
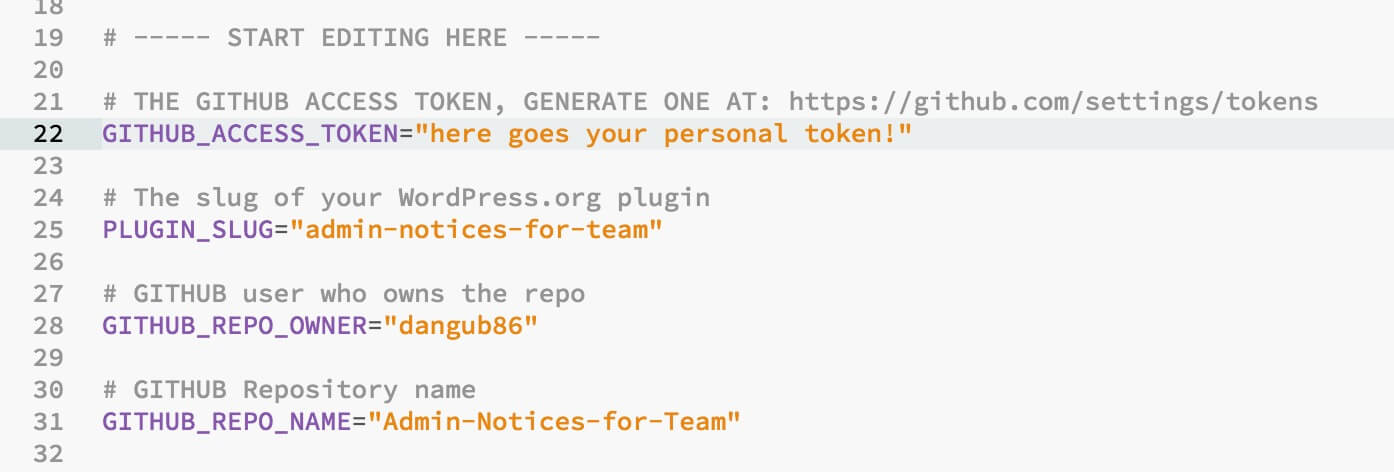
1) the GITHUB ACCESS TOKEN; // you can get this going to Github Settings -> Developer Settings -> Personal access tokens and clicking on Generate new token
2) the WORDPRESS PLUGIN SLUG; // this is the WordPress plugin slug that appears in the WP directory (in our case will be: admin-notices-for-team)
3) the GITHUB REPO OWNER; // this is the name of the Github repository owner
4) the GITHUB REPO NAME; // this is the name of the Github repository
Ok, now we just have to open our Terminal (or similar shell command tool if you are on different OS) and run the command ‘cd‘ followed by the folder directory in which we have previously copied and pasted our ‘release.sh’ file. In our case we have the file located in ‘Programming/Tools’ path so our first command line will look like this:
“cd desktop/Programming/Tools/”
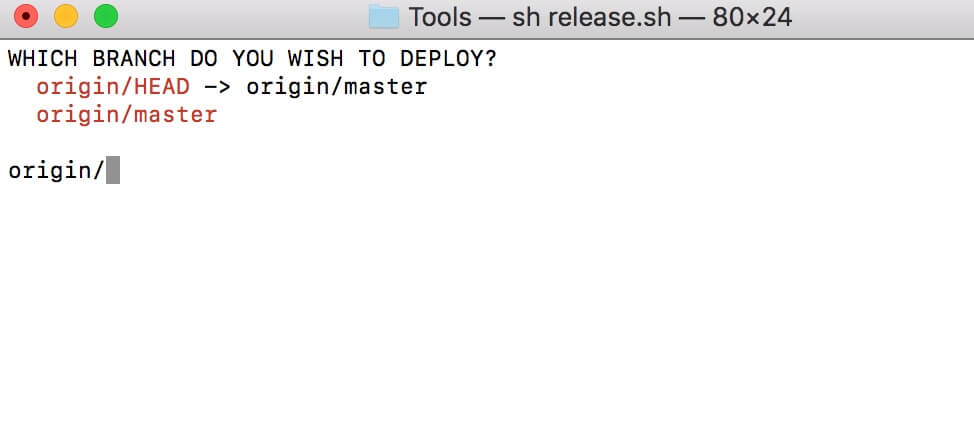
Then just run the following line:
“sh release.sh”
See you next post!

