However these two main topics will not be disconnected but the first (the Tuesday ‘Coding’ post) will serve the second (the Friday ‘Designing’ one) and the two cards will compose a sort of puzzle with a final Divi design post that will take strength from the ‘Code’ one.
First of all let’s briefly introduce our three jQuery methods and the reason for using them:
.find
The first jQuery method we are going to see is probably also the easiest and most intuitive one. To deepen all the details about this just click on the blue Documentation button above, but for our needs we just have to know how this method let us to find an element – targeted by a selector or (from version 1.6) by element/jQuery object – among all the descendants of a specific Dom element.
You will have to note a couple of details:
.find vs .children -> The difference is that the ‘.children’ method will find only the first descendant of the parent selector, while ‘.find’ will retrieve all the child targeted elements. However will be traveled only the descendants and the parent, even though it matches the selector, will not be included in the results.
.find always need a selector -> Another thing to note is that you have always to declare a selector; if you want to find all the descendants you will have to use the universal one (‘*’).
.find and SelectorContext -> We can use Selector Context, so in place of $( "li.item-parent" ).find( "li" )
we can use
$( "li", "li.item-parent" ).
.text
Thanks to this jQuery method we can either grab the text value of a selected element targeted by a selector or set the text value of an element passing the new value between parenthesis.
You will have to note, also here, a couple of details:
.text travels all the descendants -> Remember that this method will travel and get the texts of all the selector descendants, so be careful when declare the selector itself.
.text vs .val vs .html -> Similar methods are ‘.val’ and ‘.html’; the first one is used for grab text or value inside input or textarea elements, while the second one is for get the value of a script element.
.before
Finally we have the ‘.before’ method which let us to insert a Dom node before a selected element. It is opposite to the ‘.after’ one that insert the node just after the element targeted by the selector; similar methods are ‘.prepend/.append’ (see below).
.before vs .prepend -> The main difference is that ‘.before’ add a node just above the element selected, while ‘.prepend’ add the content at the beginning of the selected element, otherwise inside of it.
.before vs .insertBefore -> Exactly the same method; the only difference is in the syntax: the element before which we want to add a node will be in the first position using ‘.before’, otherwise in the second position.
Supported multiple arguments -> ‘.before’ method supports multiple arguments, so you can add more than one element at a time: $( "p" ).before( $div1, $div2, $div3 ).
Find a Title
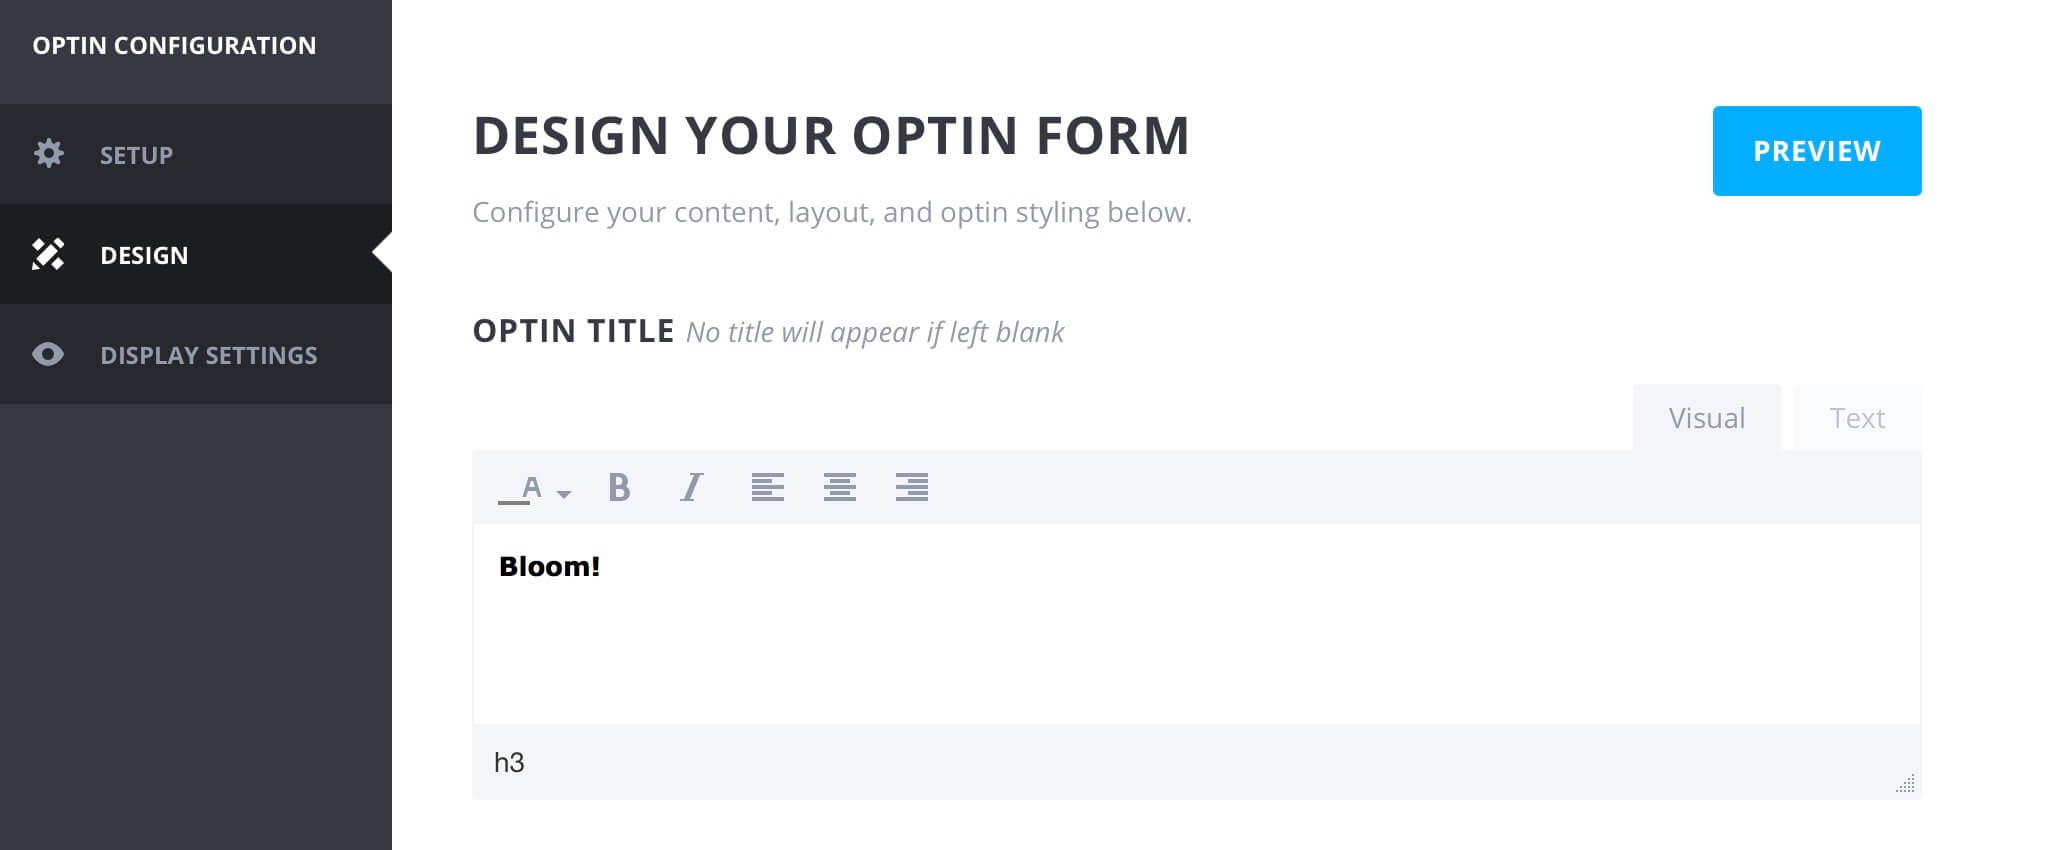
So for example, let’s say we have an <h3> element like the Bloom title we set on configuring our optin

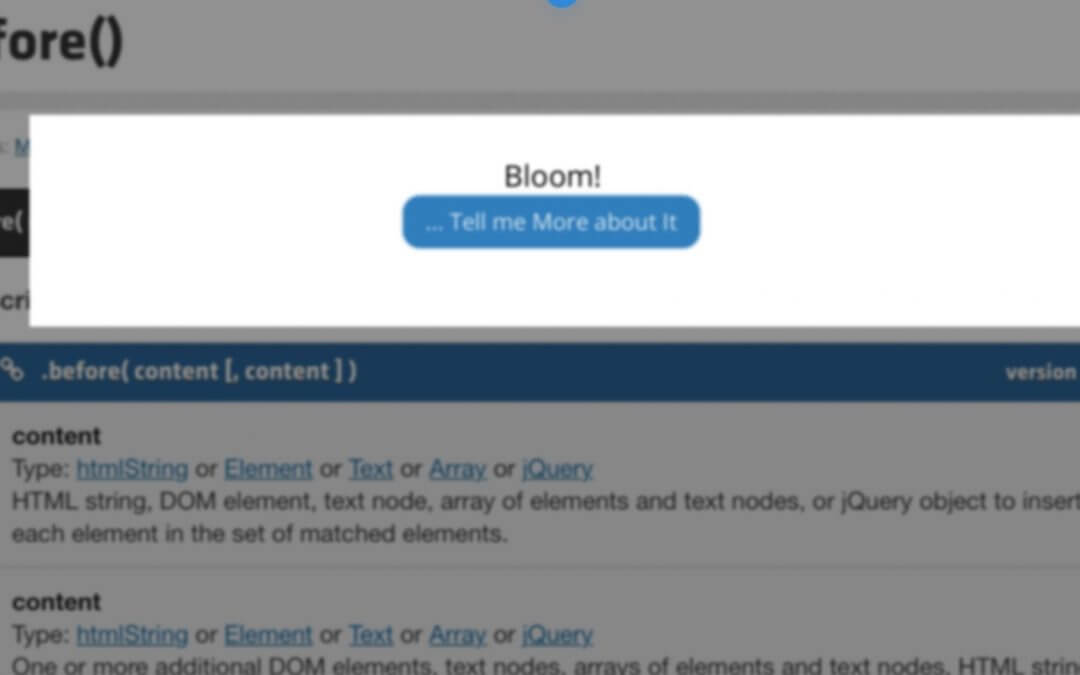
Let’s also say the Bloom optin we created is not directly visible on our page but for showing it the user has to click on a button; the text button is ‘…Tell me More about It’ and we want to display the optin title exactly above the button.
So we can just write our jQuery script:
And running the console.log text we will see something like:

Grab the Title text
Now we need to grab the “Bloom!” text we found inside our <h3> thanks to the ‘.find()’ function. So we can just add half line of code in our jQuery script:
Insert the Title text before the Button
Finally, let’s add the text we got with our ‘.text’ jQuery just above our element, in our a button targeted by the ‘.optin_btn’ class:
Once adjusted some css concerning the font-size, color and position we will get something like this

Obviously this is just an example but in some cases like that one we will see on Friday these functions will be really useful for our final design.
Next Friday, in fact, we will see how to use a similar jQuery code to implement a design, in particular our Blog side Ads system. Here a sneekpeak:

So, if you are interested in, simply stay tuned on our Blog.
See you next post!


