
Today we will start a new design series focusing on the power of Divi Modules Options. Let’s start with a simple example of a nice effect we can create just with three Divi text modules and the relative Divi options.
A SNEAKPEEK
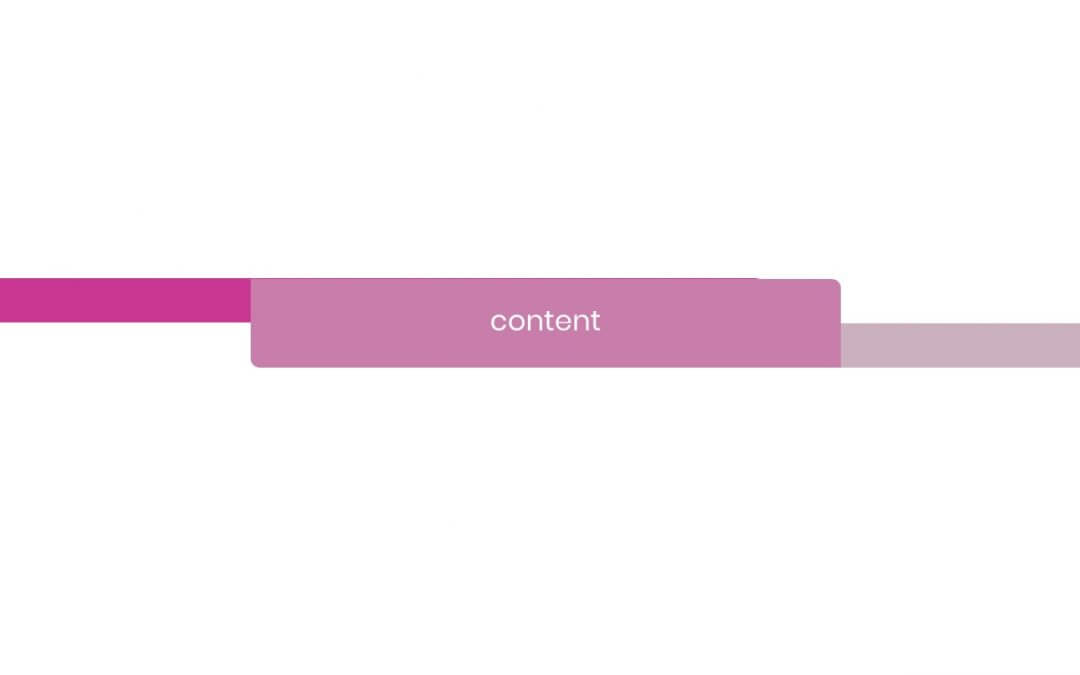
Let’s see before a sneak peek of our final result:
DIVI TEXT MODULES AS BACKGROUND SHAPES
You’d have already learned how the Text Modules in Divi are really more than simple texts. With empty text modules, in fact, you can create shaped backgrounds to use in your layouts just working with background colors, borders and shadows.
You can find a lot of examples on the Elegant Themes blog such as here and here.
LAYOUT STRUCTURE
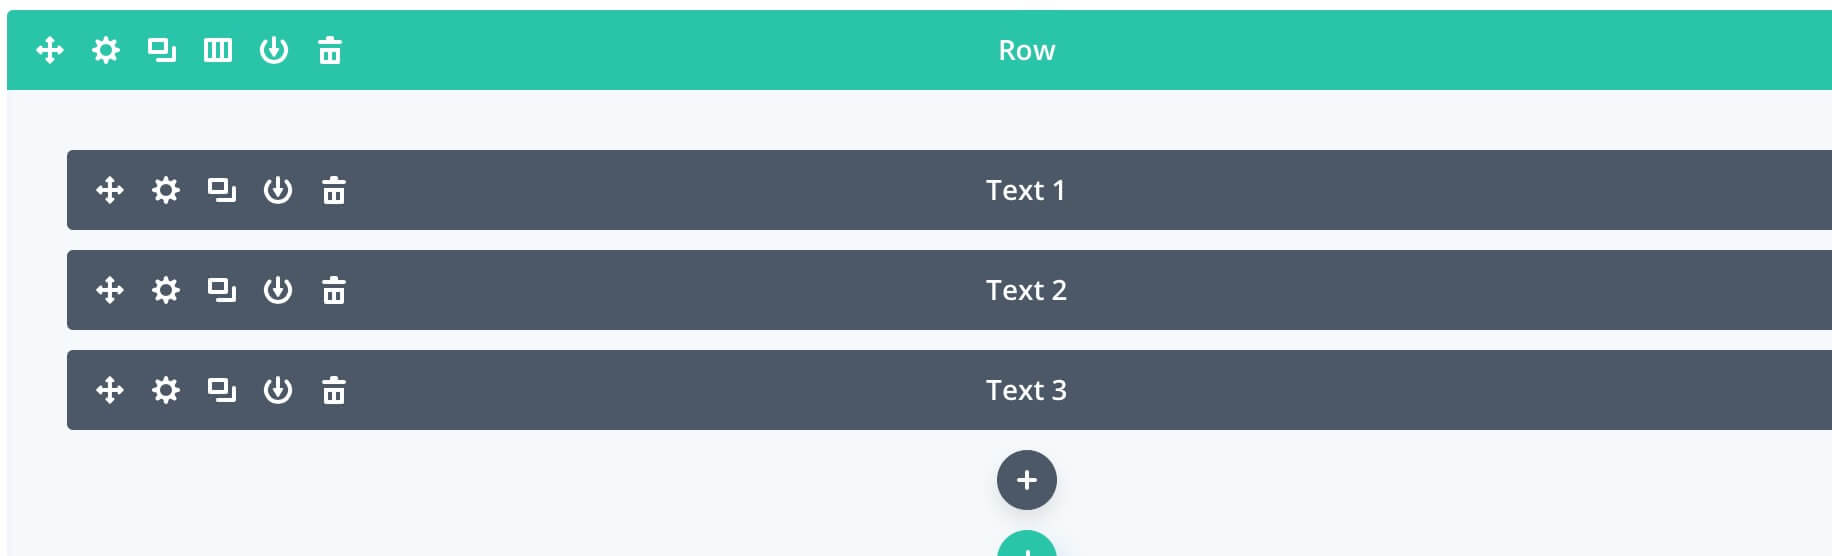
First of all let’s create our column and module structure. It’s really very simple, just a one-column layout with three simple text modules inside of it and the first step has already gone!
TEXT MODULE OPTIONS
Now we have to set up our Divi options for each text module. Let’s start from the central one, the Text 2.
TEXT 2 OPTIONS
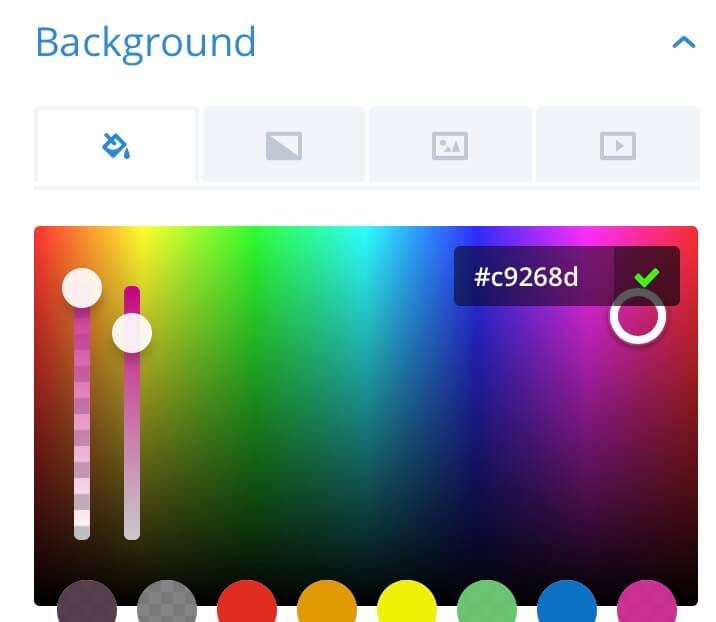
First of all let’s choose our module background in the Content tab. You can of course opt also for a gradient or an image background; for our purpose, however, we select a simple hex value:
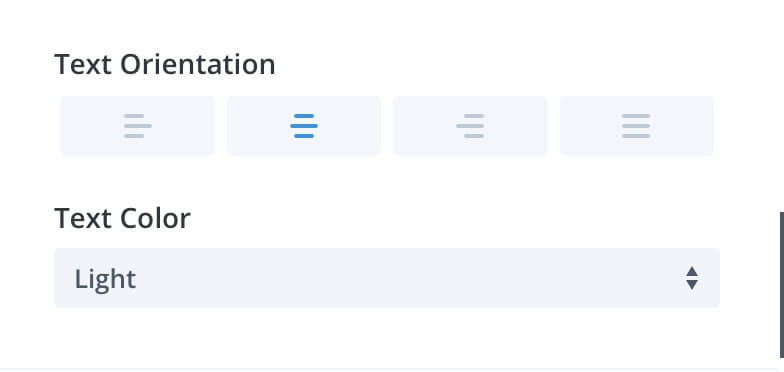
We move then to the Design tab and in the Text toggle we scroll down to the Text Orientation (select Center) and Text Color (select Light).
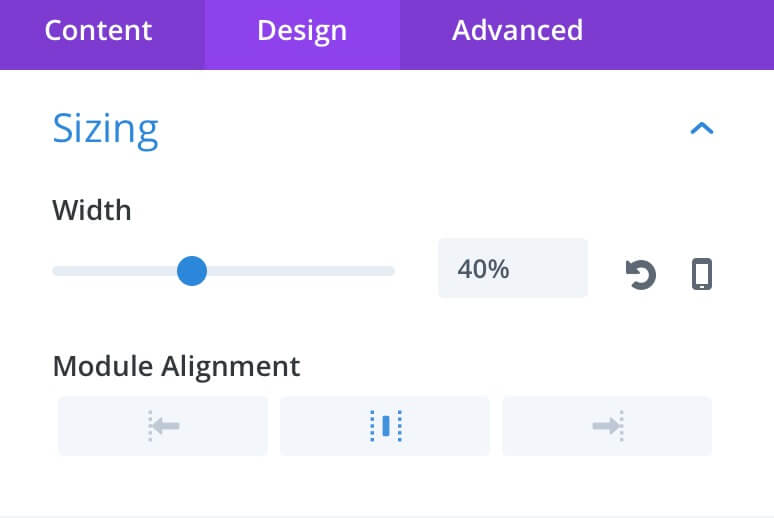
In the Sizing toggle we select a 40% width and we aligns the module to the center.
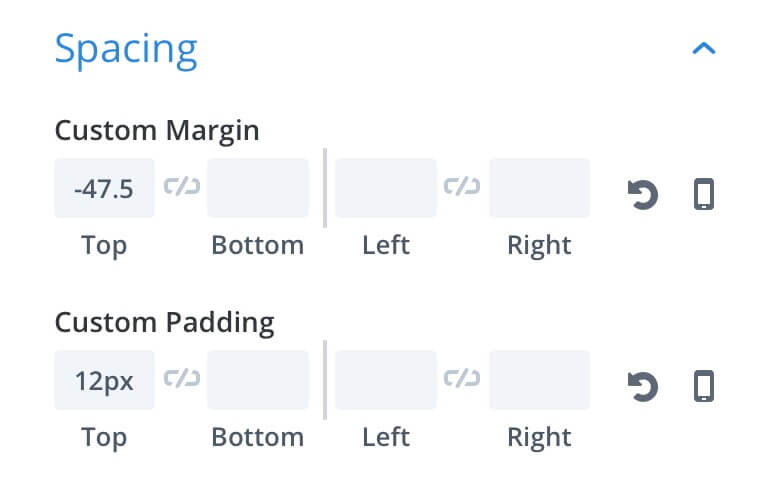
Now let’s choose some margin and padding for our Text 2 module (margin-top: -48px and a padding-top of 12px).
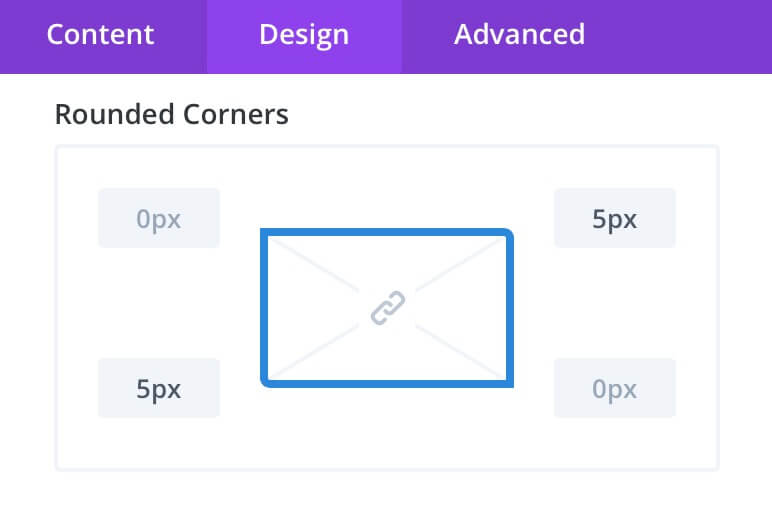
Finally we pass to the Border toggle and add a 5px border-radius to the top-right and bottom-left corners:
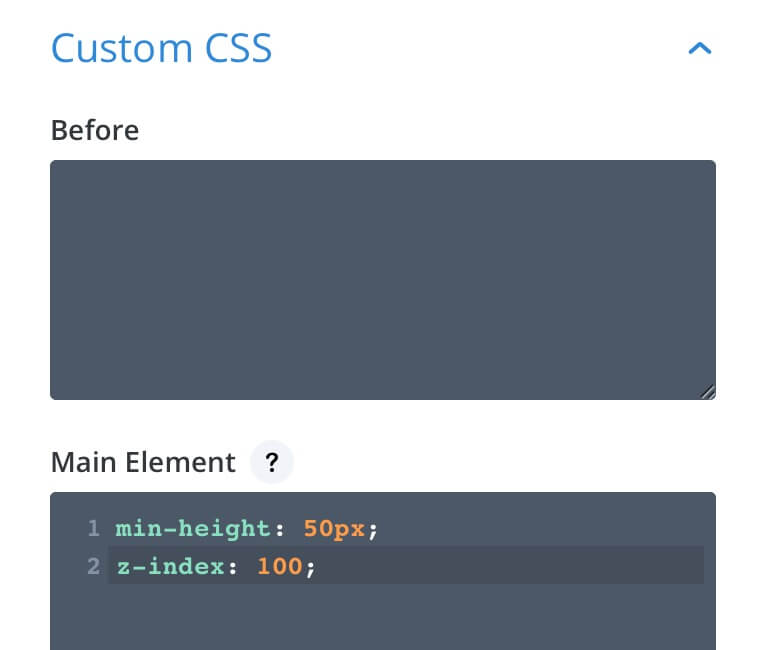
As a last step we go to the Advanced tab -> Custom Css and in the Main Element box we put a couple of Css lines just to make the module stand out with a z-index of 100 and a min-height of 50px:
TEXT 1 OPTIONS
Now that our central text module has been properly set up we can move to the Text 1 module. We can just copy and paste our Text 2 styles (using the right click on the module); then we have to change the background color ( rgba(201,102,165,0.9) ), align the text to the left, size the module to 30% and align it to the left, use 0 margin-top and a padding-left of 20px, round top-left and bottom-left corners ( 7px ) and use a min-height of 25px in our Custom Css box.
TEXT 3 OPTIONS
Finally we style our third text module and also here we can just copy and paste the styles from the Text 1; then we have to change the background ( rgba(201,173,189,0.90) ), align the module to the right in the Sizing toggle, align the text to the right in the Text toggle, use a margin-top of -48px and a padding-right of 20px, finally round top-right and bottom-right corners ( 7px ).
IMPROVE ANIMATION
Our design is already ok. However we can create a nicer effect thanks to the Divi Animation Options. We give our central module a simple fading effect with a duration of 500ms, then we pass to set animation for the Text 1 and Text 3 ones.
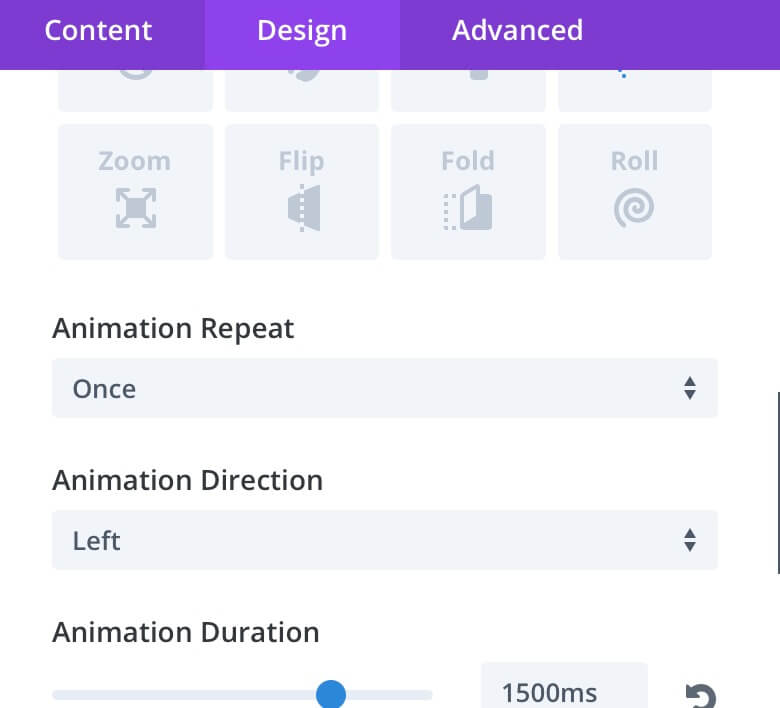
Open our Text 1 settings, go to the Design tab -> Animation and select the Fold effect, then just assign a left direction and a time of 1500ms, a delay of 600ms and an animation intensity of 100%.
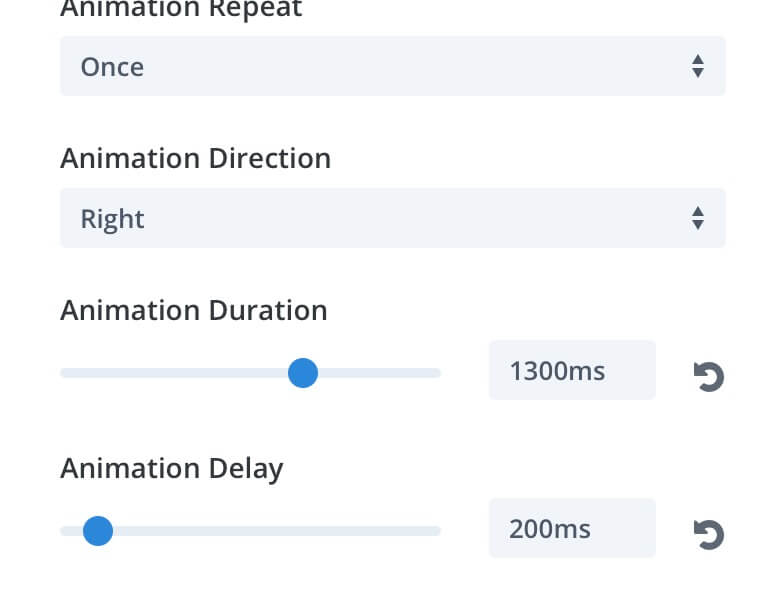
Then, in our Text 3 module we go to the Animation options, select a Fold type also here with a Right direction, a duration of 1000ms and a slight delay of 700ms (always with 100% intensity).
NEXT POST…
In the next post we will see how to create several shapes using just text modules and the background options.
See you next post!
Cheers


