
Today we want to create awesome tooltips just using Divi Text modules and few lines of jQuery in a code module. Let’s get started with our Divi Modules Power IV!
A SNEAKPEEK
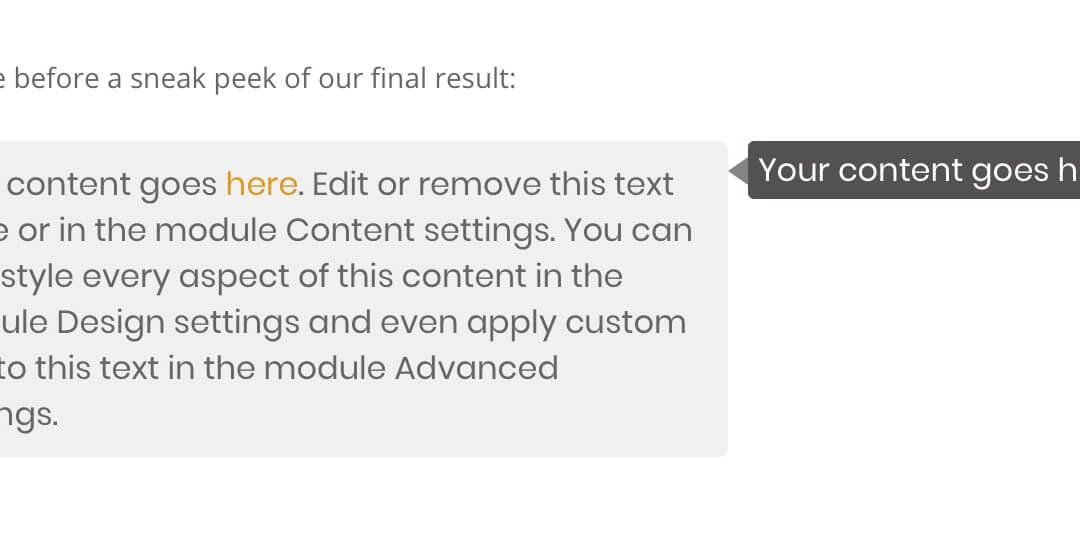
Let’s see before a sneak peek of our final result:
Your content goes here. Edit or remove this text inline or in the module Content settings. You can also style every aspect of this content in the module Design settings and even apply custom CSS to this text in the module Advanced settings.
Your content goes here.
NOTE: Just like as for the other designs we have seen in the past weeks also this layout has been thought for Desktop only, so it can look strange on mobile.
LAYOUT STRUCTURE
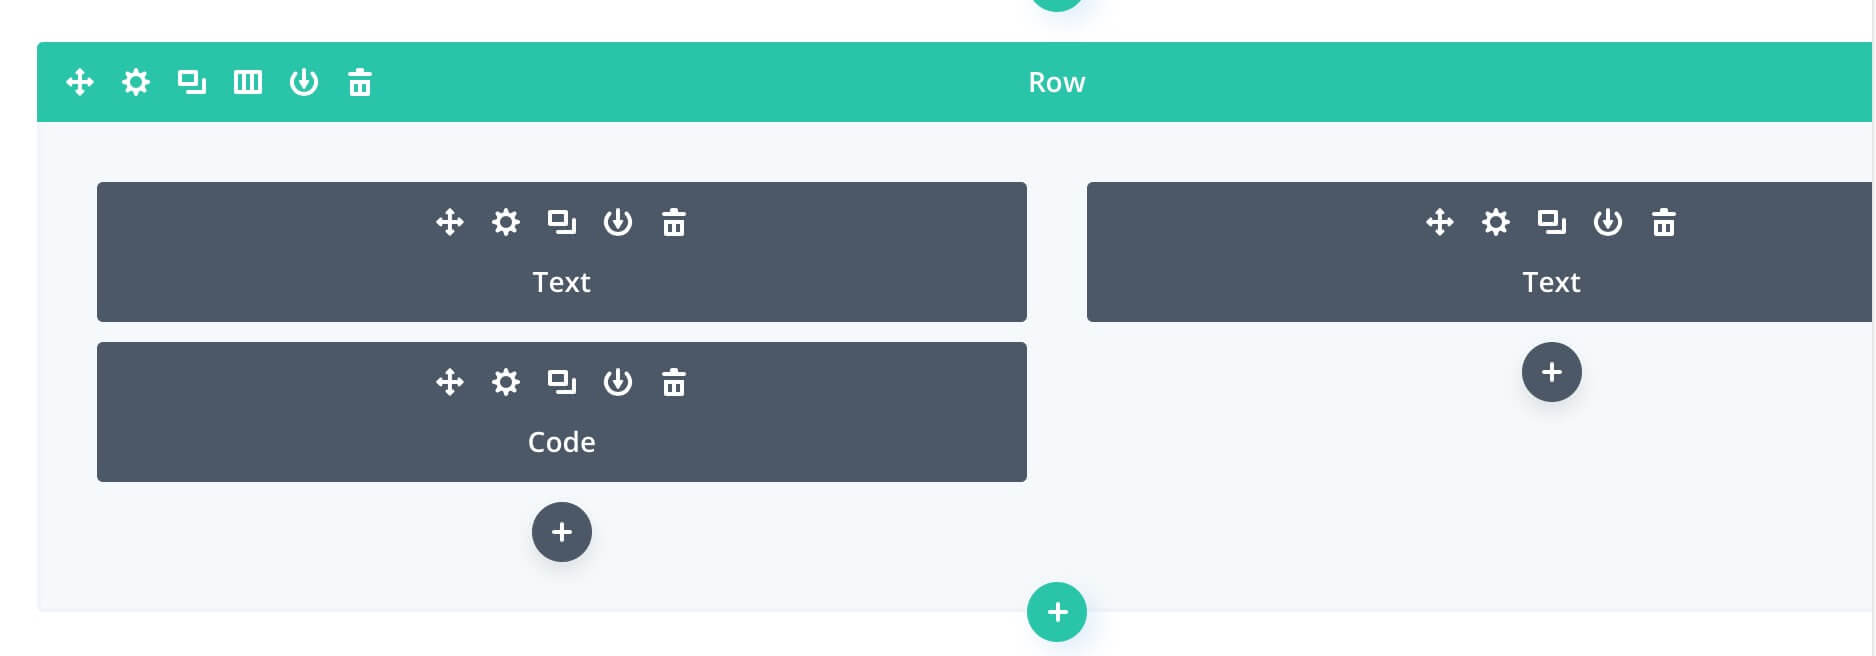
First of all let’s create our column and module structure. It’s really simple, we use a two-columns row with a text module and a code module on the left and a text module on the right.
TEXT MODULE OPTIONS
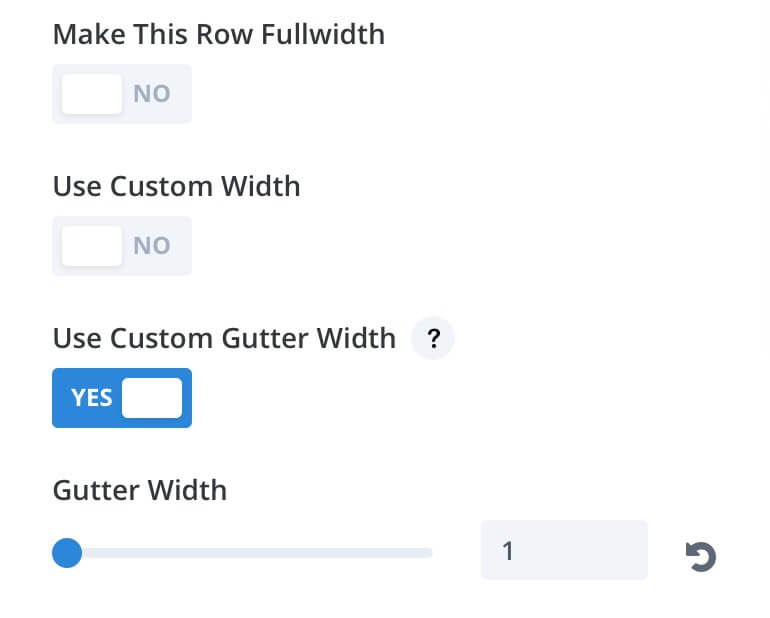
So, now we can start to add our Divi modules and customize them in order to create our tooltip, it’s nothing too strange but it makes the idea of how simple it can be with Divi to accomplish almost everything. So, first of all let’s enter our Row settings and change the Gutter to 1.
TEXT MODULE
Then we can simply add a Text module and leave in the default text created by Divi, add a link to a word and just customize its look a little. We will add a light-grey background ( rgba(237,237,237,0.81) ), some padding ( top and bottom: 10px ; left and right: 15px ) and a 5px border radius. That’s all!
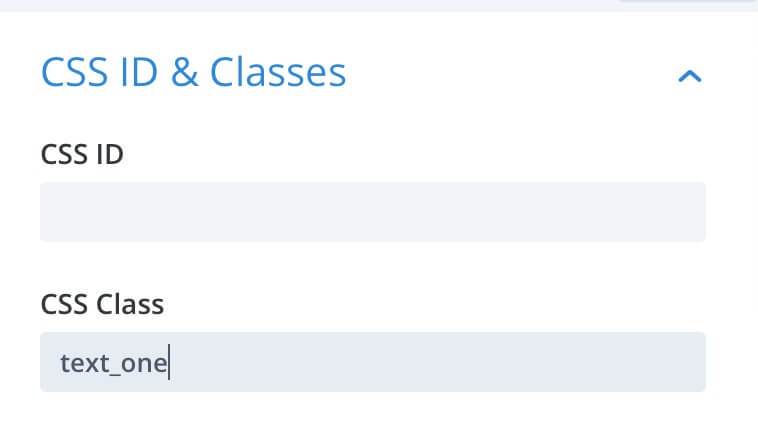
Before we can move to the Tooltip text, however, we have to assign to our Text module a css class or id; so we will assign to it the class “text_one”:
TOOLTIP MODULE
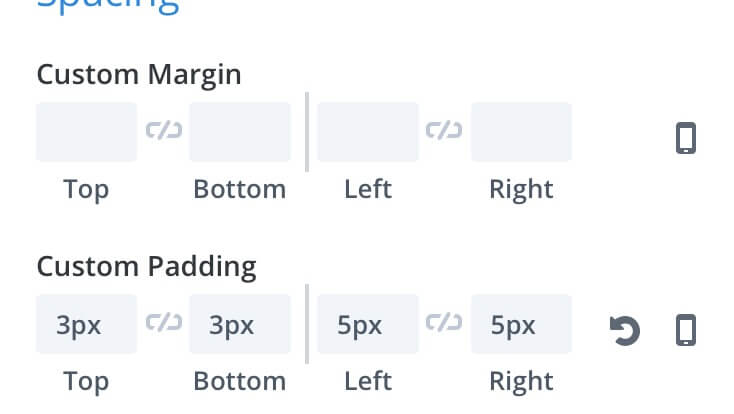
Ok, let’s create now our Tooltip with our second Divi Text module; this time we will leave in just a line of the default text (but you can of course write your own message and customize for example the font settings in the Design tab!). We choose a dark background( rgba(12,7,7,0.7) ), some padding…
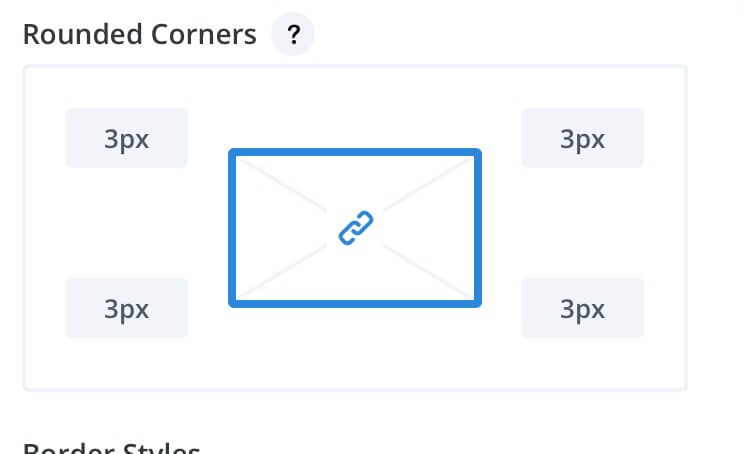
…a little border radius…
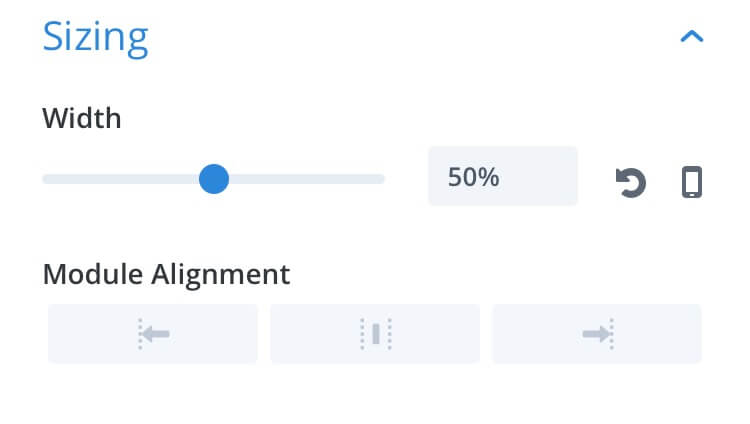
…and finally we go to the Sizing toggle and make the module just of 50% width.
As very last step concerning the tooltip we add also here a class (“tooltip_one”) and some custom Css as follows:
CODE MODULE
Now that we have created our tooltip we have to add few lines of jQuery in order to make it appear only if our link in the Text module is hovered. So we create a Code module just below our Text one and add the following code to create an little animation that will give us the idea of a real sliding tooltip:
NEXT POST…
This time we had to use some jQuery and Css in addition to the power of Divi, it’s true; however, we have seen one of the many examples in which Divi definitely simplifies our work. We have also kept the Tooltip very simple and clean but thanks to the power of the Divi Text module you can easily create fantastic Tooltips directly from your Divi Visual Builder!
In the next post we will see another awesome example of how we can take advantage of the Divi Text modules working on two rows.
See you next post! Cheers


