Timeline Blog Layout
Below our Howidivit Timeline Blog section. We had it online on our Blog Page a few months ago. If you want to recreate it step by step you can find the tutorial in this blog post, otherwise you can download it scrolling down this page.
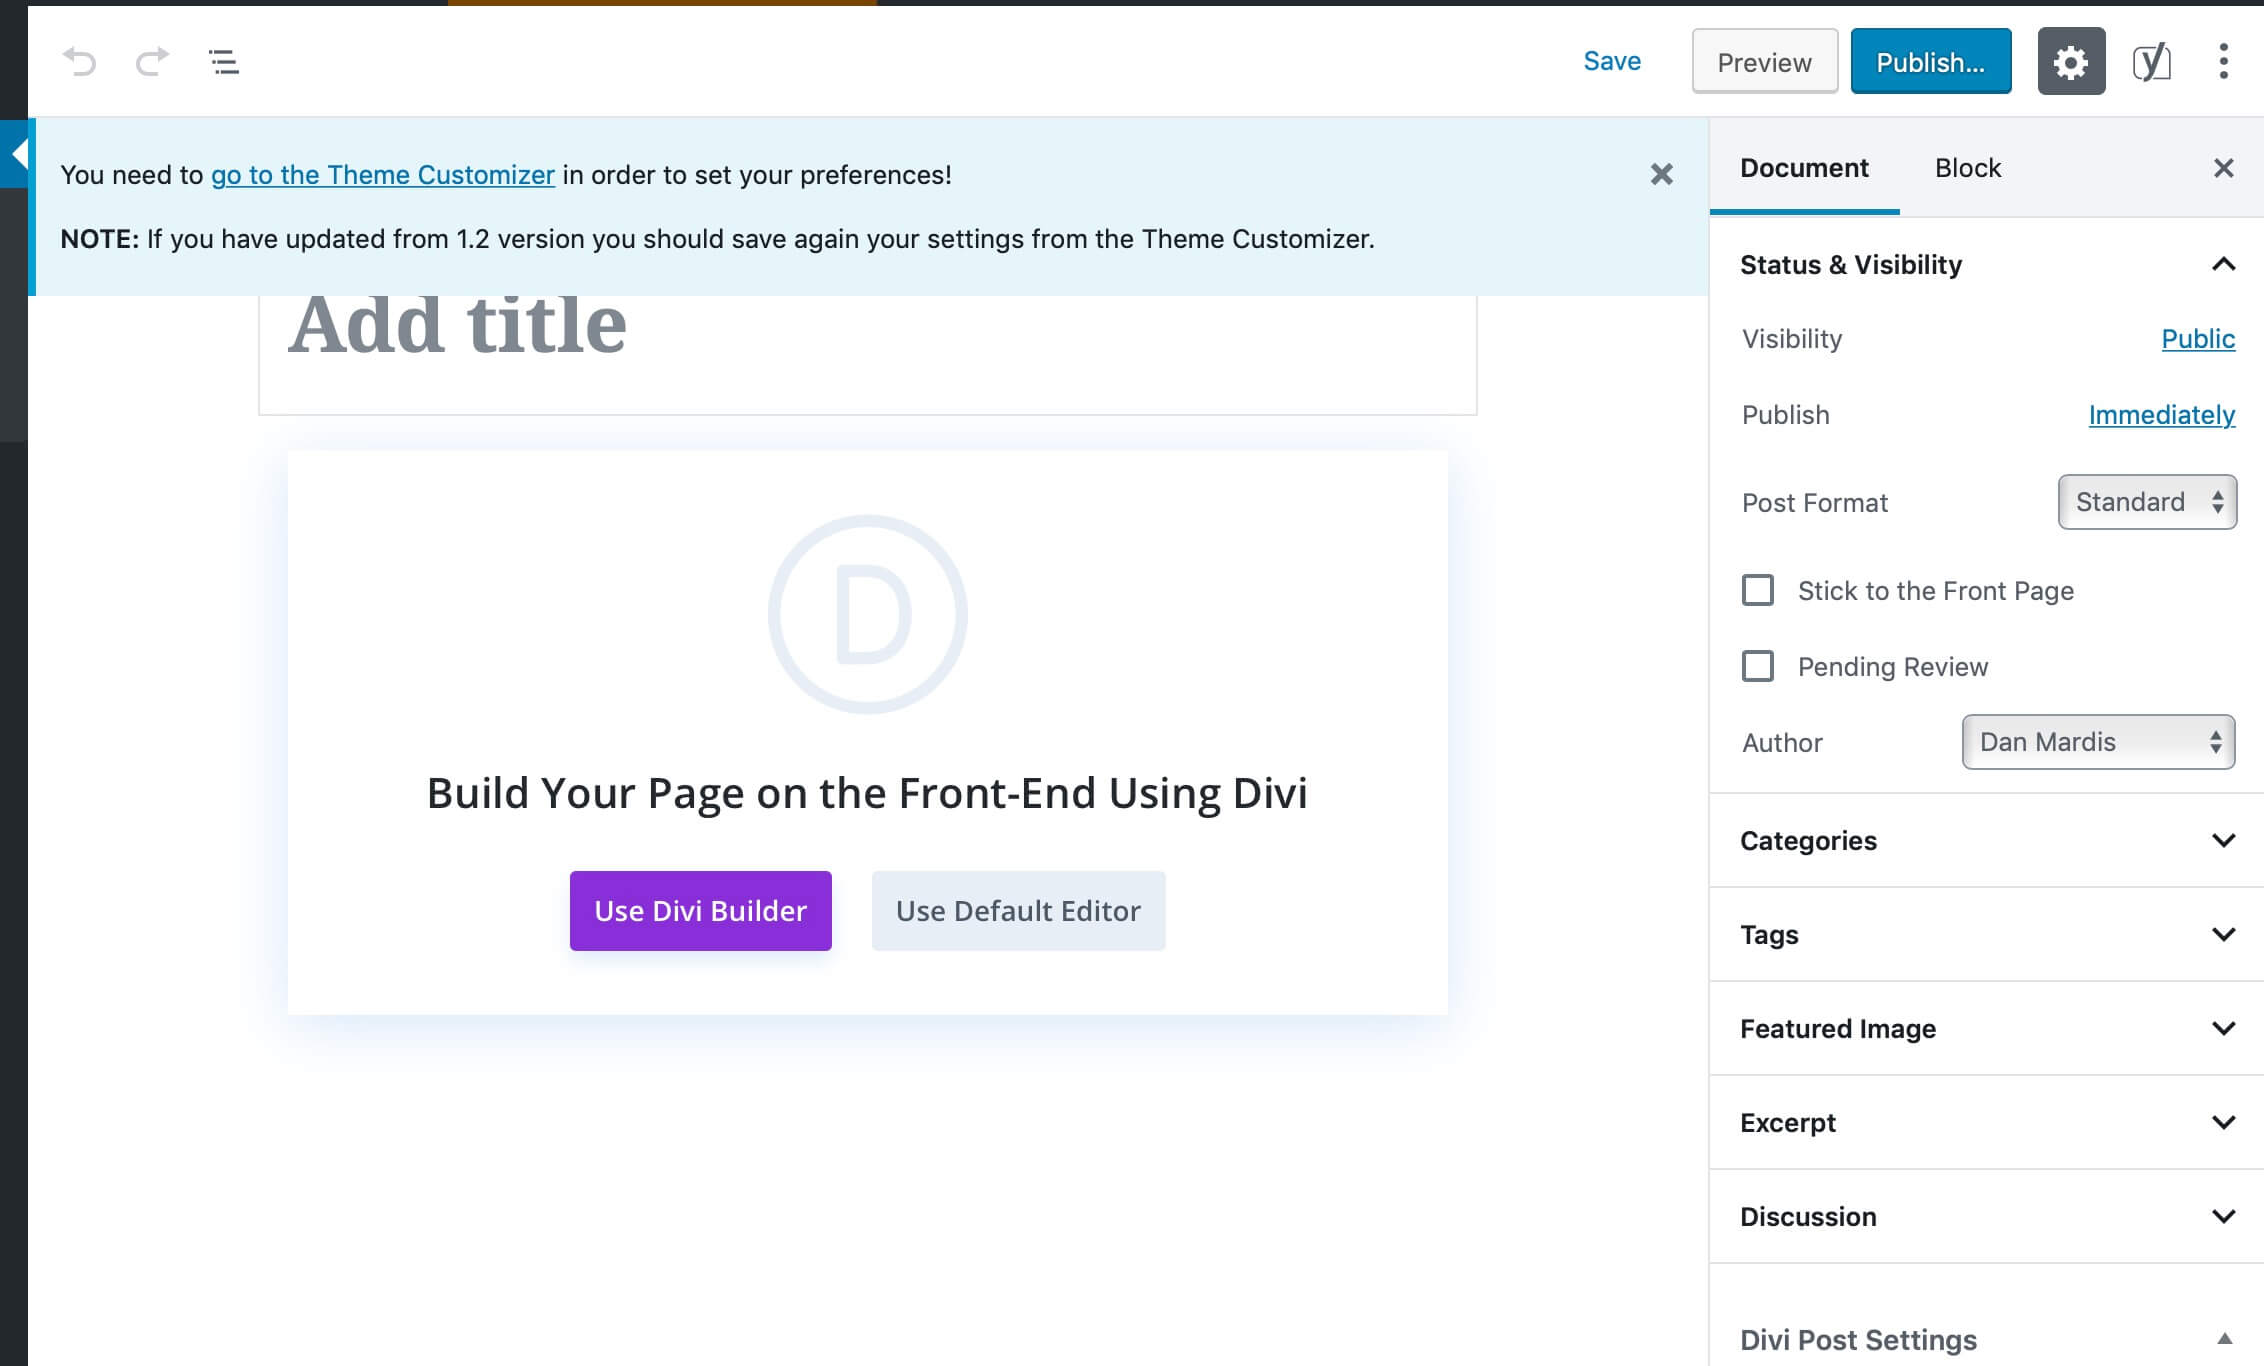
Plugin Update – i-Divi-Post-Settings become Gutenberg Ready with 1.3
Today we are really excited for the major plugin update from its first release. Today I-divi Post settings become Gutenberg ready and really more intuitive thanks to the implementation of Divi Settings right from inside the Backend and Visual Builder too.GUTENBERG...
How to add a Svg Logo to your Divi Website (Integrated Way)
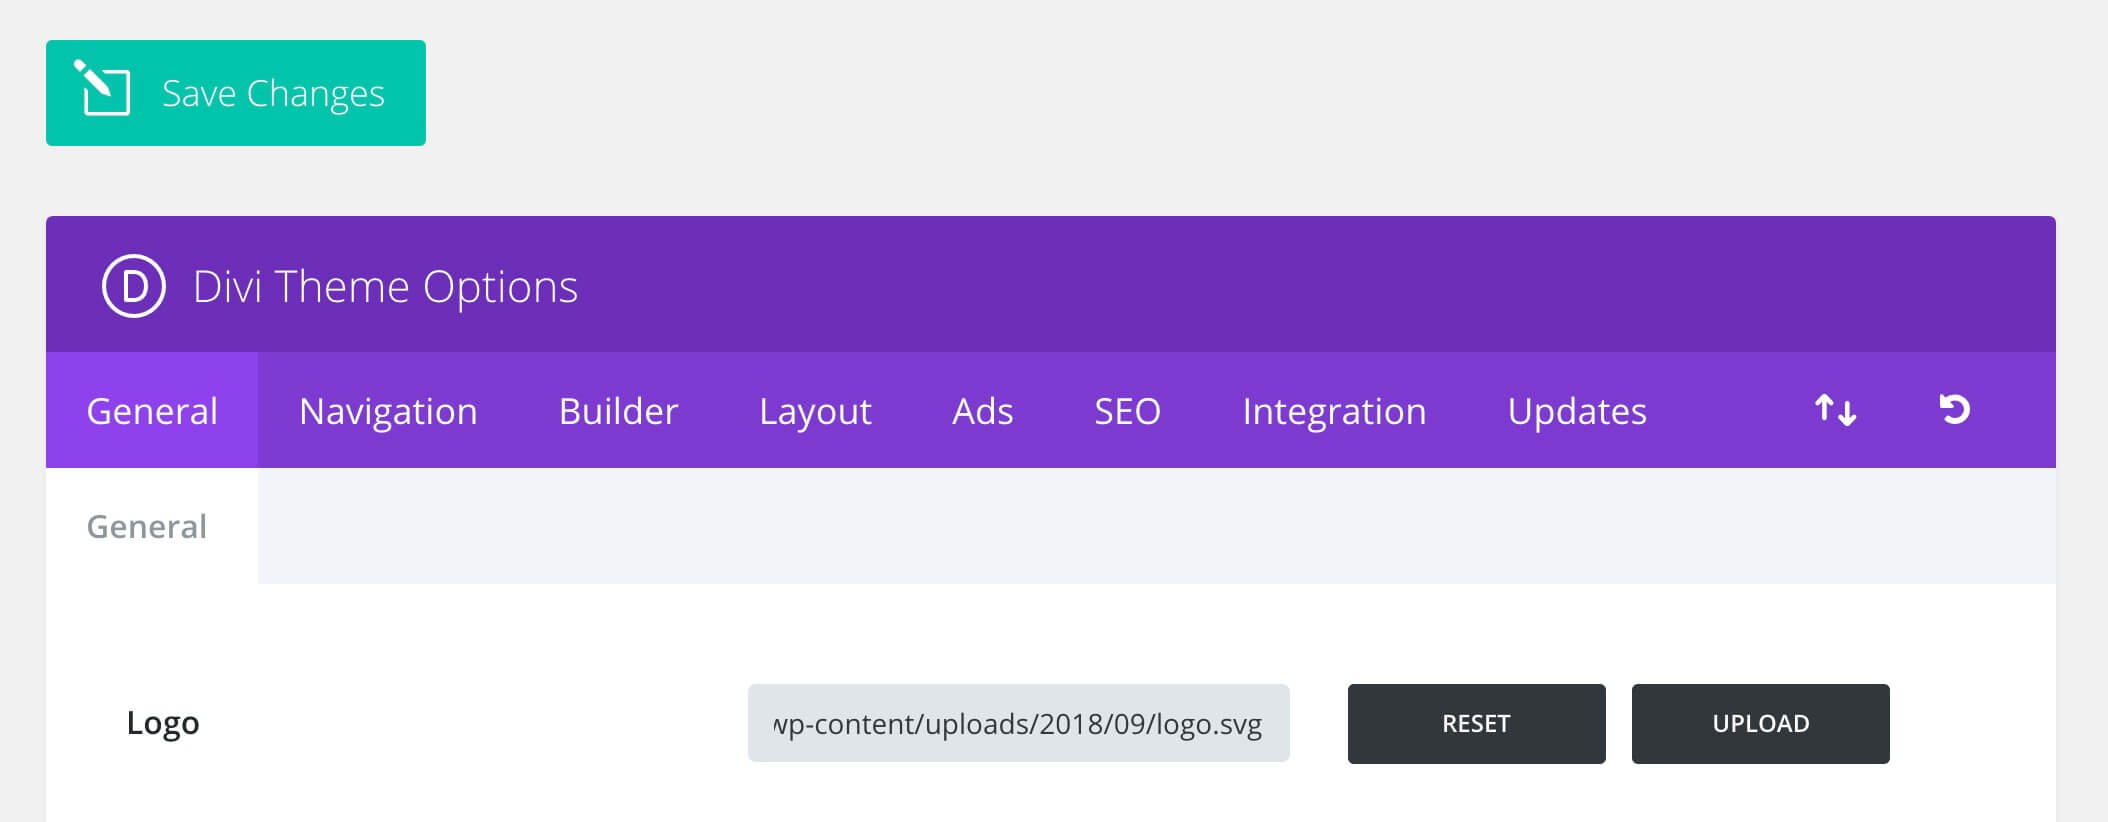
Hi everyone, today we will see a little snippet code in order to add in an integrated way the possibility to upload a Svg logo directly from within your Divi Theme Options panel and customize it just like as any other jpg/png logo. EDIT FUNCTIONS.PHP AND ALLOW SVG...
Divi Hover III – Create a Mac Mockup with just Divi Options and Animate It on Hover
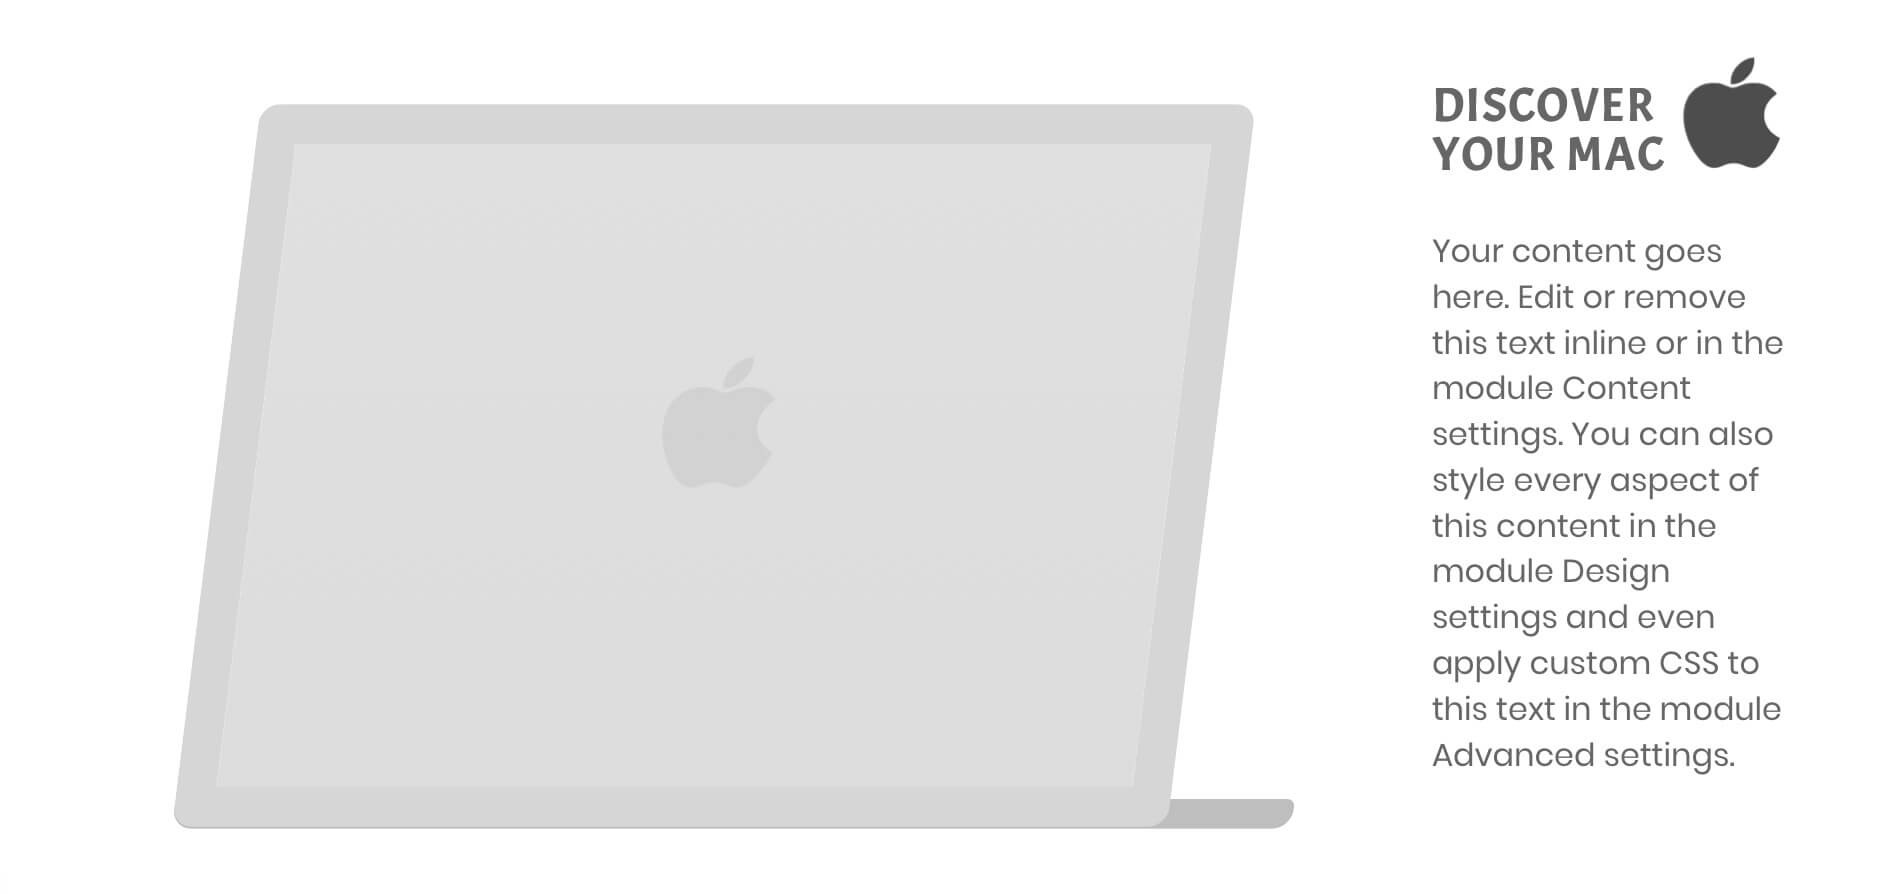
Hi everyone, today we complete our mini series on Divi Hover options with a very simple design you can get with just Divi options and few lines of css. It's a simple Mac mockup slightly skew on hover and simulating the apple (in this case is black but you can achieve...
Timeline Blog Layout
A different way to show your featured blog posts both in a Blog Page and in the Homepage.
This layout is a blog section. It is essentially a vertical timeline made of four blurbs, on the left we have the post featured image clipped in a circle with different background colors while on the right we have the post title on a diagonal gradient as background. We also have the meta post right above the timeline blurb icon and on hovering we have a nice effect with a column shift: the post meta and a “View Post” button appear right above the image on the left, in the center, in place of the blurb icon we will have the post title and on the right will slide the post excerpt.


