
DIVI POST SETTINGS INDEX
You are here!
You are here!
You are here!
You are here!
Divi Post Settings Plugin I
How to set the basics of a WordPress and Divi Plugin.
Divi Post Settings Plugin II
Add Settings in Theme Customizer and Save the values.
Divi Post Settings Plugin III
Write our main functions and use our settings.
Divi Post Settings Plugin I V
Add Ajax to our Info notice, Testing and Commenting.
Today we continue to write our Divi plugin together. In the first series post we laid the foundation with the basic informations about writing a WordPress plugin and with the very essential main file; we also wrote a couple of basic security functions.
So just to recap we have our plugin folder with the following structure:
– divi_post_settings
– divi_post_settings.php
– README.txt
– LICENSE.txt
– ASSETS (- divi_post_settings.jpg)
And our main file “divi_post_settings.php” will look like this:
So, now let’s begin with the first part of the Perform step. Our first idea was to add in Divi Theme Options our custom fields and store in the database the values. We could do that thanks to a couple of wordpress functions we will give a quick look in the next lines; however we thought using the Customize API could be a better and more practice solution to get our goal. So we will see below how Theme Customizer works, how to add our fields and retrieve our values.
Let’s get started!
ADD/EDIT A WORDPRESS OPTIONS MENU
Almost all WordPress plugins have in the backend a menu or submenu for set the settings. WordPress has specific funtions in order to do that and the schema is the quite the same.
Let’s give a look, first of all, at the WordPress Theme Customizer and how it works. Customizer and Theme Customize API was introduced in WordPress 3.4 (June, 2012) and since that time WordPress has invested a lot in implementing this way of adding and saving the theme options. Furthermore WordPress core itself
“has also moved most of it’s built-in theme-related settings completely to the customizer as well.“
For this reason theme developers and also plugin ones have to – nowadays in 2017 – should always do this way of doing it.
In short, Customize API is a class in a typical Object-Oriented Programming approach and it’s the easier way to add your own settings and options; in order to do that the Theme Customize API provides us with four main methods: add_panel, add_section, add_setting and add_control.
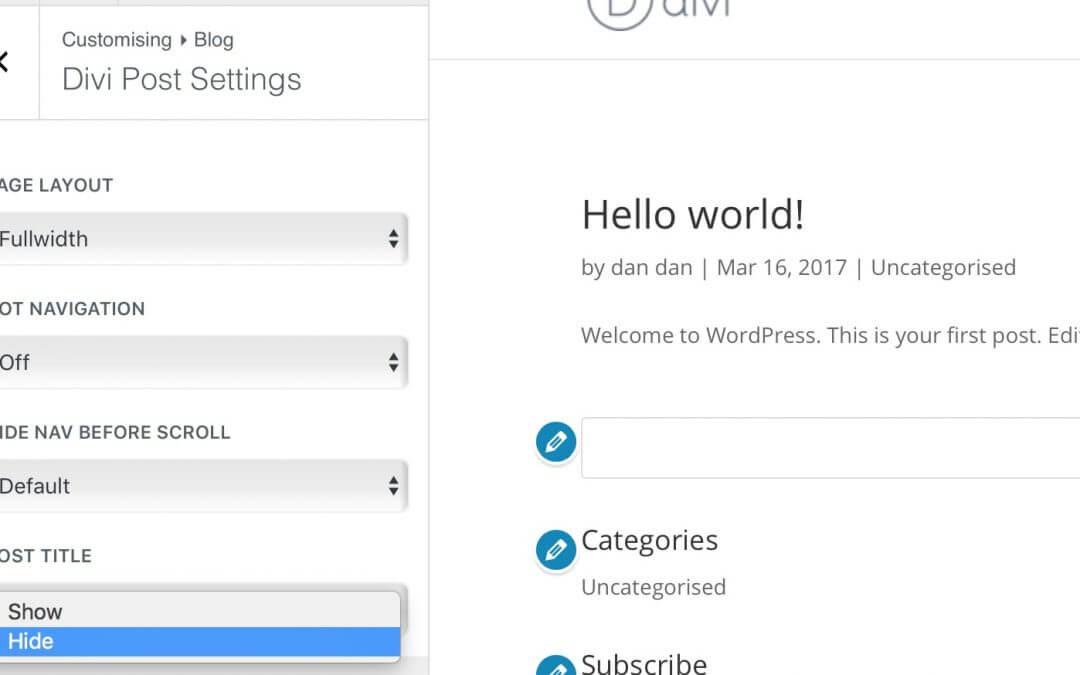
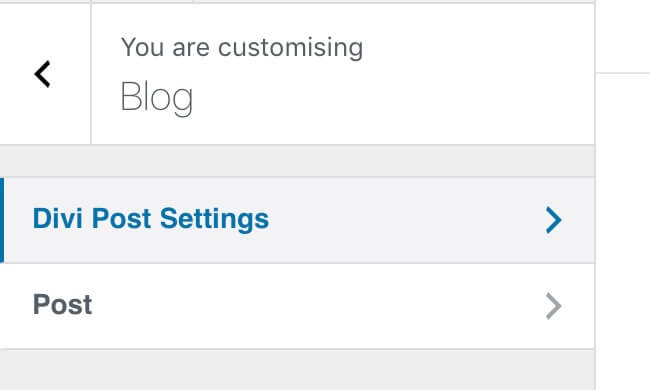
Divi, of course, has already set his Theme Customizer (it has also a Module Customizer!) with a lot of custom Panels, Sections, Settings and Controls and for our purposes we don’t need to add a new Panel (the top-level menu in Theme Customizer). We will use existing panel like Blog and we will create beside the Post section our custom one that we will call Divi Post Settings.
So, let’s see how to do it in few simple steps.
SAVE FIELDS VALUES IN DATABASE
Here comes the better part of Customize API. If before, also with Settings API, once you added your options you had to save, sanitize and validate these ones with a lot of developing further work, now Customize API take care of all the stuffs (except for the sanitization that we will see in the last post) and you will have already your values saved in database, in our case we saved them with the Type ‘Option’, so we will find our values stored in wp_options database (see the last row).

LET THE USER KNOW
This first Perform part is at the end but one last thing has to be done, inform the user on how and where he can find and modify our options!
Theme Customizer, indeed, is the present and future way of customizing our websites; however, it is not uncommon that some users have not familiarity with it and could get quite confused by this way. So we will write a simple function that, once the user activate the plugin, will advise it (as Info) that he need to go to the Theme Customizer in order to set his preferences.
LET’S CONTINUE…
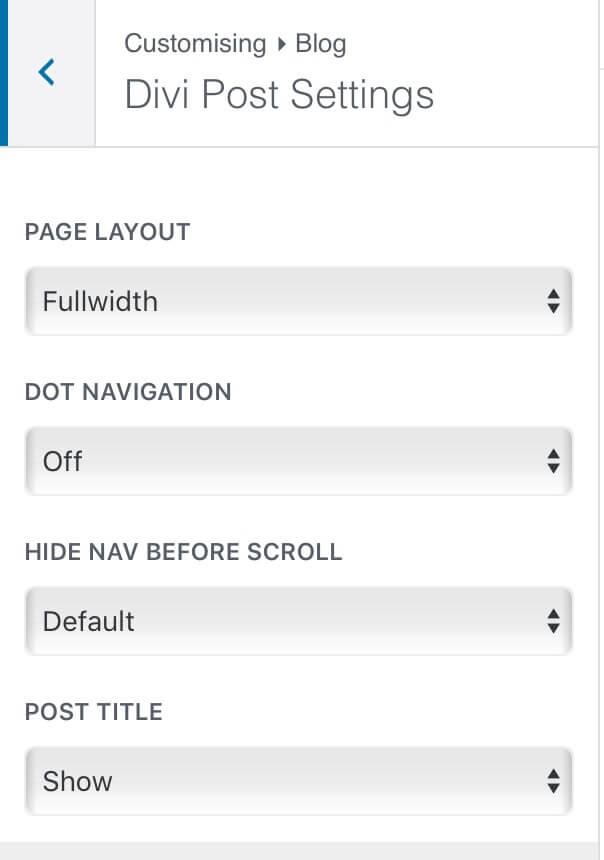
Well done. We are at the end of this second series post too. We have seen how to customize our Divi Theme Customizer adding Divi Post Settings section to existing Blog panel; then we used add_settings and add_controls methods to add the four main options we are interested in and we let the user know how to save these ones.
See you next post. Stay Tuned!
Cheers.
DIVI POST SETTINGS INDEX
You are here!
You are here!
You are here!
You are here!
Divi Post Settings Plugin I
How to set the basics of a WordPress and Divi Plugin.
Divi Post Settings Plugin II
Add Settings in Theme Customizer and Save the values.
Divi Post Settings Plugin III
Write our main functions and use our settings.
Divi Post Settings Plugin I V
Add Ajax to our Info notice, Testing and Commenting.


